3. Installation
3.1 Setting Up RFL100 Data Logger
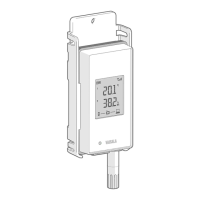
1 Power switch.
2 Protection cap. Remove after
installation is complete.
3 Latch of the battery cover.
1. Open the battery cover of the data logger.
2. Move the power switch to the On position.
3. Close the battery cover of the data logger. Push the latch down until you hear a click. If
the cover does not close easily, push the probe (or the probe cable) in and try again.
4. Look at the display and verify that:
• Battery indicator shows full batteries
.
• Display shows measurement readings instead of dashes or error codes.
If measurement readings are not shown after a few seconds, check that the probe is
properly connected. It is possible to disconnect the probe by pulling on the probe with
the battery cover open. In that case the display will show error code ERR 202.
When you turn on the RFL100 it starts to scan for VaiNet access points that are in
installation mode. RFL100 will connect to the access point with the best signal
strength, and wait to be accepted by the administrator of the viewLinc Enterprise
Server.
Chapter 3 – Installation
19

 Loading...