5
Designed and Manufactured by / for
Miles Industries Ltd.
190 – 2255 Dollarton Highway, North Vancouver, B.C., CANADA V7H 3B1
Tel. 604-984-3496 Fax 604-984-0246
www.valorfi replaces.com
Because our policy is one of constant development and improvement, details may vary slightly from those given in this publication.
2. Re-install the burner ceramic plate. Fit the burner in
the fi rebox inserting the front tabs fi rst in the lances.
Note: Ensure that the front
of the burner is well hooked
when re-installing!
Again, be careful not to
hook the pilot hood when
fi tting the burner over the
pilot.
3. Fix the burner ceramic plate to the manifold bracket
at the rear with screw.
4. Continue with the installation of the fi replace as
instructed in the Installation and Owner’s Manual
supplied with the appliance.
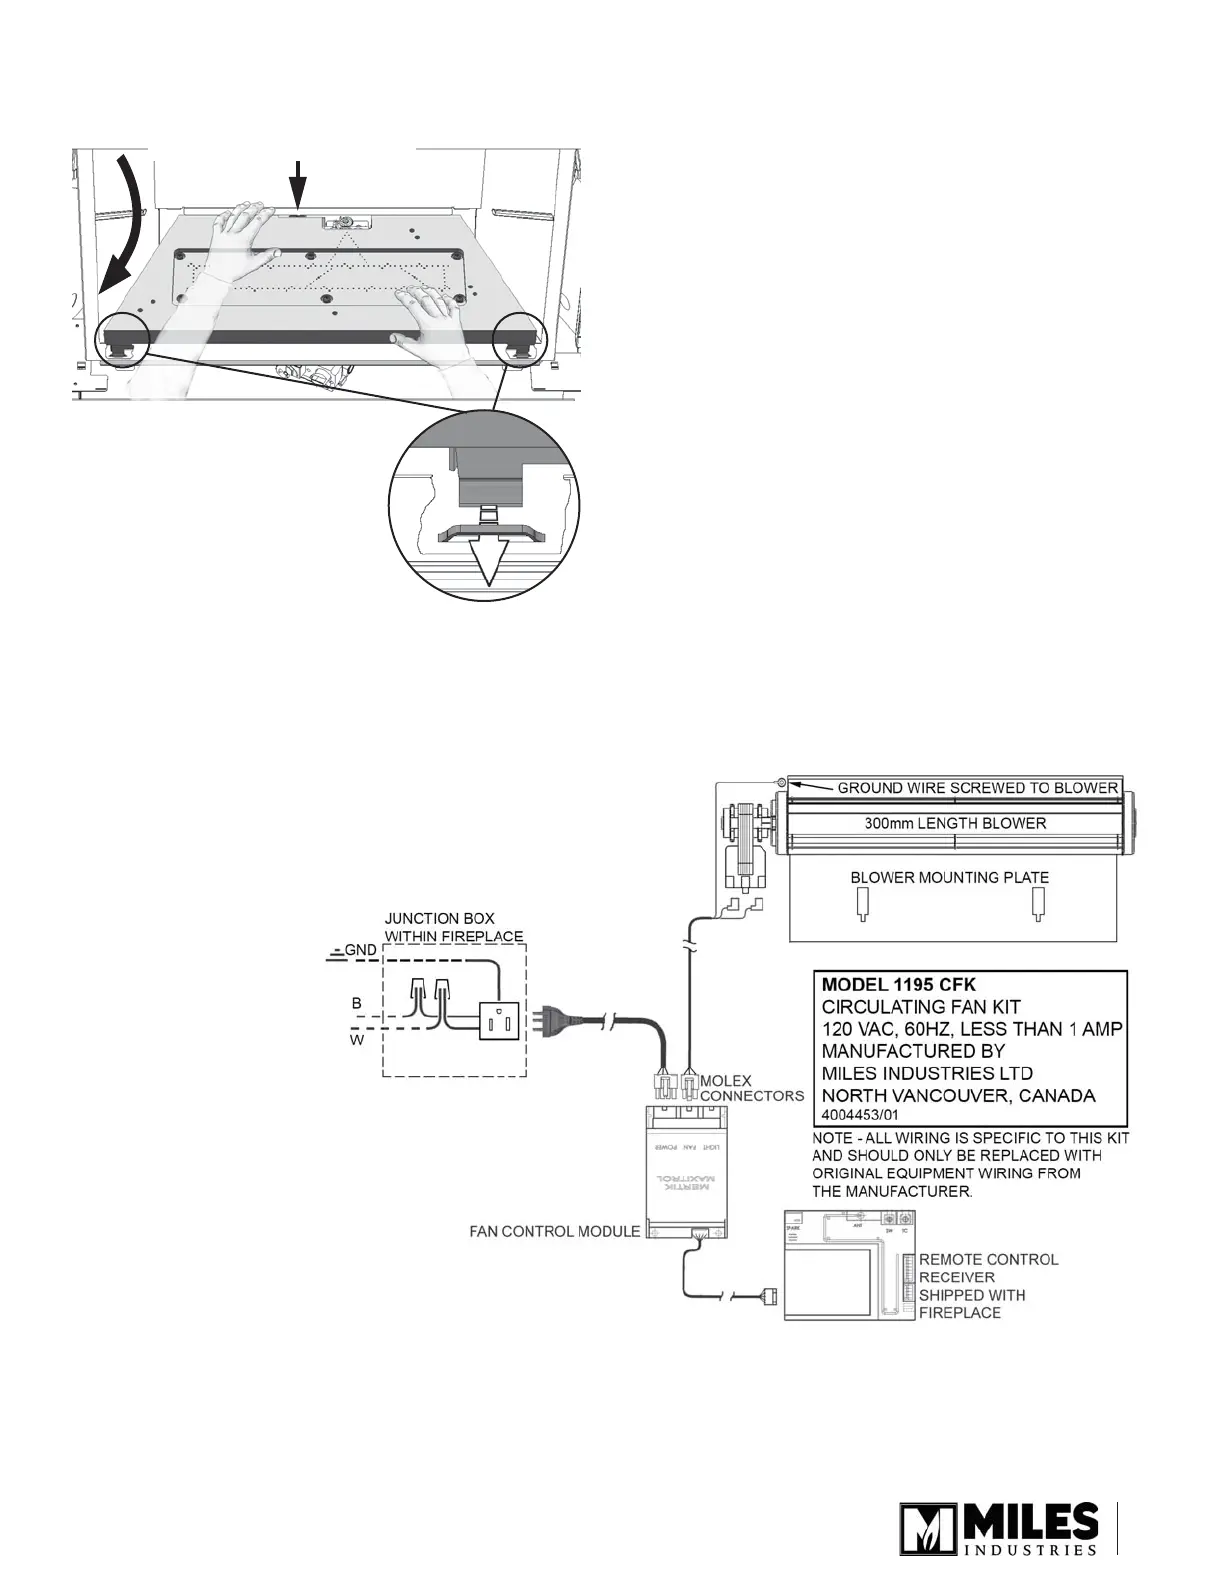
Wiring Diagram
Warning—Electrical Grounding Instructions
This appliance is equipped with a three-prong
(grounded) plug for your protection against shock
hazard and must only be plugged directly into a
properly grounded three-prong receptacle. Do not
cut or remove the grounded prong from this plug.
Screw