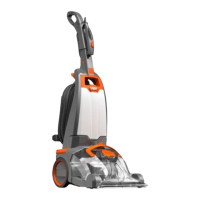
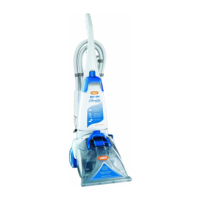
While making sure the dirty water tank is resting on the
base, place the rear of the tank into the base of the
cleaner, push down on the handle until it latches.
Replace top of dirty water tank by pressing it into place
(Fig 4/16).
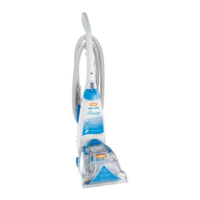
Switch off and unplug carpet washer, then remove the
Flip the cleaner on its side to expose the nozzle base.
Lift out the floating brush bar by pressing the two
latches and pulling it gently (Fig 5/1)
.
Replace floating brushbar (Fig 5/2).
Remove the dirty water tank from the unit.
Remove the filter cover from the back of the tank.
Separate the filter from the filter cover.
The filter can be rinsed in warm water (max. 40
°C)
Fig.4/16
Fig.5/1
Fig.5/2
2 4 hr
Fig.5/6
!
40° C max
!
!
!
Fig.5/5
Fig.5/3
1
2
1 2
3
Fig.5/4
3
Brush removal and
replacement
Cleaning the tank filter
NOTE: The plug must be removed from socket
outlet before cleaning or maintaining the
appliance.
IMPORTANT: Do not use any detergents
or boiling water to wash the filters. Vax
recommends checking the filters everytime
the dirty water tank is emptied.
NOTE: All filters must be in place before
using your machine.
IMPORTANT: Ensure filter is fully dry
(allow 24hrs) before replacing back into
the machine.
water tank.

 Loading...