Fig. 7/8
Fig. 7/9
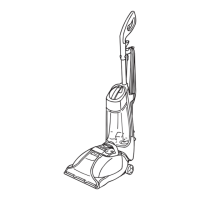
Fig. 8/1
7
Dust Bag & Filters: Removal & Replacement/Clearing Blockages
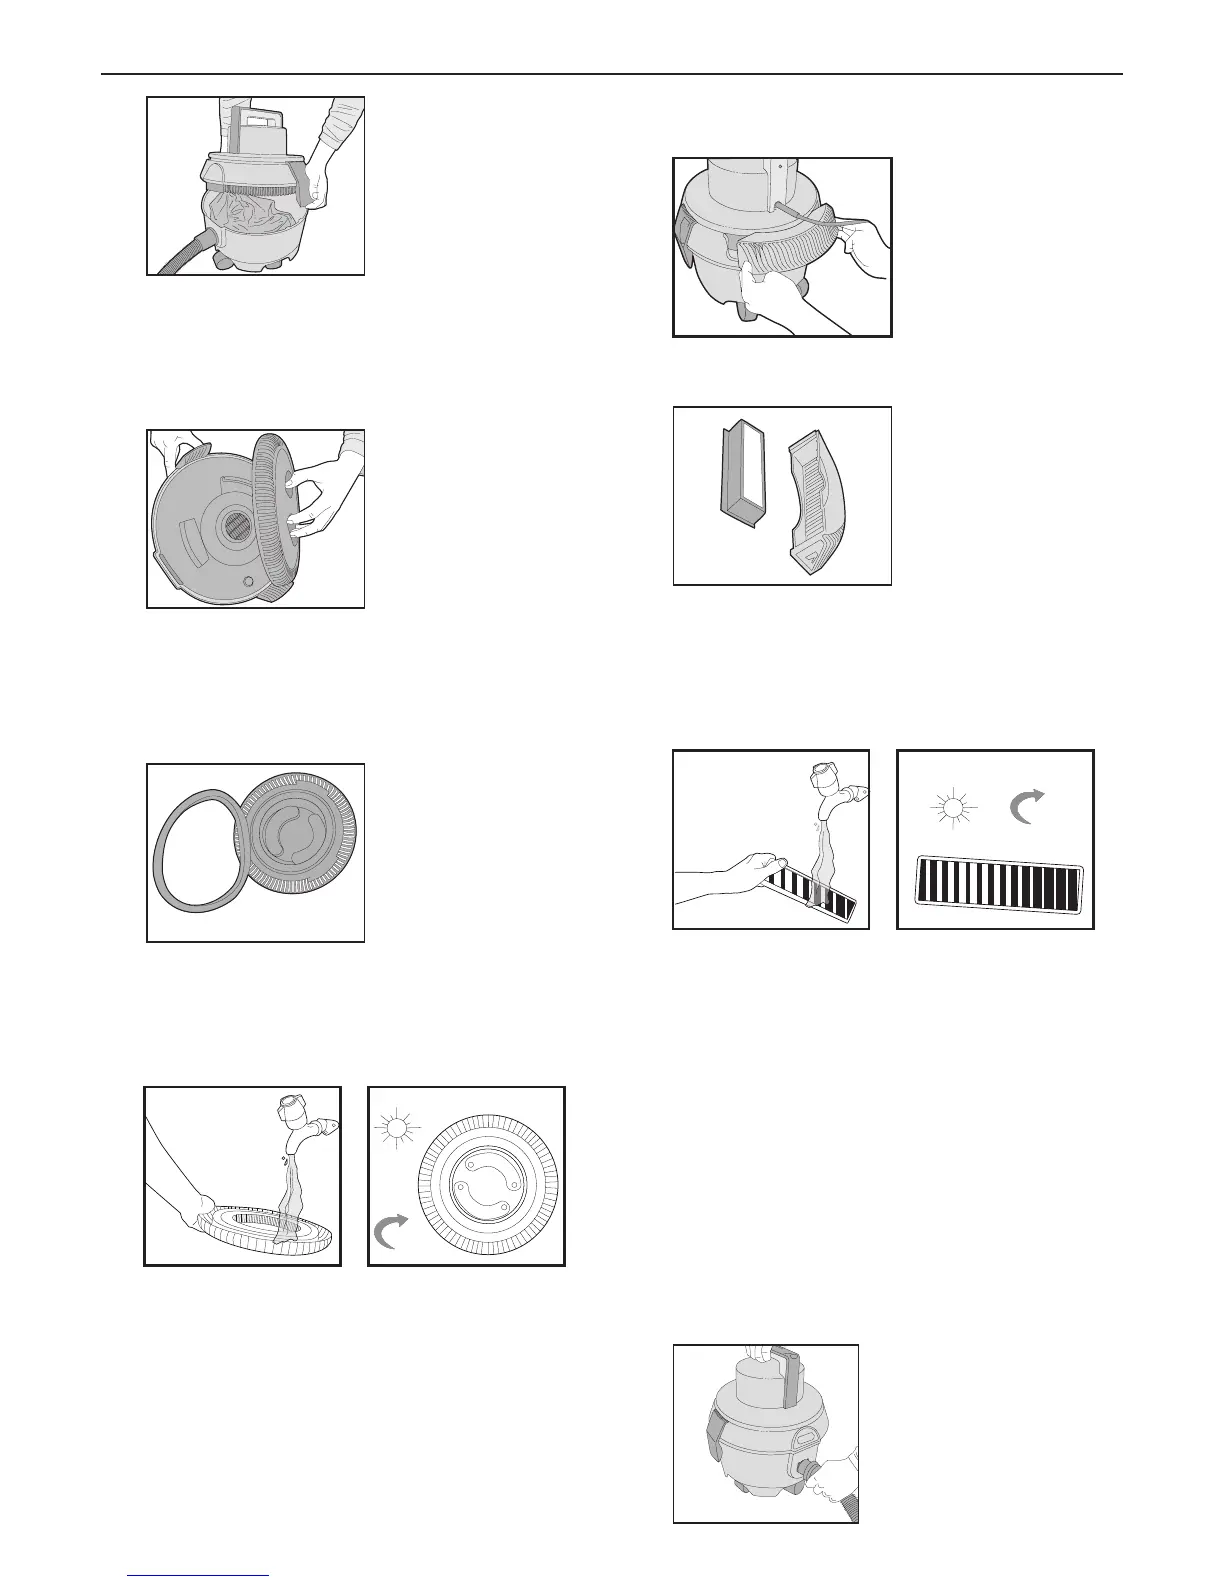
Fig.7/4
Fig. 7/5
Fig. 7/6
2. The pre-motor filter is found on the underside of
the top cover. To release the filter turn the cover
anti-clockwise and lift away (Fig. 7/5).
3. The pre-motor filter is protected by a foam filter
sleeve. This can be washed using cold water,
leaving it to fully air dry before replacing (Fig. 7/6).
4. The HEPA pre-motor filter can be washed using
cold water. Ensure filter is completely dry before
replacing. (Fig. 7/7).
5. The pre-motor filter should be replaced every
9-12 months.
Post-motor Filter
1. Located at the rear of the vacuum cleaner is a
post-motor filter which can also be removed and
replaced.
2. Push in latches on both sides of the cover
to release to post-motor filter (Fig. 7/8).
3. Remove the post-motor filter (Fig. 7/9).
5. The post-motor filter should be replaced every
9-12 months.
4. The filter can be tapped against the side of a
bin to remove debris. It can then be washed
using cold water leaving it to fully air dry before
replacing (Fig. 7/10).
1. Switch the vacuum cleaner off and disconnect
the plug from the electrical outlet.
2. The flexible hose can be disconnected from the
vacuum cleaner by rotating anti-clockwise and
pulling away from the machine (Fig. 8/1). Remove
any blockages found then reconnect the hose
securely.
8. Clearing Blockages
Fig.7/7
24
24
Fig. 7/10