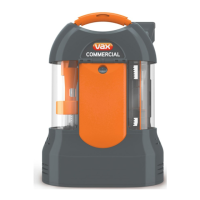
Do you have a question about the Vax VO-4000 and is the answer not in the manual?
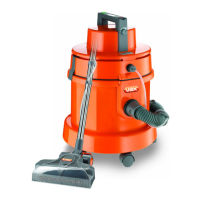
Connect the two-piece extension tubes and the combination floor tool as shown in Fig. 1.
Connect the flexible hose to the vacuum cleaner attachment point as shown in Fig. 2.
Set the combination floor tool to the correct position for hard floors (lower) or carpets (raised) using the rocker switch.
Release the side latches on the vacuum cleaner top section as shown in Fig. 5.
With latches released, lift the top section of the vacuum cleaner away as shown in Fig. 6.
Insert the disposable paper dust bag into the cleaner as shown in Fig. 7.
Insert the re-usable bagless filter into the cleaner as shown in Fig. 8.
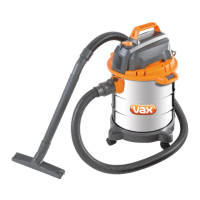
Only use the wet floor tool when sucking up water, as shown in Fig. 9.
Instructions for using without a bag (Fig. 10) and re-assembly (Fig. 11) for liquid spills.
Unclip release latches and lift out the motor housing unit as shown in Figs. 12 and 13.
Remove and empty the dust bag or re-usable bagless filter for dry use, as shown in Fig. 14.
Lift the dirty water container by handle and dispose of contents for wet use, as shown in Fig. 15.
Fully unwind the mains cable and plug it into a standard domestic socket outlet as shown in Fig. 15.
Press the on/off switch to start or stop the vacuum cleaner, as shown in Fig. 16.
The filter protects the motor; clean it under cold water and ensure it's dry before replacing (Fig. 17).
| Brand | Vax |
|---|---|
| Model | VO-4000 |
| Category | Vacuum Cleaner |
| Language | English |