Do you have a question about the Venmar ISPIRA IC700 Series and is the answer not in the manual?
| Brand | Venmar |
|---|---|
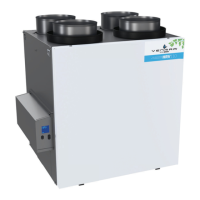
| Model | ISPIRA IC700 Series |
| Category | Ventilation Hood |
| Language | English |
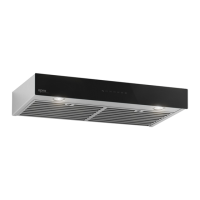
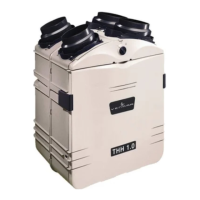
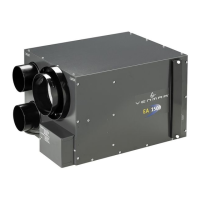
Prepare the opening for IC700 and IB700 models.
Instructions for proper grounding of the appliance for safety.
Controls delay function and interface locking for cleaning.
Buttons to select and control blower speed levels.
Button to turn the hood on or off.