INSTALLATION
SETTING UP THE MAIN UNIT (RECEIVER)
BATTERY & ADAPTER INSTALLATION:
Main Power Source: Plug in the 6.0V adapter into the adapter socket at the back for basic operation and
continuous backlight
Battery installation: Lift off the battery cover, install 6 pieces of AA batteries according to the polarity indicated
and close the battery cover.
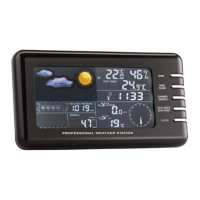
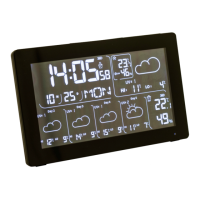
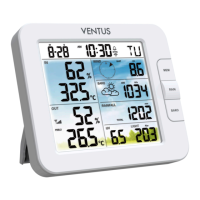
LOCAL WEATHER FORECAST & PRESSURE SETTING
A pressure sensor is built in the main unit to provide local weather forecast & pressure reading.
After battery installation, the main unit will enter pressure setting mode in the following sequence.
Pressure unit (mb / hPa or inHg) > Current sea level pressure > Current local weather condition > Exit
The corresponding icon will flash. Press [▲] or [▼] to select, press [BARO] to confirm each setting.
NOTE:
- Please check the current sea level pressure reading of your location from weather web site
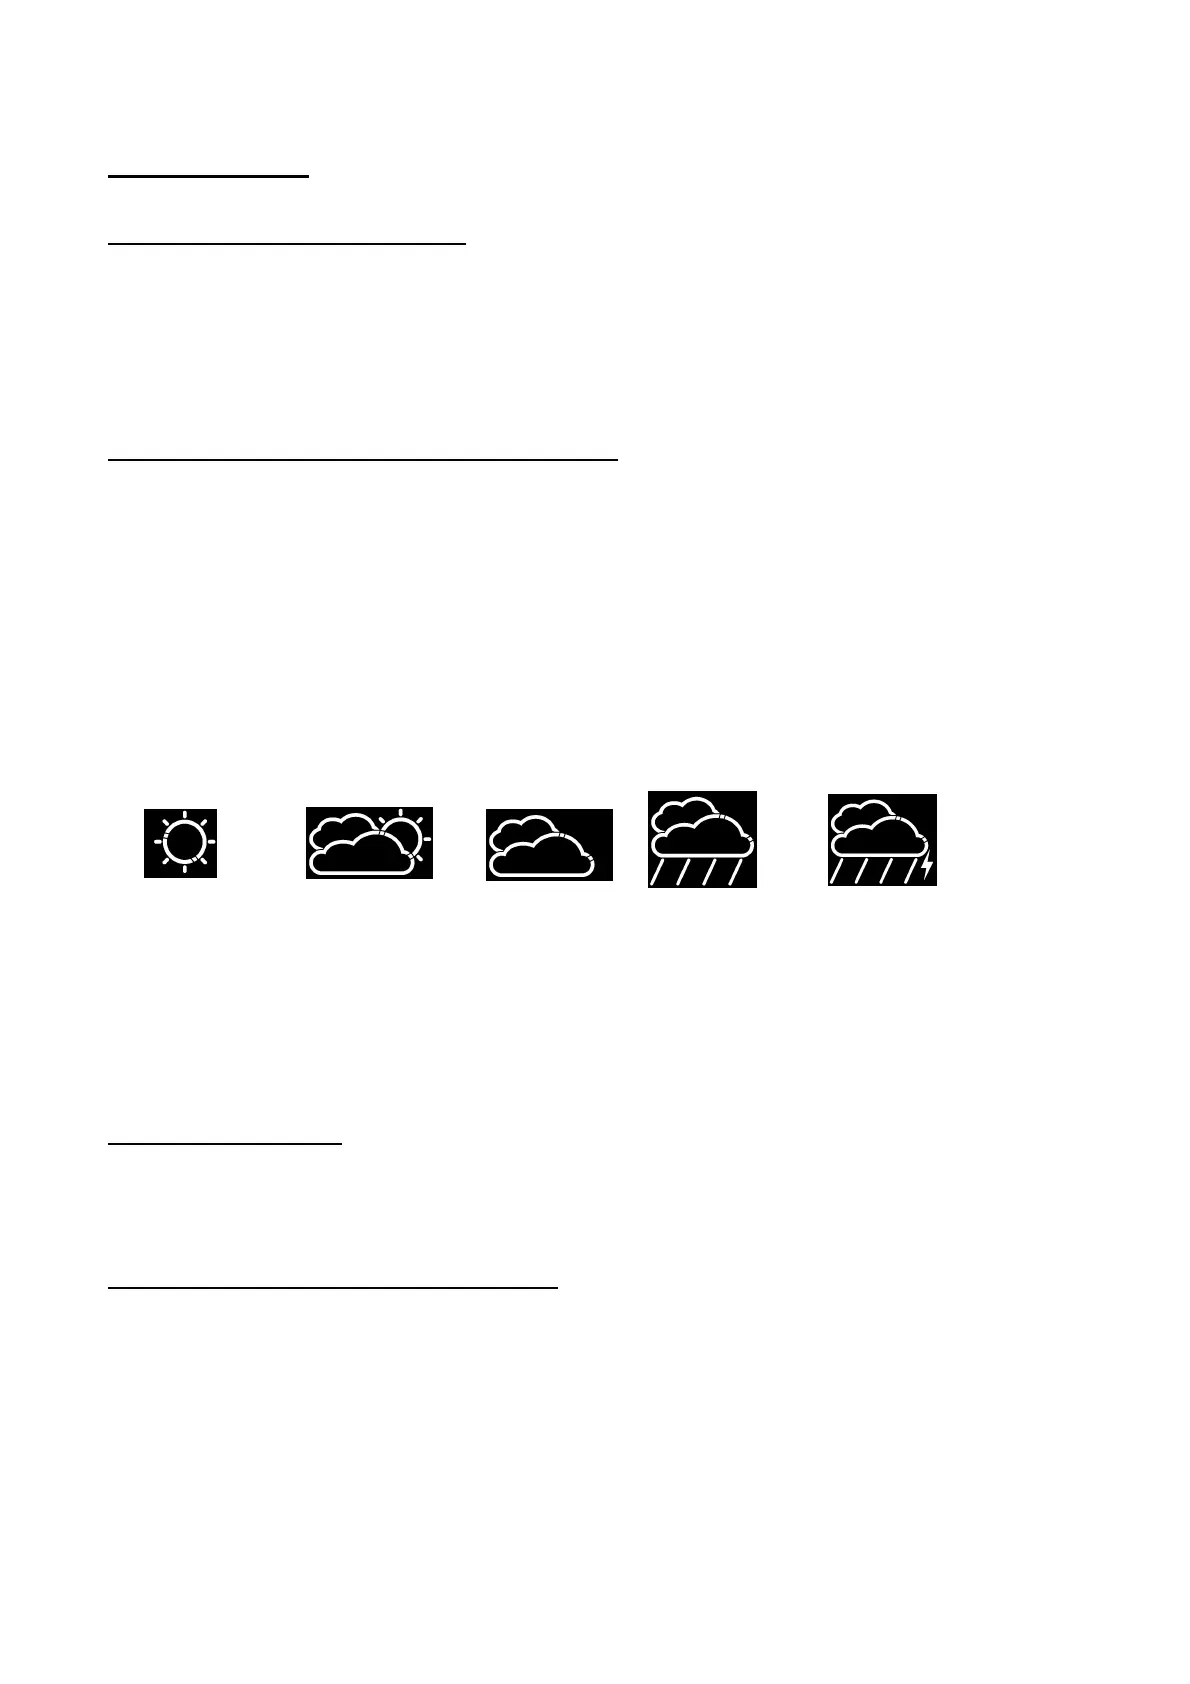
- Please select current weather condition of your location between sunny, partly cloudy, cloudy, rainy or
stormy
Sunny Partly Sunny Cloudy Rainy Stormy
- You may also enter the local weather forecast & pressure setting any time by holding the [BARO] button for
3 seconds. (Details also refer to the “BAROMETRIC PRESSURE & LOCAL WEATHER FORECAST”
section)
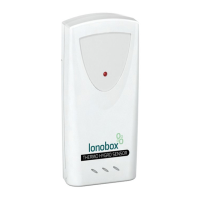
SETTING UP THE REMOTE THERMO SENSOR
BATTERY INSTALLATION
Loosen the screws on the battery door with a small screw driver, insert 2 pieces of AAA batteries according to
the polarity indicated. (Replace the cover and tighten the screws after the RF setting below)
ESTABLISH RF CONNECTION WITH MAIN UINIT
- Place the main unit away from metal & source of interference such as mobile phones, appliances, TV etc.
- For the first installation, turn on the main unit and then the remote sensor. Set Channel 1 for the first remote
sensor. Set channel 2 and channel 3 for the 2
nd
and 3
rd
sensor
- Hold [CHANNEL/SEARCH] button on main unit until a beep is sound to search for remote sensor. The
corresponding channel number on the display will flash indicating it is in the searching mode
- Press the [Tx] button inside the battery compartment of remote sensor to transmit RF signal
 Loading...