4. In the next window, click “Change” and select a drive letter in “Assign the following drive letter …”.
5. Confirm the change by clicking on “OK”.
Installation of the application software
Software Installation PC (Windows only)
To record blank media, you must first install the Recording Software.
We recommend using the software which has been provided with your drive.
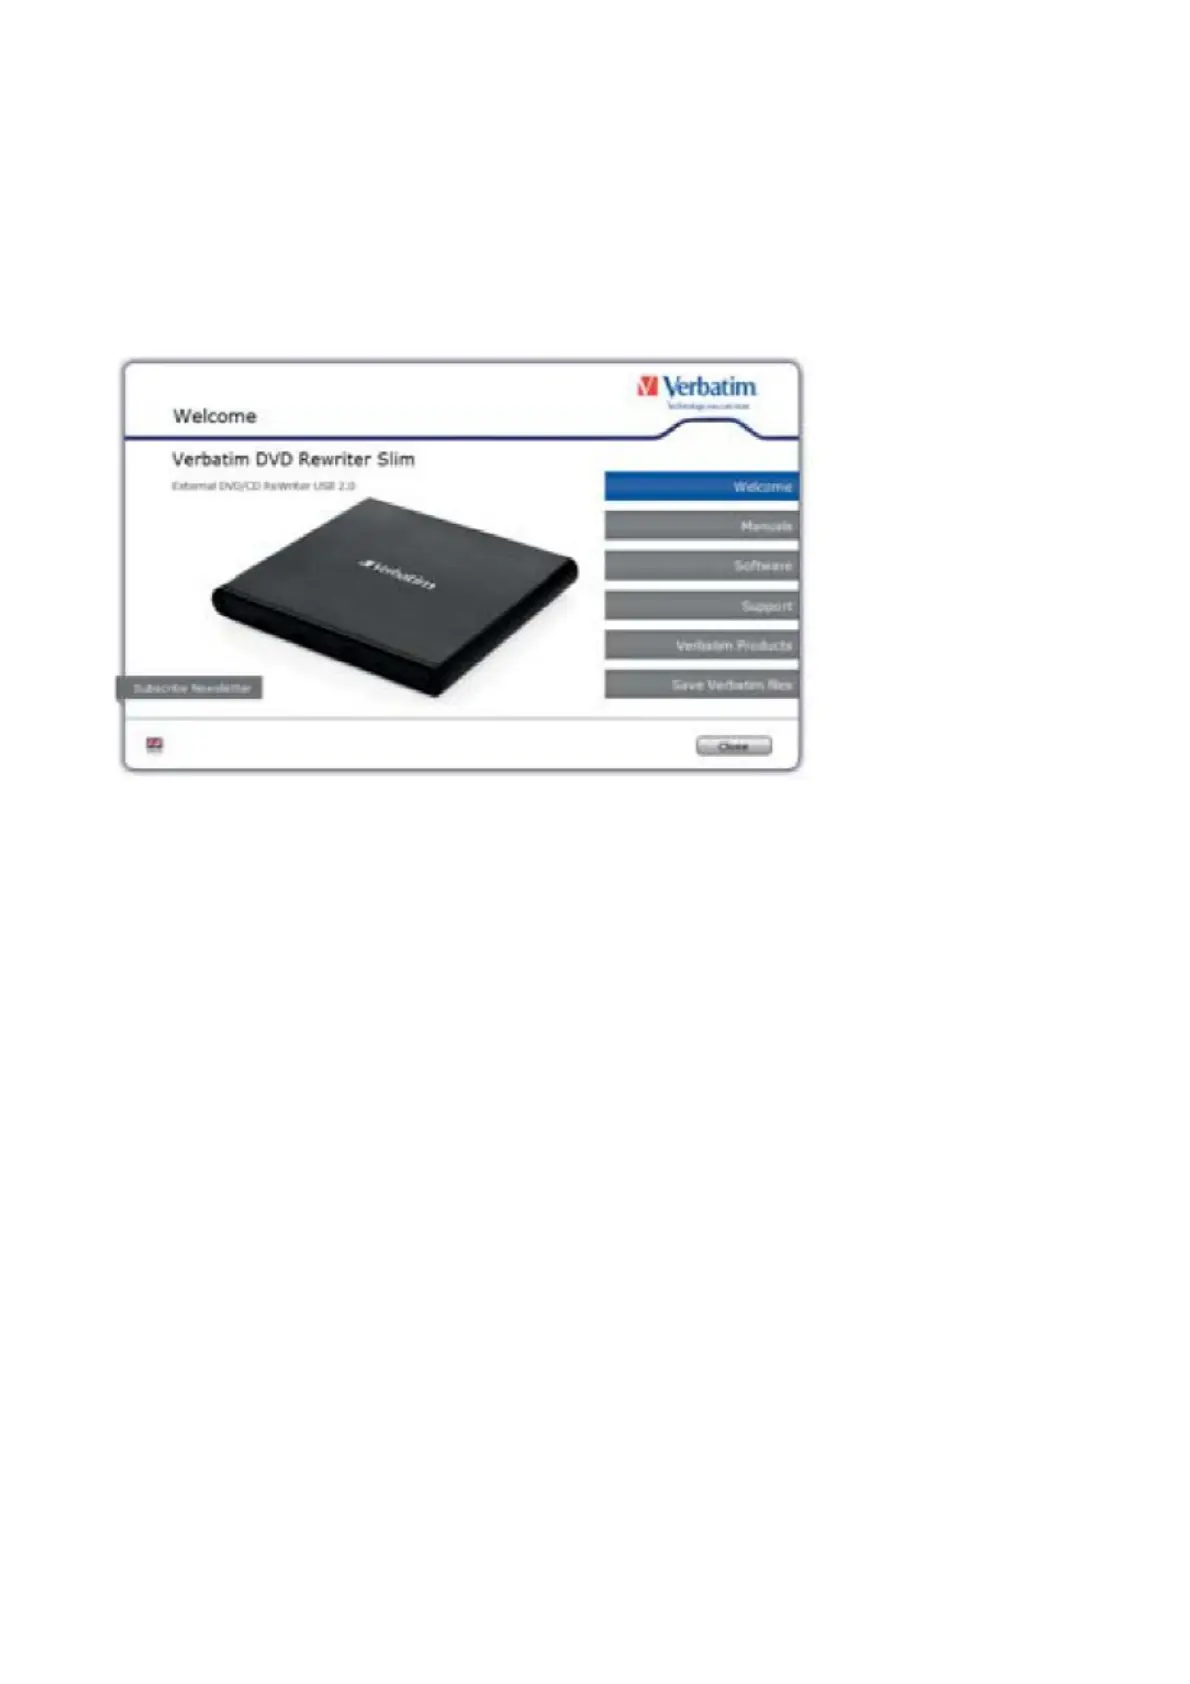
1. To install the application software, insert the “Application and Manuals” DVD.
2. Click on “StartPC.exe” in the main directory of the DVD. The Verbatim start menu opens.
For illustration purposes only.
Screen grabs will differ dependent on your model type.
3. Click on “Software” button.
4. The installation starts now. Follow the instructions on the screen, confirm with “Next” in order to continue with
the installation.
Using the Drive
How to Use the Discs
ATTENTION:
When using CD-ROM, CD-R, CD-RW, DVD R/RW or Blu-ray discs, do not attach any stickers or labels to the discs.
Using discs with labels attached not only causes read and write errors, but data on the disc may be lost due to
damage to the disc itself.
Load the disc
1. Press the eject button.
2. Place the disc on the disc tray.
NOTE: When using a 8 cm CD/DVD, place it in the small round depression.
The recording side of the disc should be down. Never place two discs in the tray at the same time. Be careful
not to touch the recording surface of the disc.
3. Load the disc by pressing the eject button or by lightly pushing in the disc tray.
Disc ejection
1. Press the eject button.
2. Slowly take the disc out of the disc tray.
3. Press the eject button or push the disc tray and the tray will be brought back into the drive.
After ejecting the disc, return the tray inside the unit quickly. When the tray is in the ejected position, dust and other
debris could enter, possibly causing read errors, write errors, or drive failure.