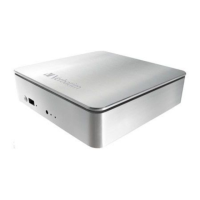
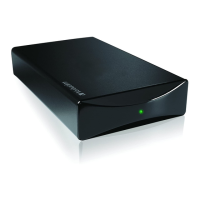
or purchasing this Verbatim PowerBay Removable Hard Drive System. Be
ore you begin to use the drive there are a
hings to learn about your new product.
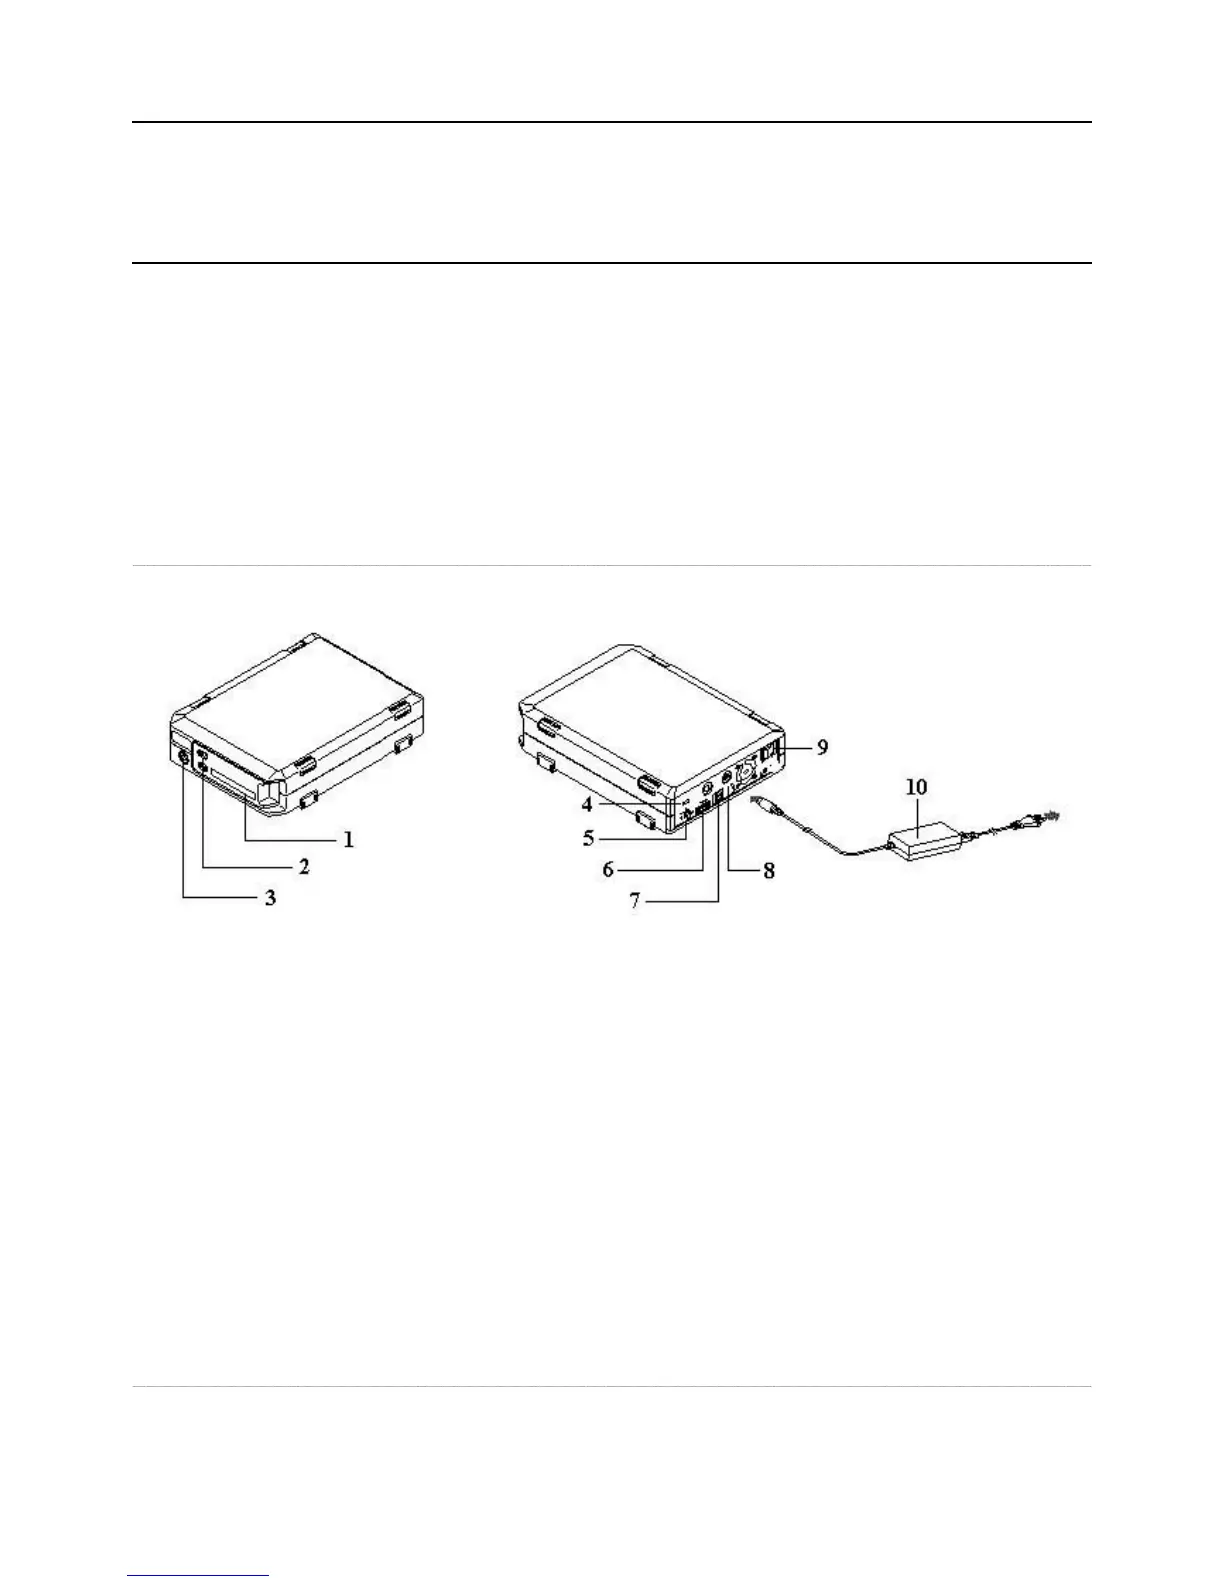
Connectors and Indicators
. Hard Disk Cartridge. The hard disk cartridge is designed to be easily removed
or storage or replacement. To remove
e, slide the lock button to the ri
ht and then slide the cartrid
e Slide Lock and LED. After insertin
e into the enclosure, slide the lock button to the left to lock the cartrid
lace. The lock button also shows the activit
LED. The LED will come on blue to indicate the
ower-on state. The LED will fl ash
. Key Lock. Use the included key to lock the cartridge in the enclosure in order to sa
.
5. Auto Power Switch. This
orts an Auto Power feature that allows the drive to
ower condition of the attached host com
uter. To enable the Auto Power feature, move this switch to the “Auto”
position. To disable the Auto Power
eature, move this switch to the “ON” position
rive to your computer via eSATA
ut Connector. Use this connector to attach the DC
our included AC Power Ada
. Power Switch. Once the AC Power Ada
connected to the drive and an AC outlet,
witch to the ON position to power on the drive
Drive
The hard drive comes
re-formatted in FAT32 format. This format allows for o
eration with either Windows or Mac OS.
Note: Capacity dependent on model. 1 MB = 1,000,000 bytes/1 GB = 1,000,000,000 bytes/1 TB = 1,000,000,000,000 bytes. Some capacity used
unctions, and thus is not available
or data storage. As a result, and due to di
ering calculation methods, your operating systems may report as
ewer megabytes/gigabytes/
tera