DOC000-000-01-A
Rev: A00
17.03.2022
2
Please verify network connection again and give the device 10 min to connect if
“Configuration Missing” appaers in screen.
Enter terminal menu(press 4 and 6) Administration -> Software Center -> Update Terminal
Call Customer support if terminal message is not replaced with “Verifone”
Wifi compatible devices
(In the event you want to change communaction to wifi)
1. Enter terminal menu
2. Choose admin menu > Settings > Communications, press «Wifi».
3. Choose Configuration. This will open a list of available networks, press “Wifi Scan“.
4. Terminal will present list of available hotspots. Choose appropriate network.
5. Device will detail network information; press “Add“.
6. Choose “Pre-Shared Key (PSK)“, and enter network password and press green button to confirm-
Yellow key deletes last key entry.
7. Press “Save“ and then “OK“.
Press “Yes“ on question “Apply settings on interface?“. Terminal updates and prompts “Interface started“ when
connected to network. Press “OK“ to confirm and press red button to exit menu.
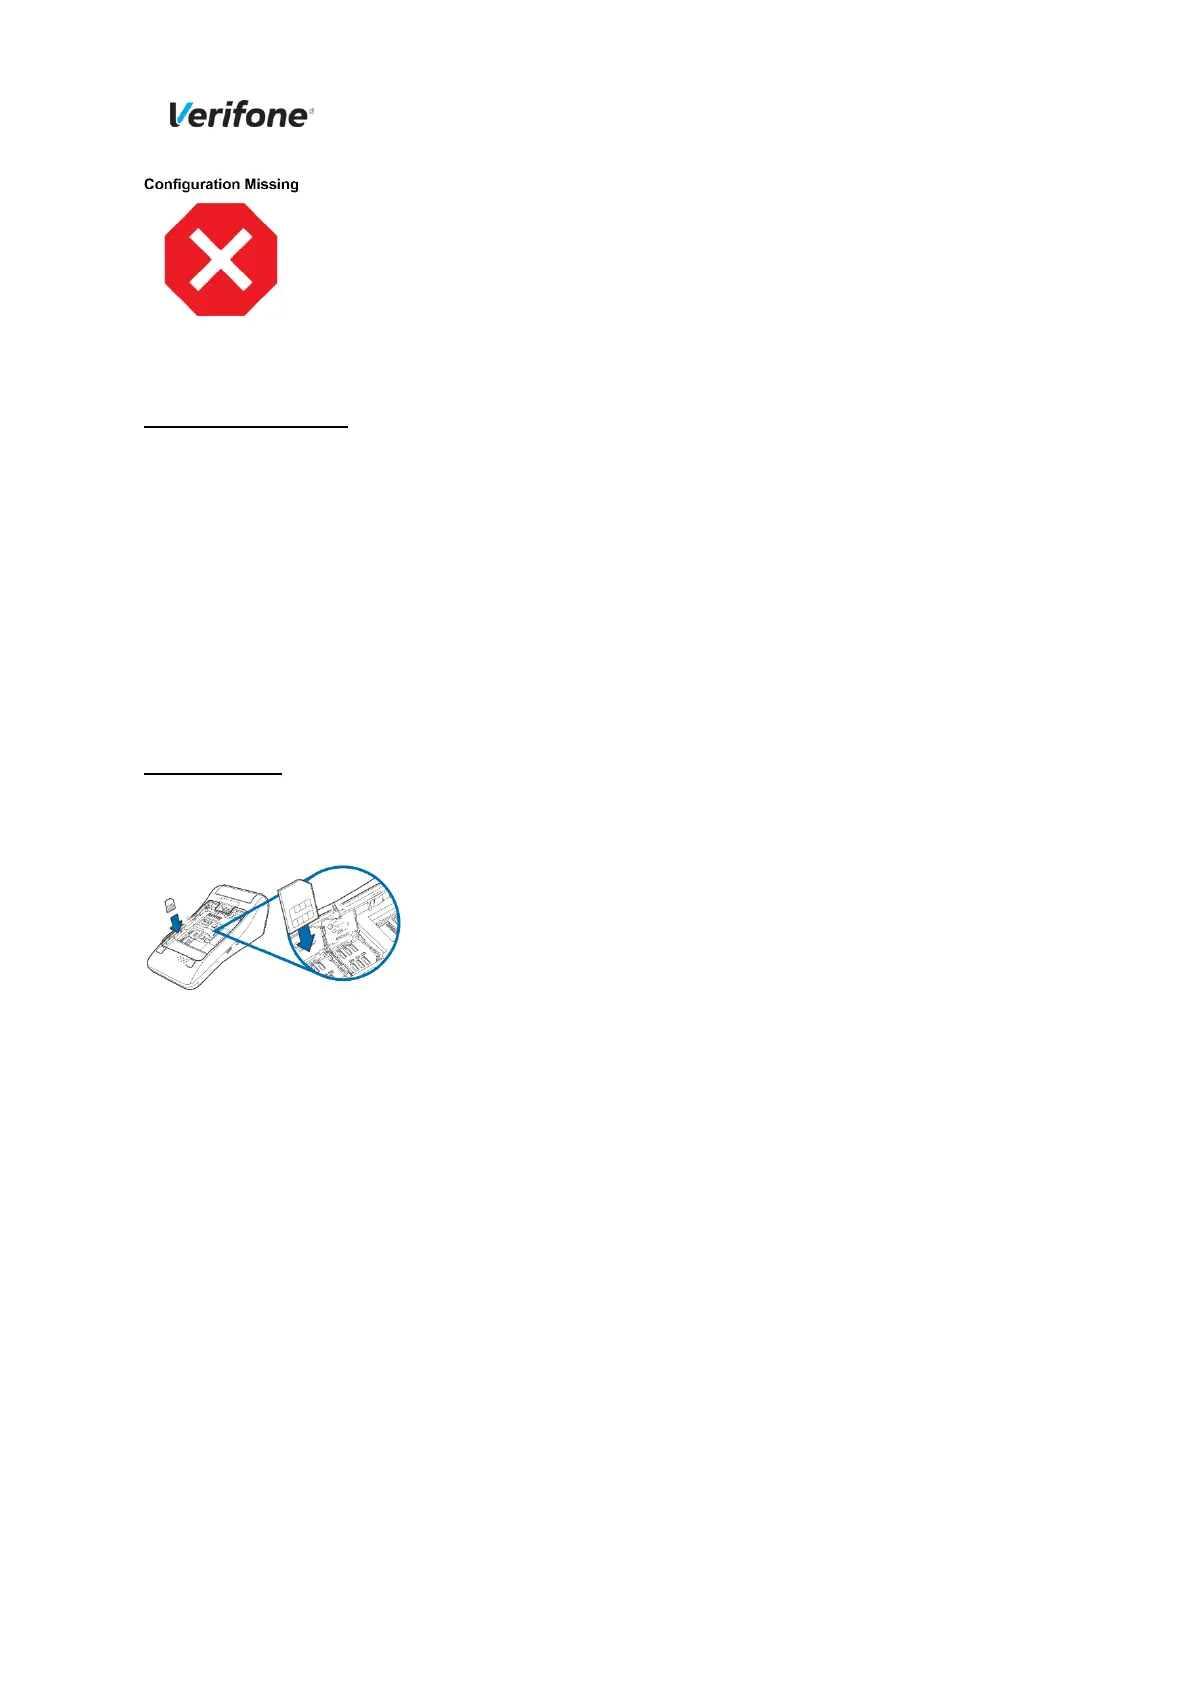
Activating SIM
(Micro-SIM only)
Remove battery cover and battery to Insert SIM. Bottom sim-slot is preferred.
1. Enter menu, Choose Administration > Settings > Communications > Mobile data
2. Choose Configuration > Mobile settings > APN
3. Choose appropriate SIM APN and press OK
4. SIM delivered by Verifone Norway/Sweden/Iceland, key in «verifone.inc.cxn» and press OK
5. Press «Save» and OK
6. Press «Yes» when prompted «Apply settings on interface»
“Interface started“ indicates that terminal is connected. Press “OK“ to confirm, exit menu with red key.
For Swedish merchants:
*Due to Swedish regulations, please do not use the single paper roll in your V400M/V400C terminal
box.
 Loading...