Caution: You must complete the hard disk drive swap within three minutes. Leaving the disk
drive slot open for longer than three minutes can result in the appliance overheating and cause
other components to fail.
7 Place the faulty disk drive in an ESD-compliant bag.
To install the storage disk drive
1 Put on a grounded ESD-compliant wrist strap or take other ESD-preventive measures.
Note: The static discharged by human bodies can damage static-sensitive components on the
boards. When installing and maintaining the equipment, you must observe appropriate electrostatic
safety precautions to prevent personnel injuries or device damage.
2 Remove the replacement disk drive from the ESD-protective wrapper.
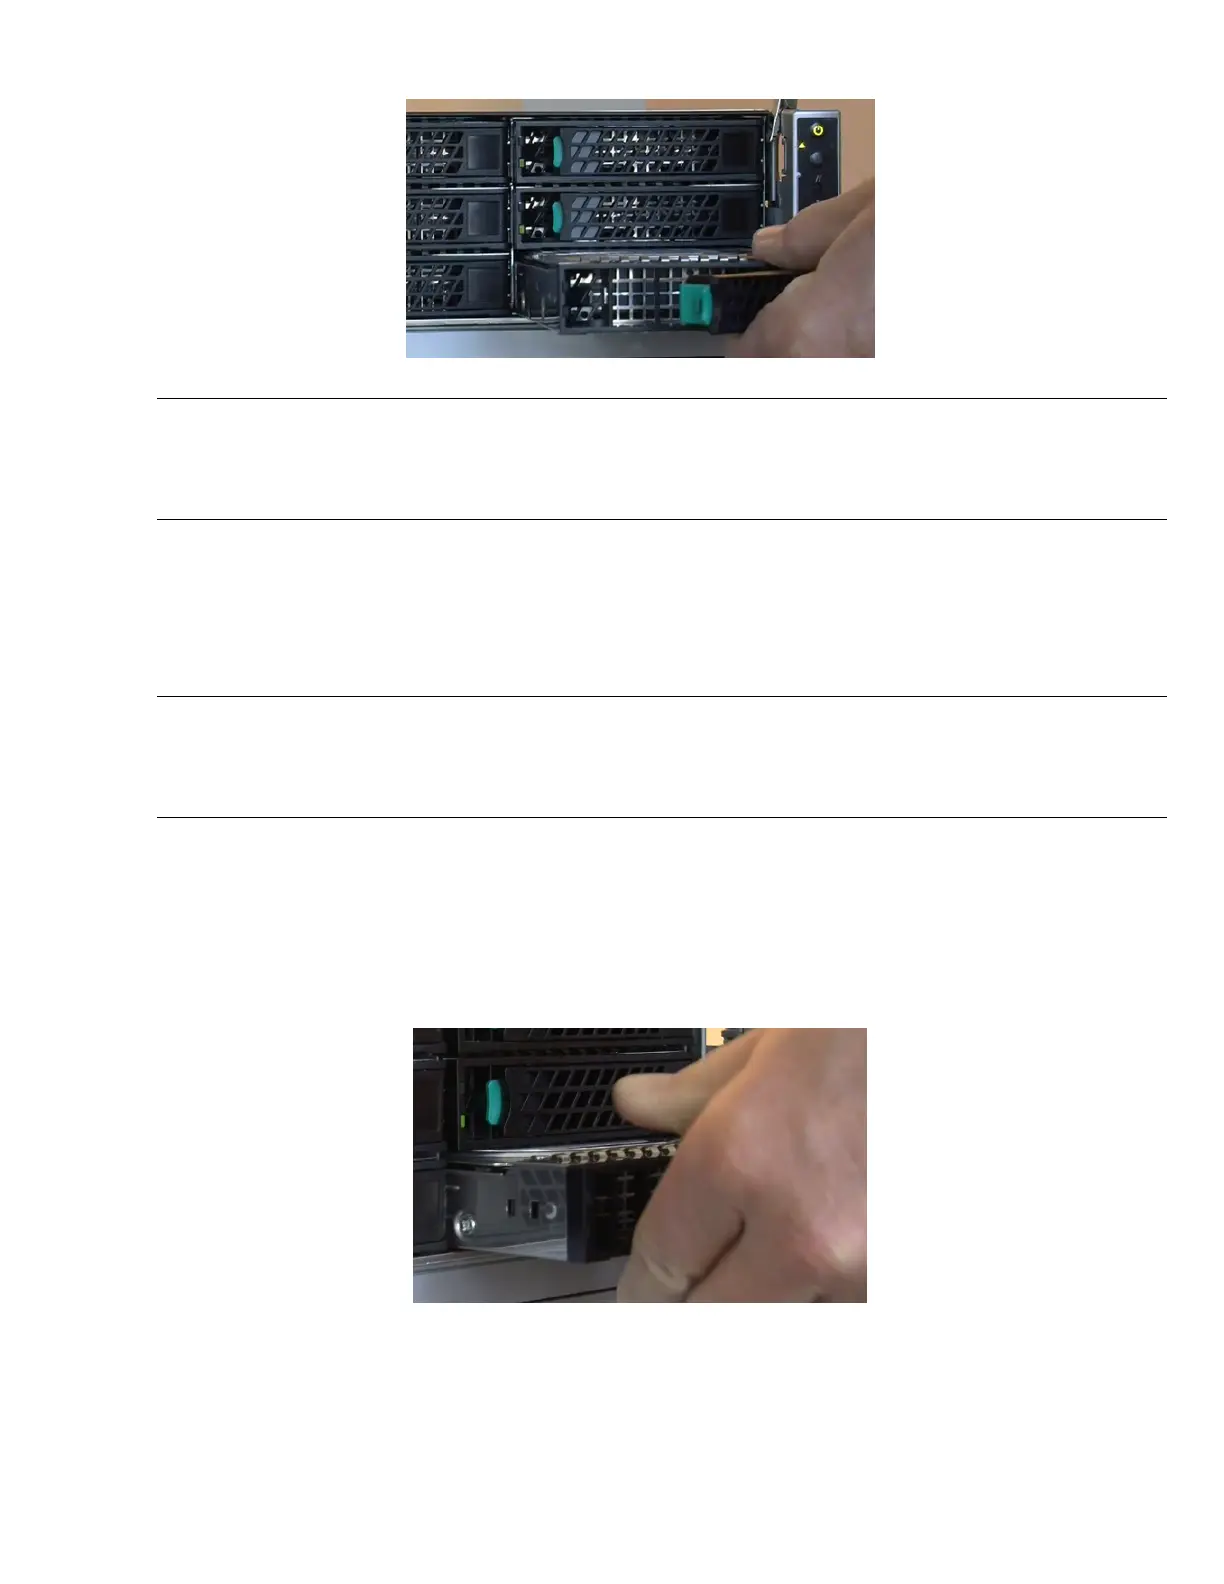
3 Press the green button on the drive carrier to release the lever.
4 Pull the lever open completely.
5 Slide the disk drive and its carrier completely into the slot.
6 Close the lever and make sure that the disk drive cover is flush with the front panel.
6
HSP 108 Storage Disk Drive Replacement: NetBackup 5230, 5240 Appliances
 Loading...


