-11-
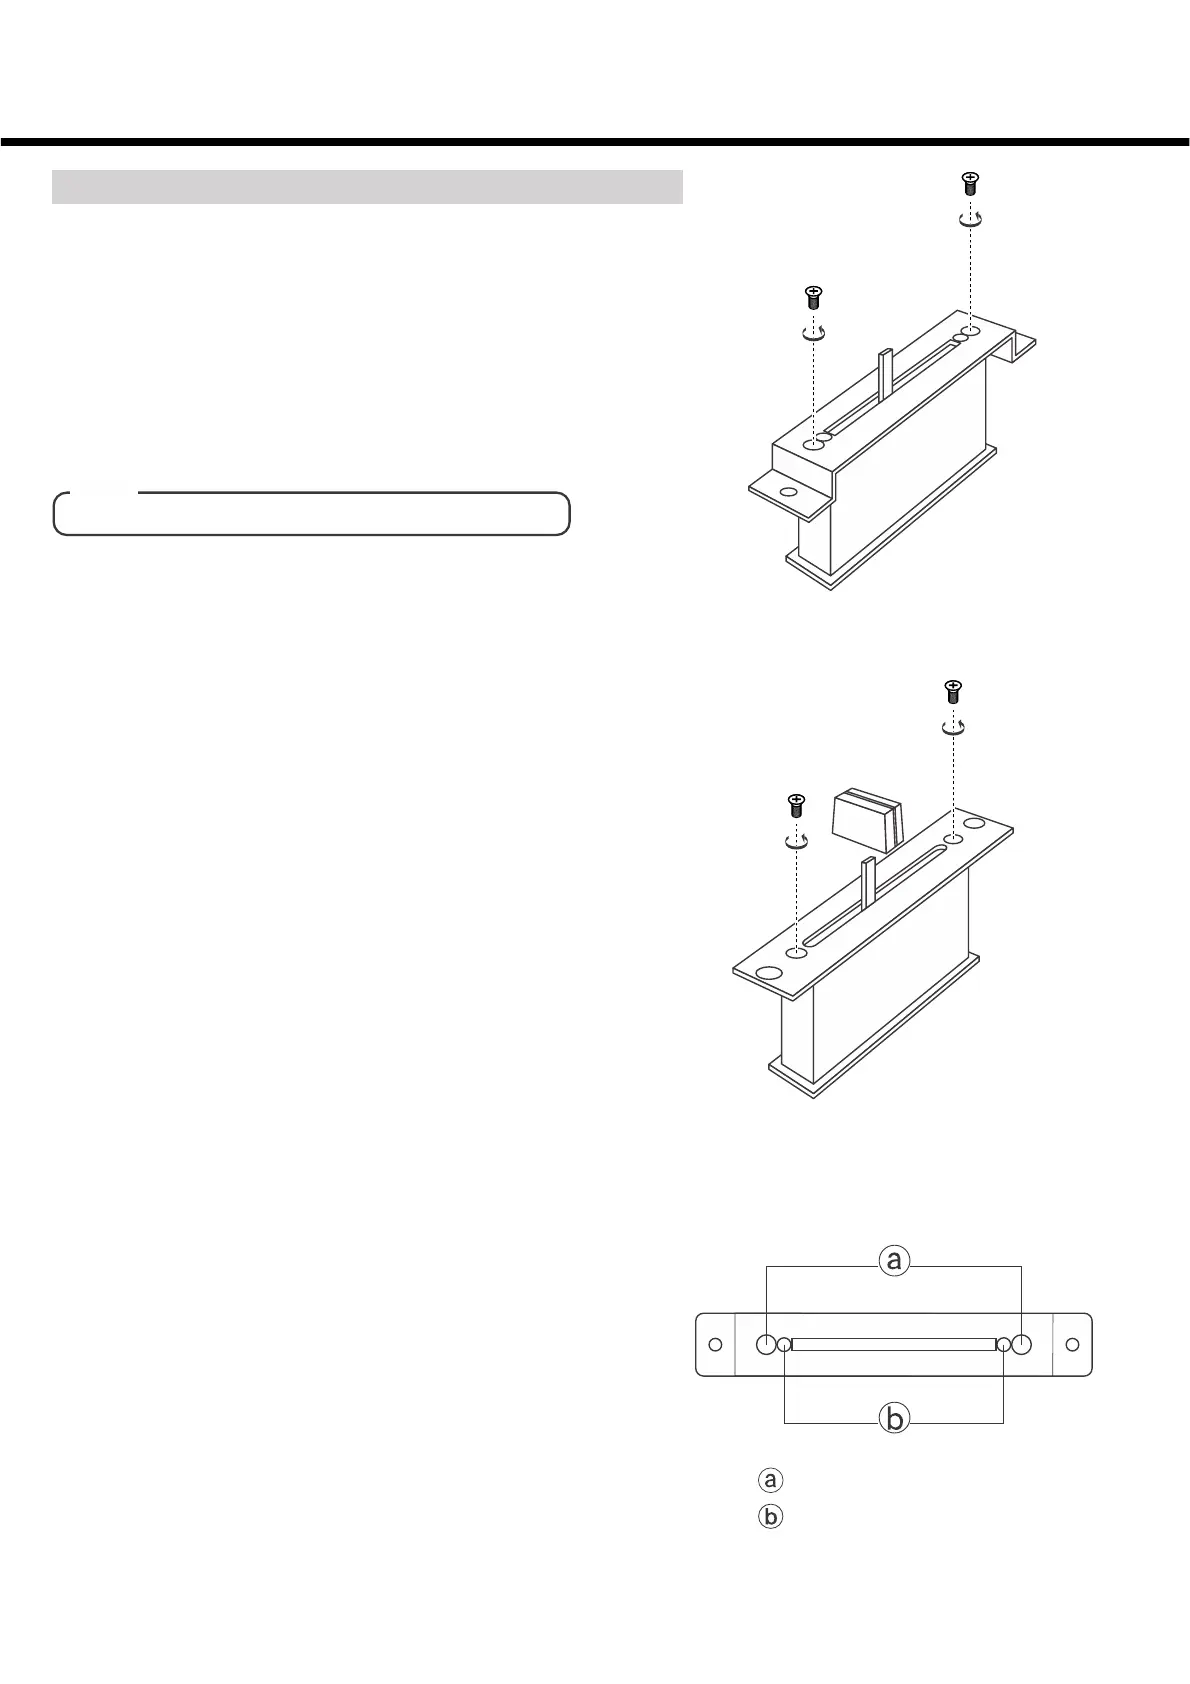
fig.e
fig.f
fig.g
:for "CF-PCV"
:for "CF-R"
■change to "CF-PCV"
①Remove the fader knobs. (see fig-a)
②Remove the bottom cover. (see fig-b)
③Remove the 2 screws which fix the crossfader unit, and
remove the fader unit from position in mixer. (see fig-c)
④Carefully remove the multi-cable connector from the
fader unit. (see fig-d)
⑤ Remove the screws which fix the crossfader volume.
(see fig-e)
⑥ Remove the knob and the panel of new a new fader unit
"CF-PCV". (refer to fig-f)
⑦Secure the CF-PCV without panel and knob using
original screws. Only 2 screws are used to secure the
CF-PCV. (see fig-g)
⑧Attach multi-cable connector to new fader unit.
⑨Position the fader unit carefully and secure with screws.
■change to "CF-R"
①Remove the objective crossfader in the same procedure
as above ①〜⑤.
②Remove the knob and the panel of a new fader unit "CF-
R". (see fig-f)
③Secure the CF-R without panel and knob using original
screws. Only 2 screws are used to secure the CF-R.
(see fig-g)
④Attach multi-cable connector to new fader unit.
⑤ Position the fader unit carefully and secure with screws.
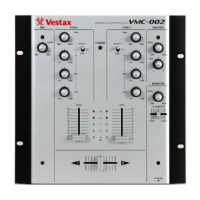
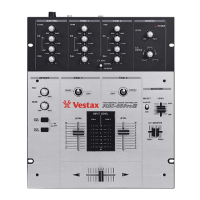
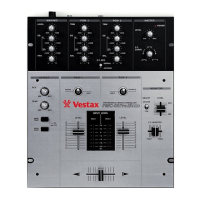
HOW TO CHANGE THE CROSS FADER UNIT
Note
Set switch to "PCV" position.
 Loading...