CUSHION
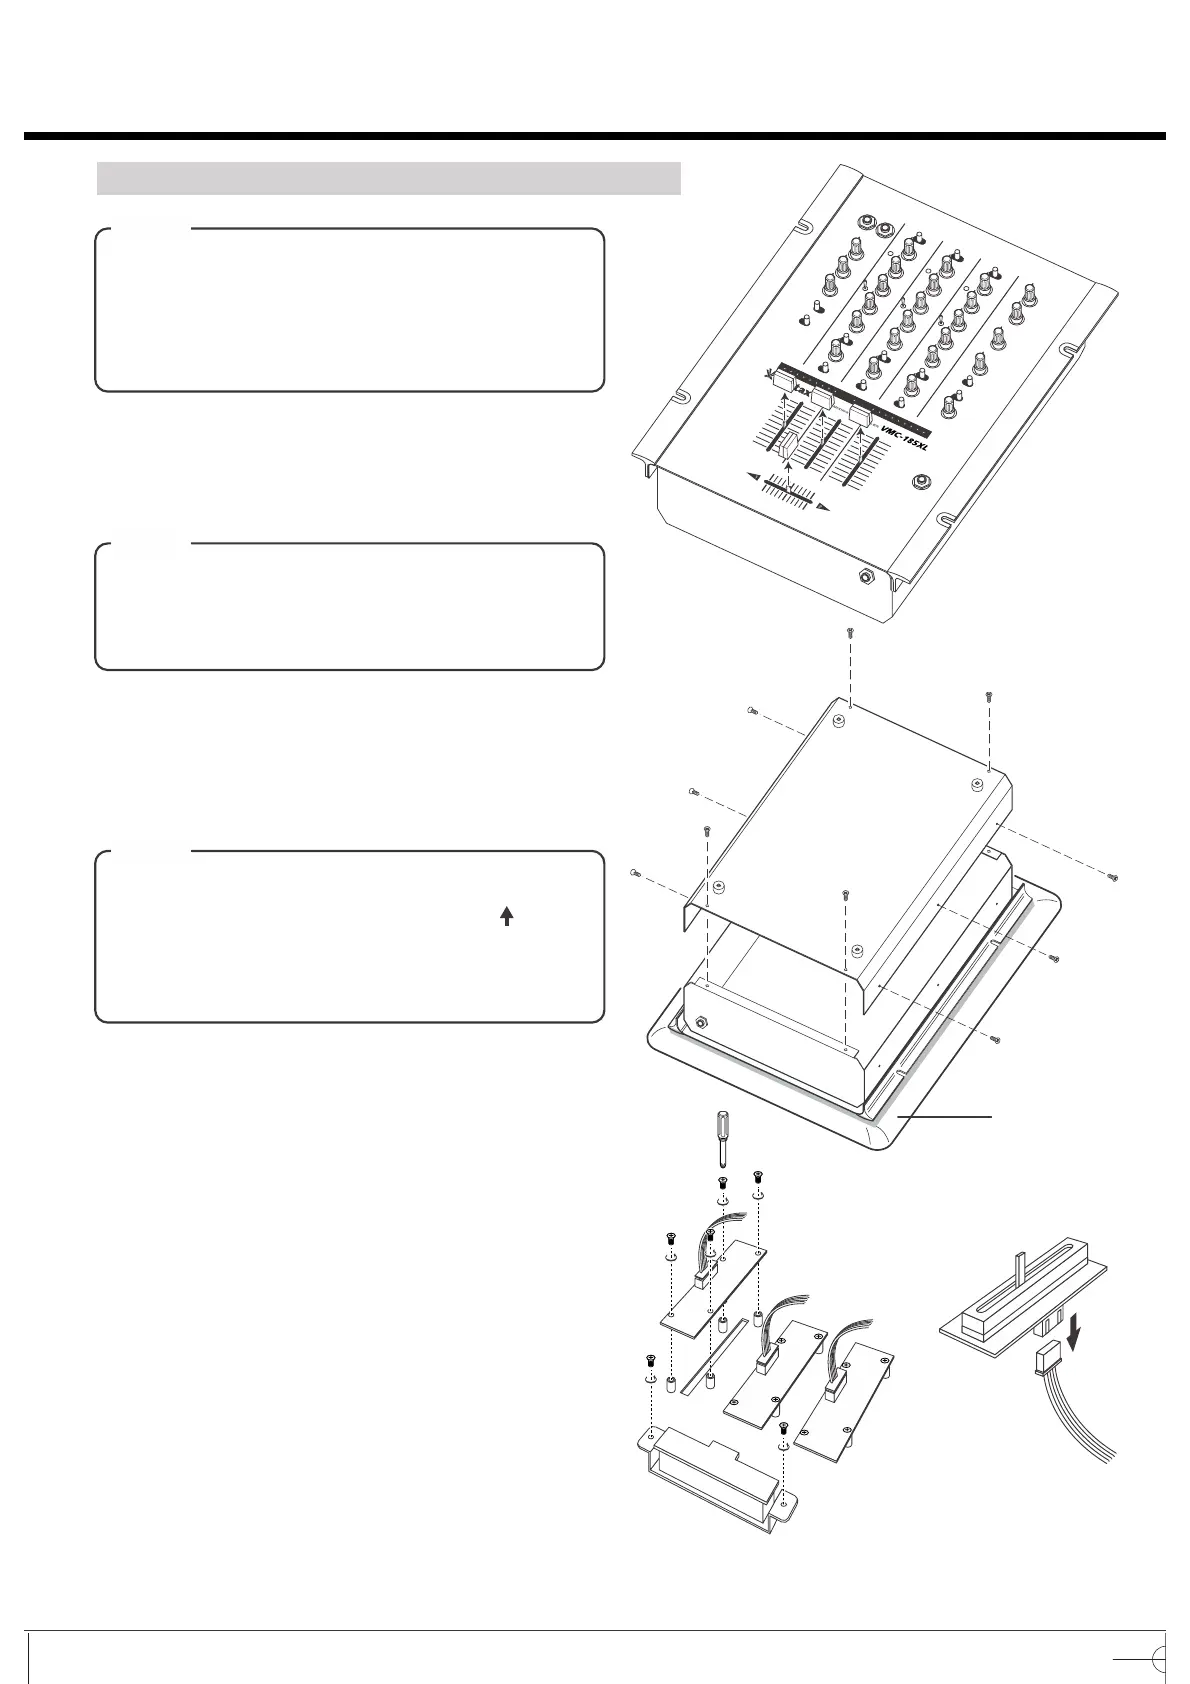
Notes
・Please match the size of the screwdriver to the
screw.
Using a wrong screwdriver may damage the
screw.
・DO NOT touch the PCB board that is set on the
rear of the cover.It may cause damage.
fig.a
fig.b
fig.d
fig.c
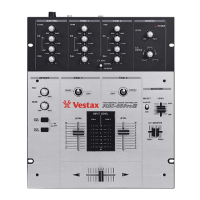
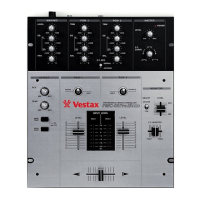
■change to "IF-180"
①Remove the fader knobs. (see fig-a)
②Remove the bottom cover. (see fig-b)
③Remove the 4 screws which fix the input fader unit, and
remove the fader unit from position in mixer. (see fig-c)
④Carefully remove the multi-cable connector from the
fader unit. (see fig-d)
⑤Attach multi-cable connector to new fader uni.
⑥Position the fader unit carefully and secure with screws.
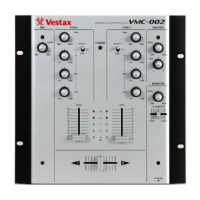
HOW TO CHANGE THE INPUT FADER UNIT
Notes
When the unit is placed upside down, the knobs
may be pushed down and damage the pot.
Please apply soft material (babble pack, etc.)
under the unit and mind not to give pressure to
the knobs
Notes
When reattaching or replacing an input fader
please ensure that the fader is connected
properly. When correctly attached the" "on the
input fader will be pointing towards the rear
panel and the label on the connector will match
up to that input fader.
IE:"PGM1" "PGM2" "SUB"
HOW TO CHANGE THE FADER UNIT
-10-
 Loading...