S
- 7 -
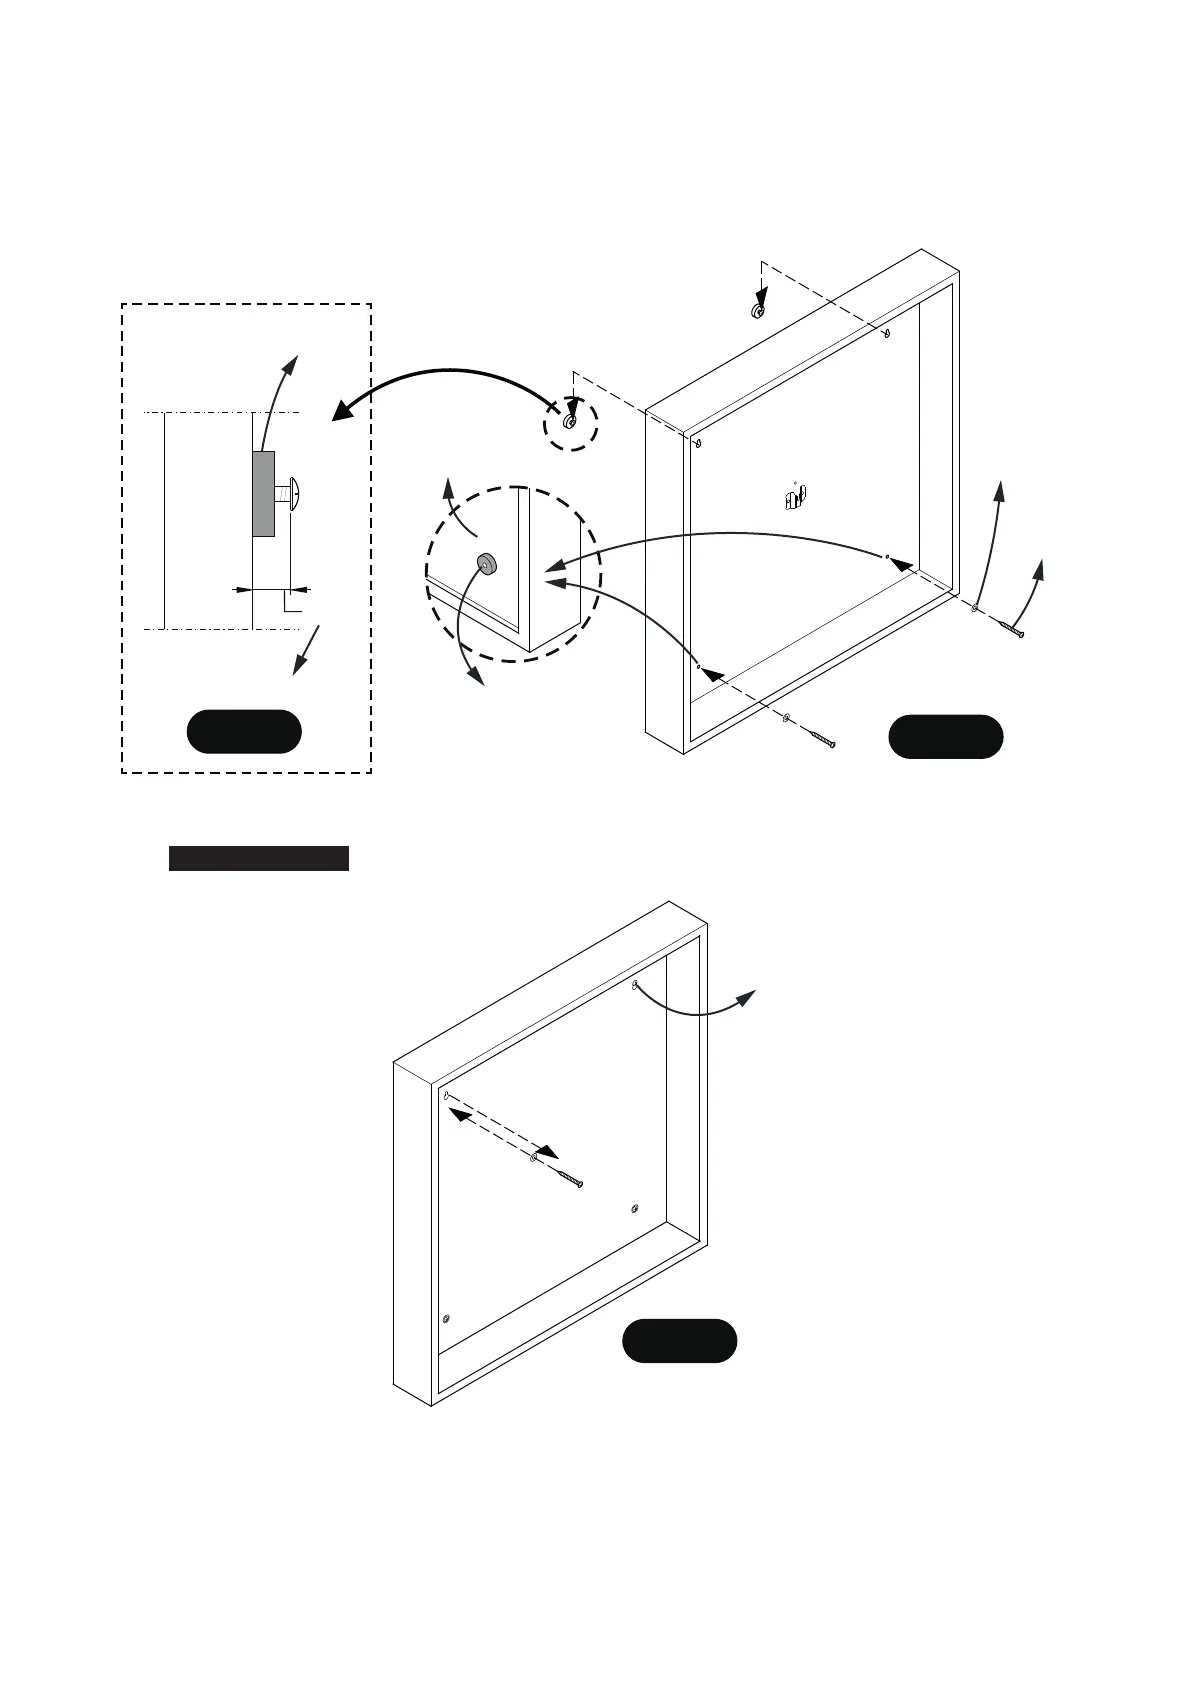
11. Now, install H8 screws into each drilled pilot hole leaving approx. 1/2” of the screw head exposed from the wall as per
Figure 2.2. (This will allow you to “Hang” the Dart Cabinet onto these two screws).
12. Carefully hang the dart cabinet onto these two hanging screws. Make sure the cabinet gently drops down into the “keyhole
slots” on the back of the cabinet. Snug Tighten screws. Snug only as these screws will be temporarily removed and
reinstalled momentarily. Please see Figure 2.3.
13. Now, using the drill and 1/16”drill bit carefully drill pilot holes, using the bottom two holes in the back lower part of the
cabinet as guides. Install 2 pcs H8 Wall Mounting Screws with H9 Washers and tighten, do not strip out the screws.
See Figure 2.3.
*NOTE: Cabinet doors not shown for clarity.
Figure 2.3
H8
H8
H9
H9
1/2”
1/2” gap
Wall
H10
H8
Figure 2.2
15. Next, and only one at a time , remove the top H8 screws, install a H9 Flat Washer onto the screw, reinstall and tighten.
Do not strip out the screws. See Figure 2.4.
1. Remove H8
2. Add H9 Flat Washer and reinstall
Do the same for this screw,
remove H8 Screw, add
H9 Flat Washer & reinstall
Figure 2.4
*NOTE: Cabinet doors not shown for clarity.
H8
H9
H10 EVA pad
(factory pre-installed)
onto back of cabinet
2 lower holes
Backboard
Flat Washer
Screw

 Loading...