10
SETUP PROCEDURE
When the water softener is plugged in for the first time,
a beep sounds and the display briefly shows model
information. Next, a series of “wizard” screens prompts
you to enter basic operating information:
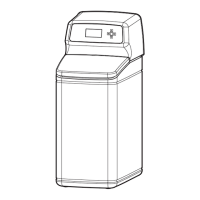
FIG. 19
1. LANGUAGE If the desired language already has a
black dot next to it (See Figure 19), go to Step 2.
Otherwise, press the softener’s DOWN q or UP p
buttons to scroll to the desired language, then press
the OK / MENU button to choose it.
2. Press the OK / MENU button to advance to the next
“wizard” screen.
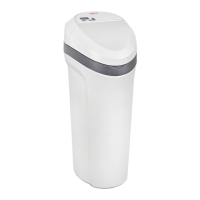
FIG. 20
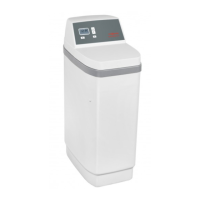
FIG. 21
FIG. 22
FIG. 23
Run softener
Redo setup
Setup complete!
FIG. 24
6. Press the OK / MENU button.
7. SALT LEVEL Press the UP p or DOWN q buttons
to set the salt level (See Figure 22). It should match
the lowest number visible on the brinewell above the
salt.
8. Press the OK / MENU button.
9. IRON LEVEL Press the UP p or DOWN q buttons
to set the value for iron in your water (See Figure 23).
10. Press the OK / MENU button. The screen will show
“Setup complete!” (See Figure 24).
13. If, at this point, you want to go back and make
changes, press the DOWN q button to scroll to
Redo setup, then press the OK / MENU button
twice to repeat the “wizard” screens.
14. If no changes are desired, make sure Run softener
has a black dot next to it (See Figure 24) and press
the OK / MENU button. The unit begins normal
operation, described on the next page.
3. CURRENT TIME Press the DOWN q or UP p but-
tons to set the current time (See Figure 20). Hold
the button down to rapidly advance.
4. Press the OK / MENU button.
English
Español
Français
Language
NOTE: Do not increase the hardness setting to
compensate for iron in your water. The
electronic control compensates automatically
after you set the iron level in Step 9.
5. HARDNESS Press the UP p or DOWN q buttons to
set the value of your water’s hardness (See Figure 21).
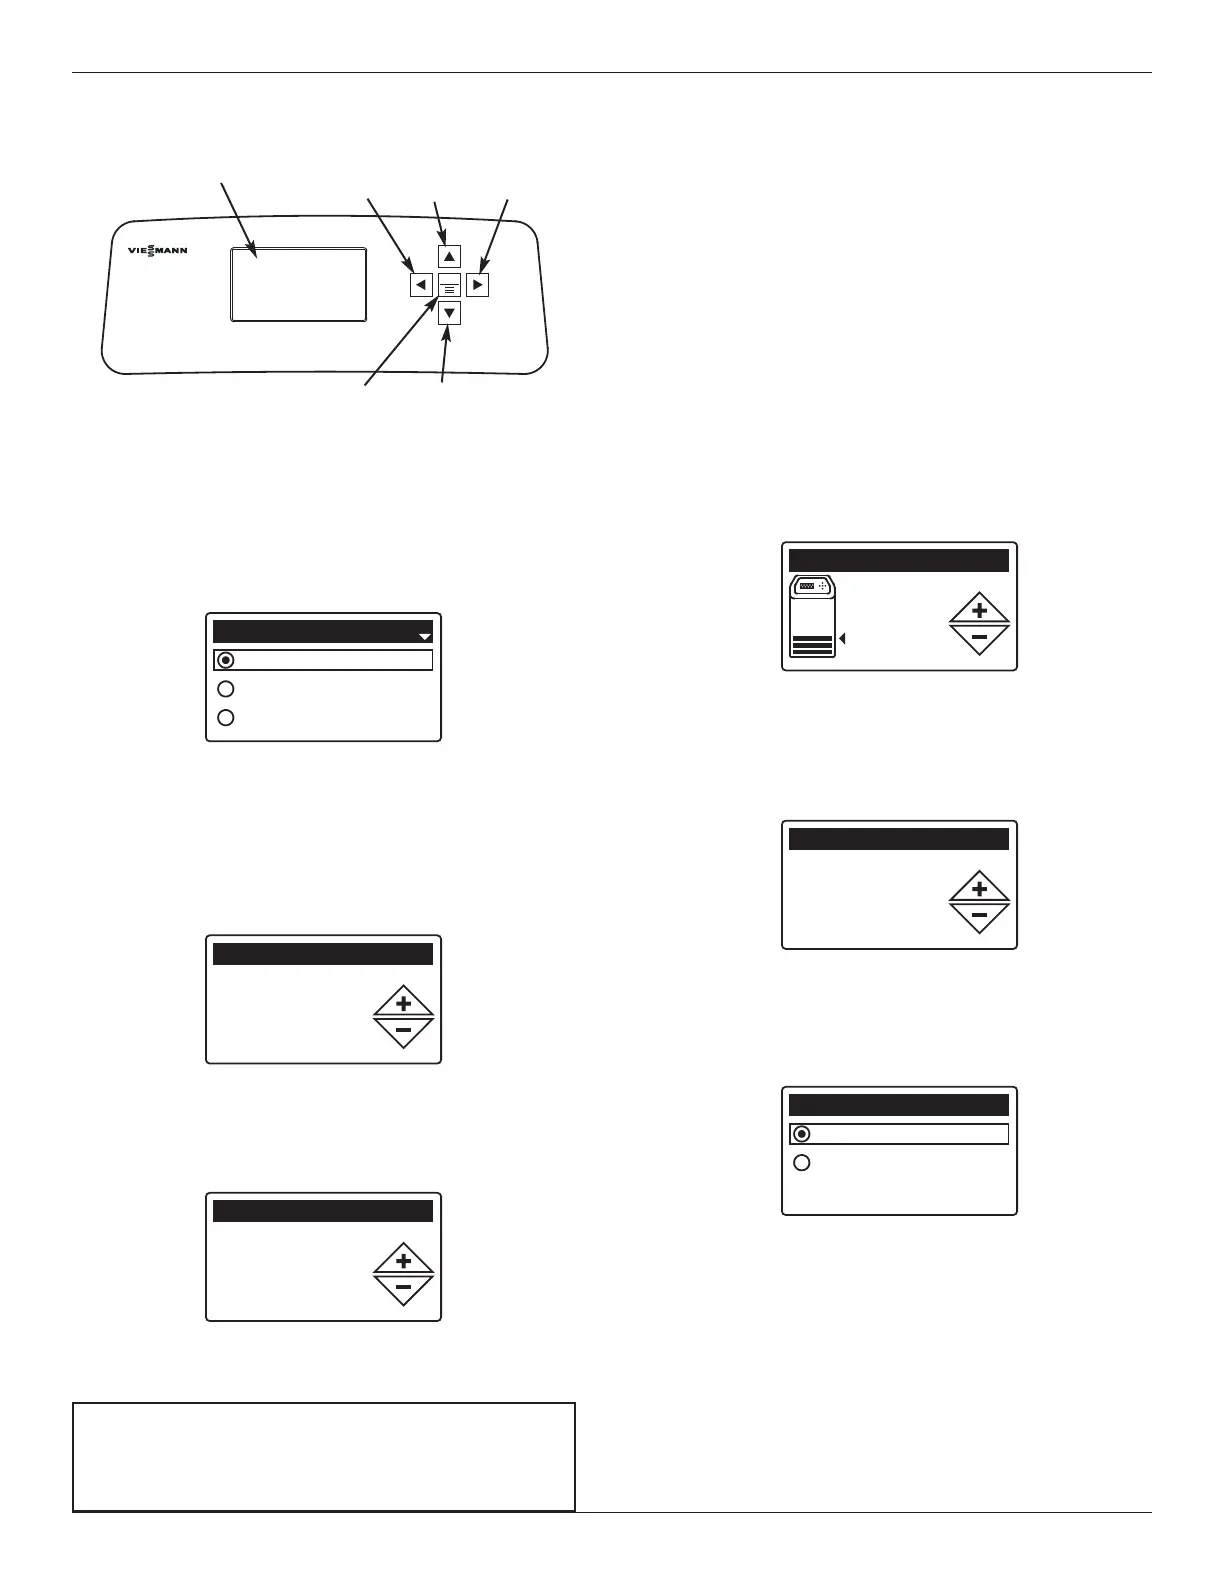
FIG. 18
Display
LEFT
Button
RIGHT
Button
UP
Button
DOWN
Button
OK / MENU
Button
Programming the Water Softener