12
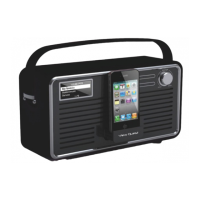
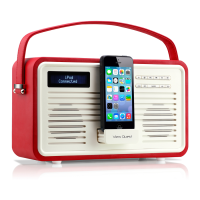
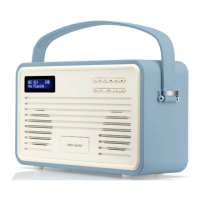
Using your Retro DAB+
Go through positioning, preparing and switching on, above if required.
If the clock is displayed, your Retro DAB+ is in standby mode. If so, press (1) to leave standby mode and
enter working mode.
You can now use the “Mode” button (7) to select the mode you want. How to use each mode is described
below.
DAB/DAB+
1. For best reception, make sure the aerial is fully extended vertically.
2. If the display shows the clock, press (1) to switch to working mode.
3. To switch to DAB/DAB+ press MODE (7) repeatedly until the display briey shows ‘Switch to DAB’.
a. First time use, or after Factory Reset: Your Retro DAB+ will automatically begin to quick scan for DAB/
DAB+ stations. A progress bar will show the progress of the scan, and multiplex information is shown.
Stations found will be automatically stored. The number of stations found will also be displayed at the
upper right corner of the display. The rst station available will be shown on the display and played
automatically. If no DAB/DAB+ signal is detected, “No Signal” will be displayed.
b. Subsequent use: Your last selected station will be displayed, tuned and played if possible.
The display will show the Station Name and ‘DAB’ on the top line, and the Programme Type, if available, on the
second line.
4. To switch between stored stations press (4) or (6).
5. To scan for stations:
a. Quick Scan: Press (2)
b. Full Scan: Press and hold (2)
A progress bar will show the progress of the scan with multiplex information below it. Stations
found will be
automatically stored. The number of stations found will be displayed in the upper right corner of the display.
6. To manually tune to DAB/DAB+ stations, press and hold (5) until ‘Manual tune’ is displayed. Now press
(4) or (6) to scroll through channel 5A-13F. Press (5) button to conrm the channel, then press
(4) or (6) to scroll through stations in this channel, and press (5) to play the selected station.
 Loading...