SCENARIOS REASON AND SOLUTION
9.5. “I only have a Key to access
my safe. I do not have PIN, nor
registered fingerprints. How do I
reset the safe?”
Unlock your safe with the Key. While your safe is in UNLOKCED
position, remove 1 battery and Press any button on the keypad. Put
back the battery. As soon as you put the battery back you will see the
Battery Indicator Icon on the screen. Press and Hold down the
Reset Button till you see --INIF—on the LCD screen. Your safe is
reset to Default, all data is erased, and you can set it up with NEW PIN
and register fingerprints.
If the safe starts beeping while you follow steps above, UNLOCK your
safe ELECTRONICALLY by using Registered Fingerprint or PIN and
LOCK with #.
9.6. “My safe is in UNLOCKED
position, but Key cannot be
removed, key does not rotate.”
“I unlocked my safe with Fingerprint
and try to lock it with Key, but the
key does not rotate.”
If you unlocked your safe Electronically (using Fingerprint or PIN) with
the key in the keyhole, the Key will not rotate. However, all electronic
functions are still available. LOCK your safe with # button and the key
will start working.
Remember: Use the Key OR ALTENATIVELY use Keypad/Fingerprint
access, but do not COMBINE the two access options.
9.7. “I unlocked the safe with the
Key and then pressed # button to
lock it, but the safe does not lock.
LCD screen shows Err. The key is
still in the keyhole.”
If you Unlocked your safe with the Key, you must use the Key to lock it,
because electronic functions will be disabled when Key is used. Lock
the safe with key, then proceed with UNLOCKING with Fingerprint or
PIN and LOCKING with #.
9.9. “How do I check if my safe
has power and what is the battery
level.”
To check if your safe has power, press any button and you will see
battery indicator icon on the LCD screen. If the LCD screen is
blank and no battery indicator is showing, your safe does not have
power. Check if the batteries are installed correctly and/or Change
batteries. The Battery indicator will also show the battery charge level.
www.vikingsecuritysafe.com | Help@VikingSecuritySafe.com
page 5/6
MOUNTING INSTRUCTIONS
TEST ALL FUNCTIONS OF YOUR SAFE. THEN BOLT IT DOWN TO A PERMANENT LOCATION.
Note: The safe may be mounted to a wall or floor. Be aware of the load
bearing. Failure to do so can result in personal injury and/or damage to
property. Use appropriate tools when performing work and always use eye
protection
• Wall Mounting
- Do not mount the safe without anchoring to the wall
- Find the studs in the wall, at your desired location. Most studs are
16 inches or 24 inches apart
- Check the wall for concealed wires or pipes
- Measure the location of the pre-set drill holes; mark their exact
position onto the wall ensuring that the studs or anything else behind
will not interfere
- Drill the appropriate size holes for the anchors you are using
- Carefully press the anchor into the holes at this time
- Mount the safe by running screws from inside of the safe and
securing to anchors; ensure the safe is mounted securely.
• Floor Mounting
- Use proper drill tools depending on the type of floor you are mounting the safe (wood, tile, or concrete)
- Measure the location of the pre-set drill holes; mark their exact position onto the floor
- Drill the appropriate size holes for the anchors you are using
- Carefully press the anchor into the holes at this time
- Mount the safe by running screws from inside of the safe and securing to anchors; ensure the safe is mounted
securely.
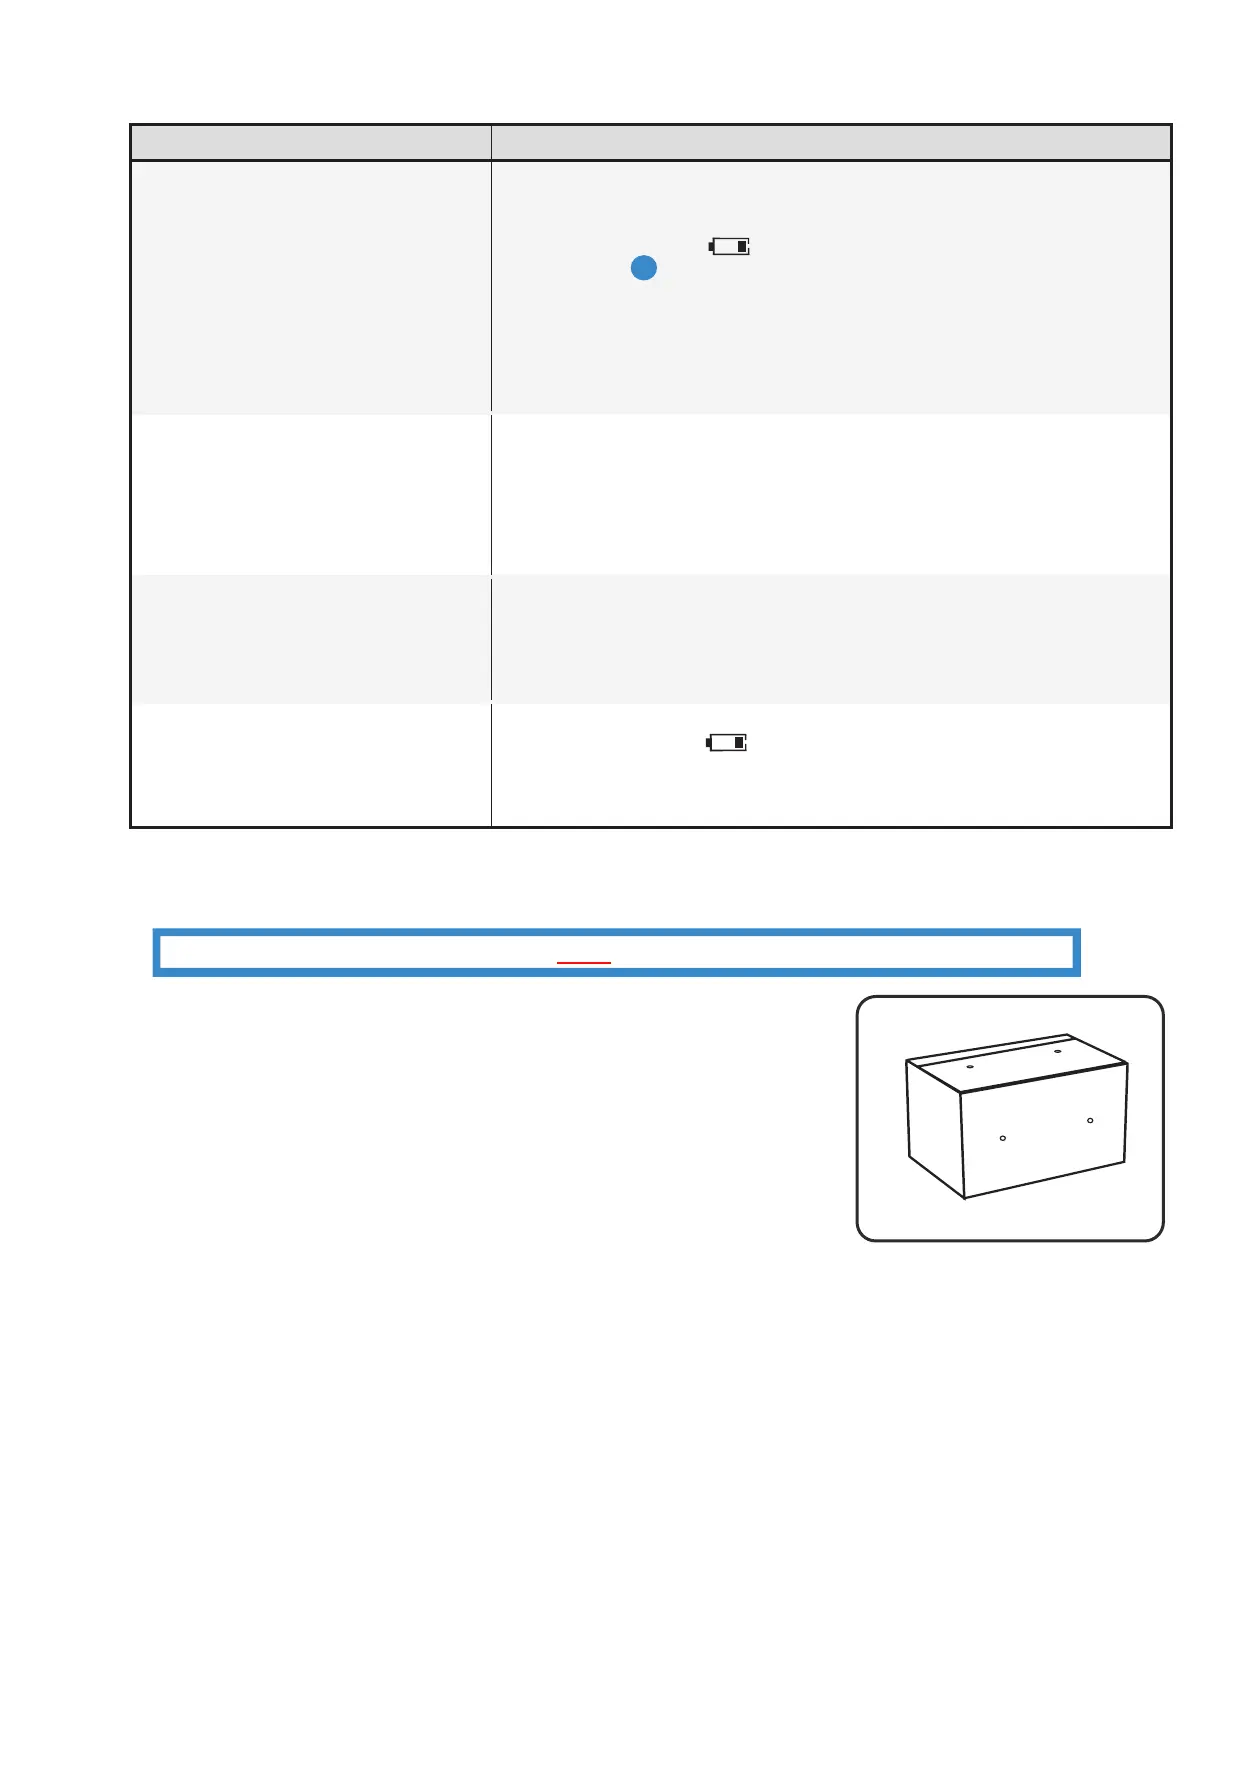
Mounting Holes
*Actual Model may vary
11-16-2021
A
 Loading...