29 - ENGLISH
- Press the button to confirm and pass on to set the tempera-
ture T2; the display will show the reference value blinking
- Using the
button, set the desired temperature T2.
- Press the
utton to confirm and pass on to set the temperature
T3; the display will show the reference value blinking.
- Using the
button, set the desired temperature T3.
- Press the
button to confirm; the display will show the icon
dIFF and the related hysteresis that blinks on 00.2°C.
- Using the
button, set the desired hysteresis.
- Press the
button to confirm and pass on to set the tempera-
ture scale; the display will show the current temperature with the
unit of measurement blinking (°C Celsius or °F Fahrenheit).
- Using the
button, set the desired unit of measurement (in Italy
they use °C).
- Press the
button to confirm and quit.
•Creatingtheautomaticprogram
With this procedure you can create the time program that, for each
day of the week, controls the room temperature (heating and air-
conditioning) according to the settings T1, T2 and T3.
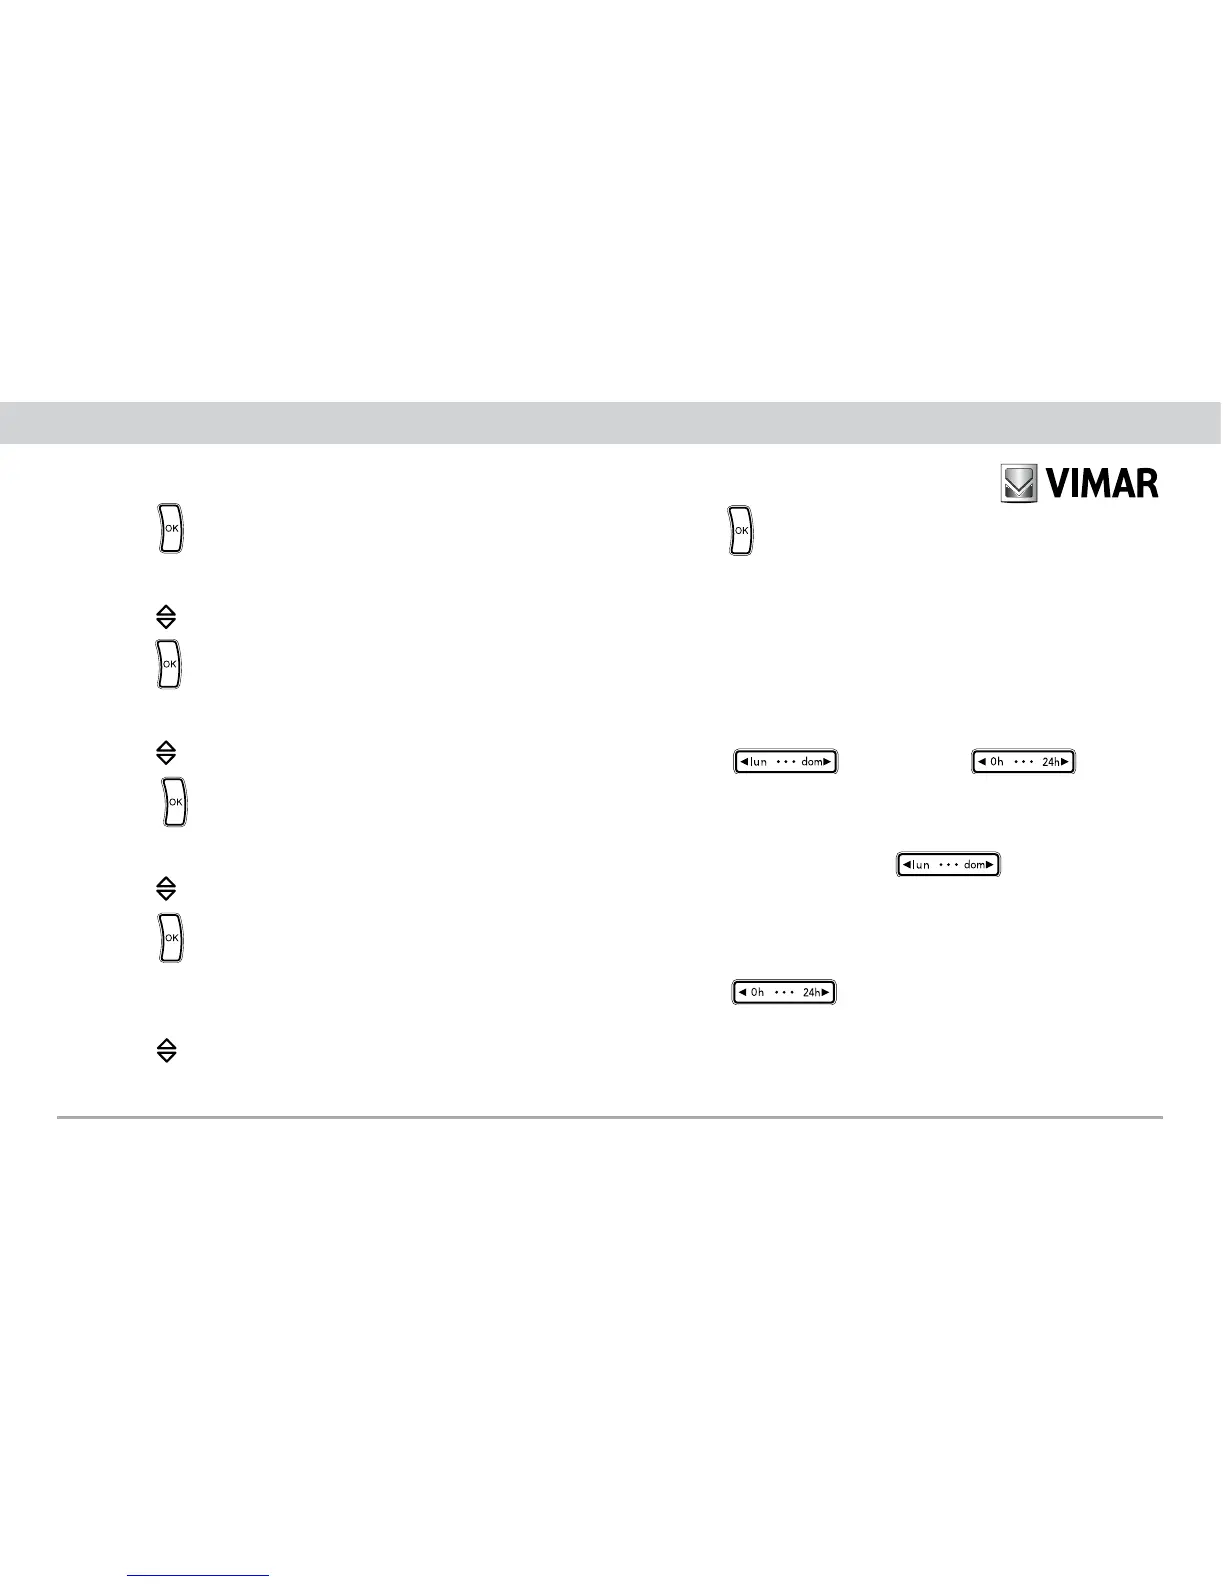
- Press the
button or the button to
enter the program creation menu; the display will show a blinking
arrow on the day of the week.
- Select the desired day with the
button.
When creating the program you are always recommended to
start from Monday.
- Using the
button, select the time; the display will
show 00:00 and alongside the set temperature level T1 or T2 or
T3.