21
EN
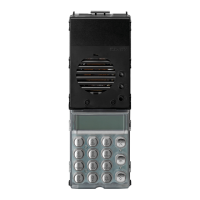
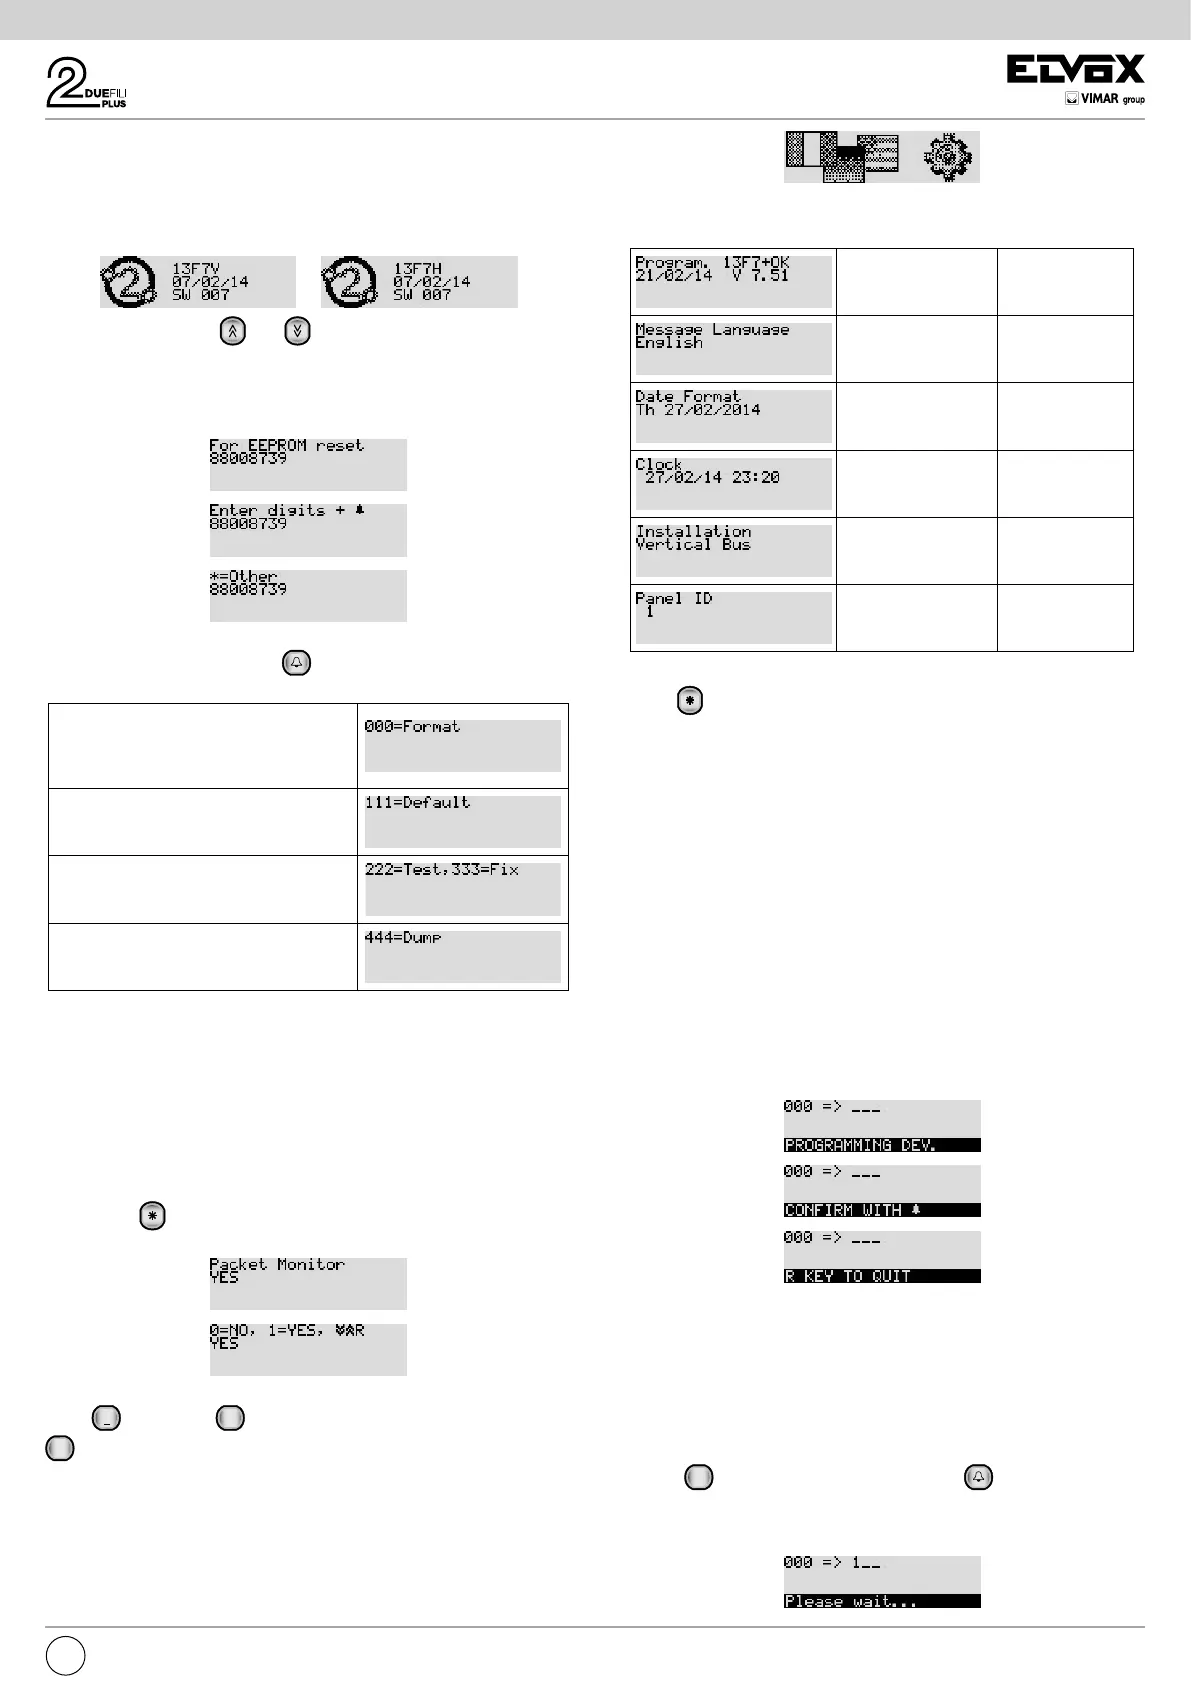
Switching on the electronic unit
Each time the electronic unit is switched on, the display shows the ani-
mation of the Due Fili Plus logo. To skip it, press any key on the numeric
keypad. At the end a picture shows the main FW version, release date
and whether it is working as a Vertical or Horizontal Installation (V and H
respectively).
You can now press the and buttons simultaneously to enter the
factory conguration initialization procedure. Keep them pressed until con-
rmation on the display.
Factory initialization procedures
The number on the second line will be different each time. Key in the num-
ber displayed and then press the
button. You can now:
Completely delete all the stored informa-
tion and then return the current congura-
tion to the factory default. This procedure
takes time.
Takes the current conguration to the fac-
tory default.
Checks the congruence of the internal
structures (Test) and corrects them if
there is any error (Fix).
Extracts the current conguration and
some of those after formatting. You need
special software for your PC.
Note: Except for 111, all these procedures are to be carried out only when
directed by Customer Service.
Note: The entire procedure for entering the 8 digits and selecting the func-
tion must be completed within 20 s of starting, with no timeout renewal.
After clearing the memory, the electronic unit restarts and reverts automat-
ically to at-rest status.
Other settings
Press button . The only current item is:
Enabling is essential in order to use the SW on PC SaveProg / EVCom.
Press
1
for YES and
0
+
for NO. To exit programming mode, press
R
.
Default: Yes
Switching on the rst time
When the electronic unit is turned on for the rst time, the rst conguration
procedure starts automatically which consists in the prompt to specify some
basic parameters. The procedure is highlighted by this picture:
You can now run a subset of the congurations of the electronic unit, those
that most determine the operating characteristics or that are necessary for
other reasons.
PARAMETER PARAGRAPH
Language 1.0
Date and Time
format
4.10
Date and time 5.0
Installation 1.2
Electronic unit ID 1.1
The first switch-on procedure ends due to timeout (30 s) or by explicitly exit-
ing with
. At the next restart it will no longer be automatically presented.
To invoke it again, press the RESET button and then keep the PRG button
pressed down until the first switch-on procedure is invoked.
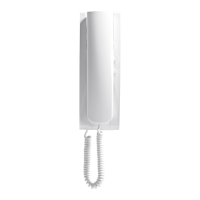
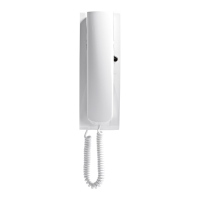
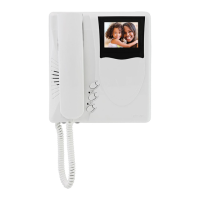
Indoor unit ID codes
An unambiguous ID code can be attributed to each indoor unit. The encod-
ing is performed by the MASTER electronic unit that may be the electronic
unit with ID = 1 in the case of Vertical installation or Horizontal installa-
tion that on a Vertical bus has been remapped in the corresponding 69RS
as the vertical Master. During this procedure the MASTER electronic unit
communicates with the appliance being configured, and if this is a video
entryphone appliance, the display will also light up.
Configuration procedure:
-
Enter the ID code number assignment procedure, as indicated in the instructions
for the indoor unit to be coded.
- When the indoor unit enters ID assignment, the display of the electronic
unit acting as Master shows the following message (the figure shows the
case of a Vertical Installation):
- There are two areas on the first line. The area on the left indicates the
current code of the device being programmed and the one on the right
indicates the code to be assigned to the device. If the value of the left-
hand area is composed only of 0 digits, the device currently has no code
allocated.
- Enter the code to be allocated to the appliance. The code can be made
up of 3 digits (1...200) for Vertical Installation or 5 digits for Horizontal
Installation.
-
You can correct the digits entered by continuing to type in others.
- Press
R
to cancel programming, or press to confirm the value
entered.
- On confirming the value, the electronic unit will check that the code has
not already been allocated to another device.
 Loading...