16
K40945 - K40946 - K40955 - K40956
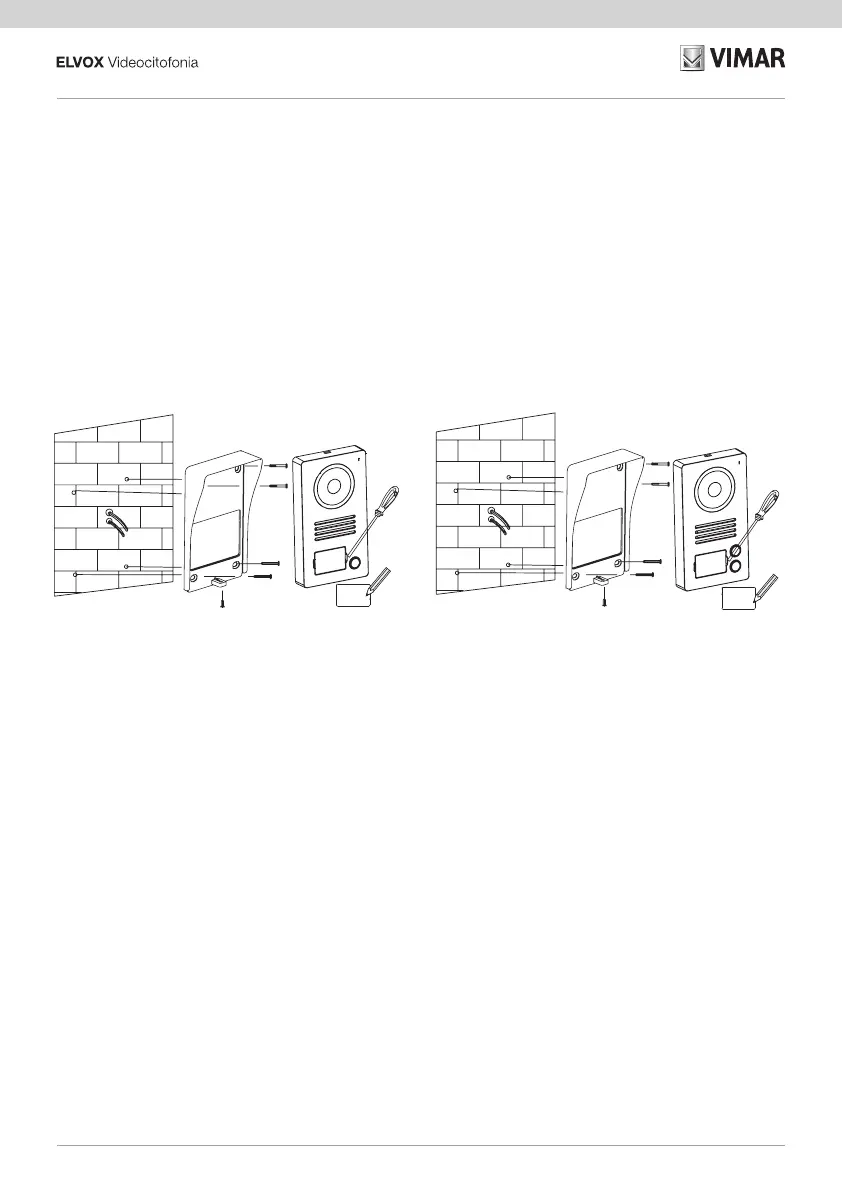
Installazione Targa esterna
Mr Smith
HB Pencil
Two family
Mr James
Mr Smith
HB Pencil
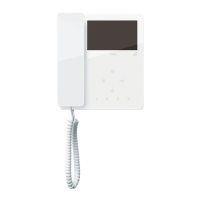
Single family
Monofamiliare
One-family
Un usager
Einfamilienhaus
Unifamiliar
Monofamiliar
Μία οικογένεια
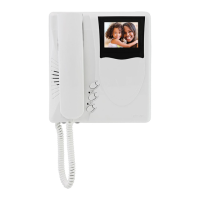
Bifamiliare
Two-family
Deux usagers
Zweifamilienhaus
Bifamiliar
Bifamiliar
Δύο οικογένειες
Installation de la plaque de
rue
Instalación de la placa
externa
Instalação da botoneira
externa
Installation des Klingeltab
-
leaus
Εγκατάσταση εξωτερικής
μπουτονιέρας
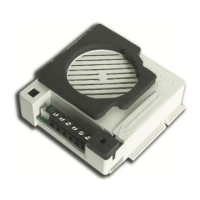
Entrance panel installation
- Installando il posto esterno si abbia
cura di impostare:
o ID della targa attraverso il jumper
10. L’impostazione di default at-
tribuisce al posto esterno ID=A0.
Nel caso si installasse anche il
posto esterno opzionale (ovvero
il secondo posto esterno) si dovrà
aver cura di attribuire al secondo
dispositivo un ID diverso dall’ID
del primo Posto Esterno: si imposti
dunque ID=A1 impostando il jum-
per nella seconda posizione.
o Congurazione del relè: scelta del-
la modalità NO o NC attraverso il
jumper 11. Nel caso si volesse uti-
lizzare il relè attraverso i terminali
(com; NO/NC) si potrà congurare
il relè in logica NO/NC attraverso il
jumper 11.
Nota: Nell'installare la targa esterna si
abbia cura di non sigillare la parte infe-
riore.
- When installing the speech unit, make
sure that you set:
o Entrance panel ID by means of
jumper 10. The default setting for
the entrance panel ID=A0. If also
installing the optional speech unit
(i.e. the second speech unit), the
second device must be assigned
a dierent ID to that of the rst
speech unit. Therefore, set ID = A1
by setting the jumper to the second
position.
o Relay conguration: select NO or
NC mode by means of jumper 11.
If you do not wish to use the relay
through the terminals (com; NO/
NC). you can set the relay to NO/
NC logic by means of jumper 11.
Note: When installing the entrance panel
take care not to seal the bottom part.
- Installer le poste extérieur en ayant
soin de dénir :
o ID de la plaque à travers le jumper
10. Par défaut, l'ID du poste exté-
rieur est ID=A0. En cas d'installa-
tion d'un poste extérieur en option
(deuxième poste extérieur), attri-
buer au deuxième dispositif un ID
diérent de l'ID du premier poste
extérieur : dénir ID=A1 en réglant
le jumper sur la deuxième position.
o Conguration du relais : choix de
la modalité NO ou NF à travers le
jumper 11. Pour utiliser le relais à
travers les cosses (com ; NO/NF),
congurer le relais selon la logique
NO/NF à travers le jumper 11.
Remarque : Ne pas fermer hermétique-
ment la partie inférieure lors de l’installa-
tion de la platine.