32
EN
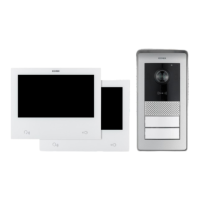
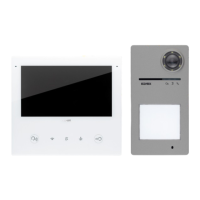
K40945 - K40946 - K40955 - K40956
Remote operation functions
conguration:
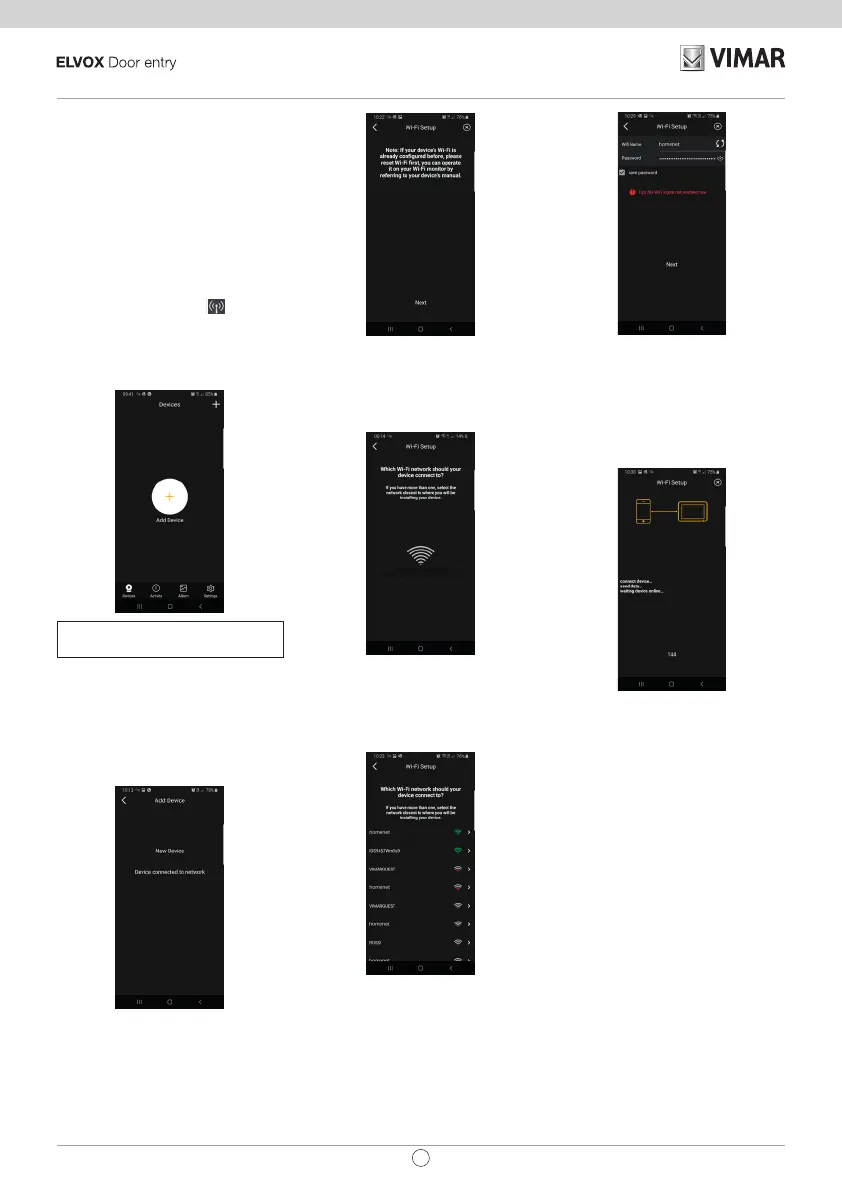
The connection of the monitor to the Wi-Fi
network can only be congured using the
“VIEW Door” App available in the store.
Follow the steps set out below:
1)
Make sure the Wi-Fi module (a) is ena-
bled
2)
During initial conguration, make sure
the video entryphone is in AP mode, in
other words the icon AP
appears in
(c). If the monitor is not in AP mode, reset
the conguration of the Wi-Fi module (g).
3)
Enable the App, which displays the
monitor-app conguration screen:
Tap once on “+” to connect the monitor to
the App.
4)
Select “New Device” if the monitor has
not yet been connected to a Wi-Fi net-
work.
If the monitor has already been con
-
nected to a Wi-Fi network, then select
“Device connected to network” (Device
connected to the network)
5)
Once you have selected “New Device”,
the App will prompt you to scan the
QR code (d) of the monitor you wish to
congure. Once the QR code has been
scanned, the App will remind you that
the monitor needs to be in AP mode, as
shown in the gure below:
6)
At this stage, the App will start the search
for all available Wi-Fi networks.
7)
Should the app fail to detect Wi-Fi net-
works immediately, the following screen
will appear:
If this is the case, update the scree by
swiping down on the smartphone screen.
Continue to update the screen (with a
swipe) until the list of available Wi-Fi
networks appears, as shown below:
8)
The App prompts you to select which
network you wish to use.
We recommend you link up to the Wi-Fi
network with the strongest signal.
Once you have selected the network,
the App will prompt you to enter the
password for the chosen Wi-Fi network.
Note that only Wi-Fi networks with a fre-
quency of 2.4GHz should be considered.
Enter the access credentials for the Wi-Fi
network and proceed by tapping once on
next
9)
The App will proceed and connect the
smartphone to the monitor, via the cloud
10)
Once the connection is complete, the
monitor home page will show the follow-
ing as enabled:
-
The Wi-Fi connection (and related
signal strength)
-
The connection to the Cloud
11)
The page relating to the Wi-Fi settings,
showing in c) the name of the Wi-Fi net
-
work (SSID) and the Wi-Fi signal strength
12)
the App will prompt the following screen:
you will be able to name the connection
you have just congured.
Once you have chosen the name, pro
-
ceed by tapping once on “Save”.