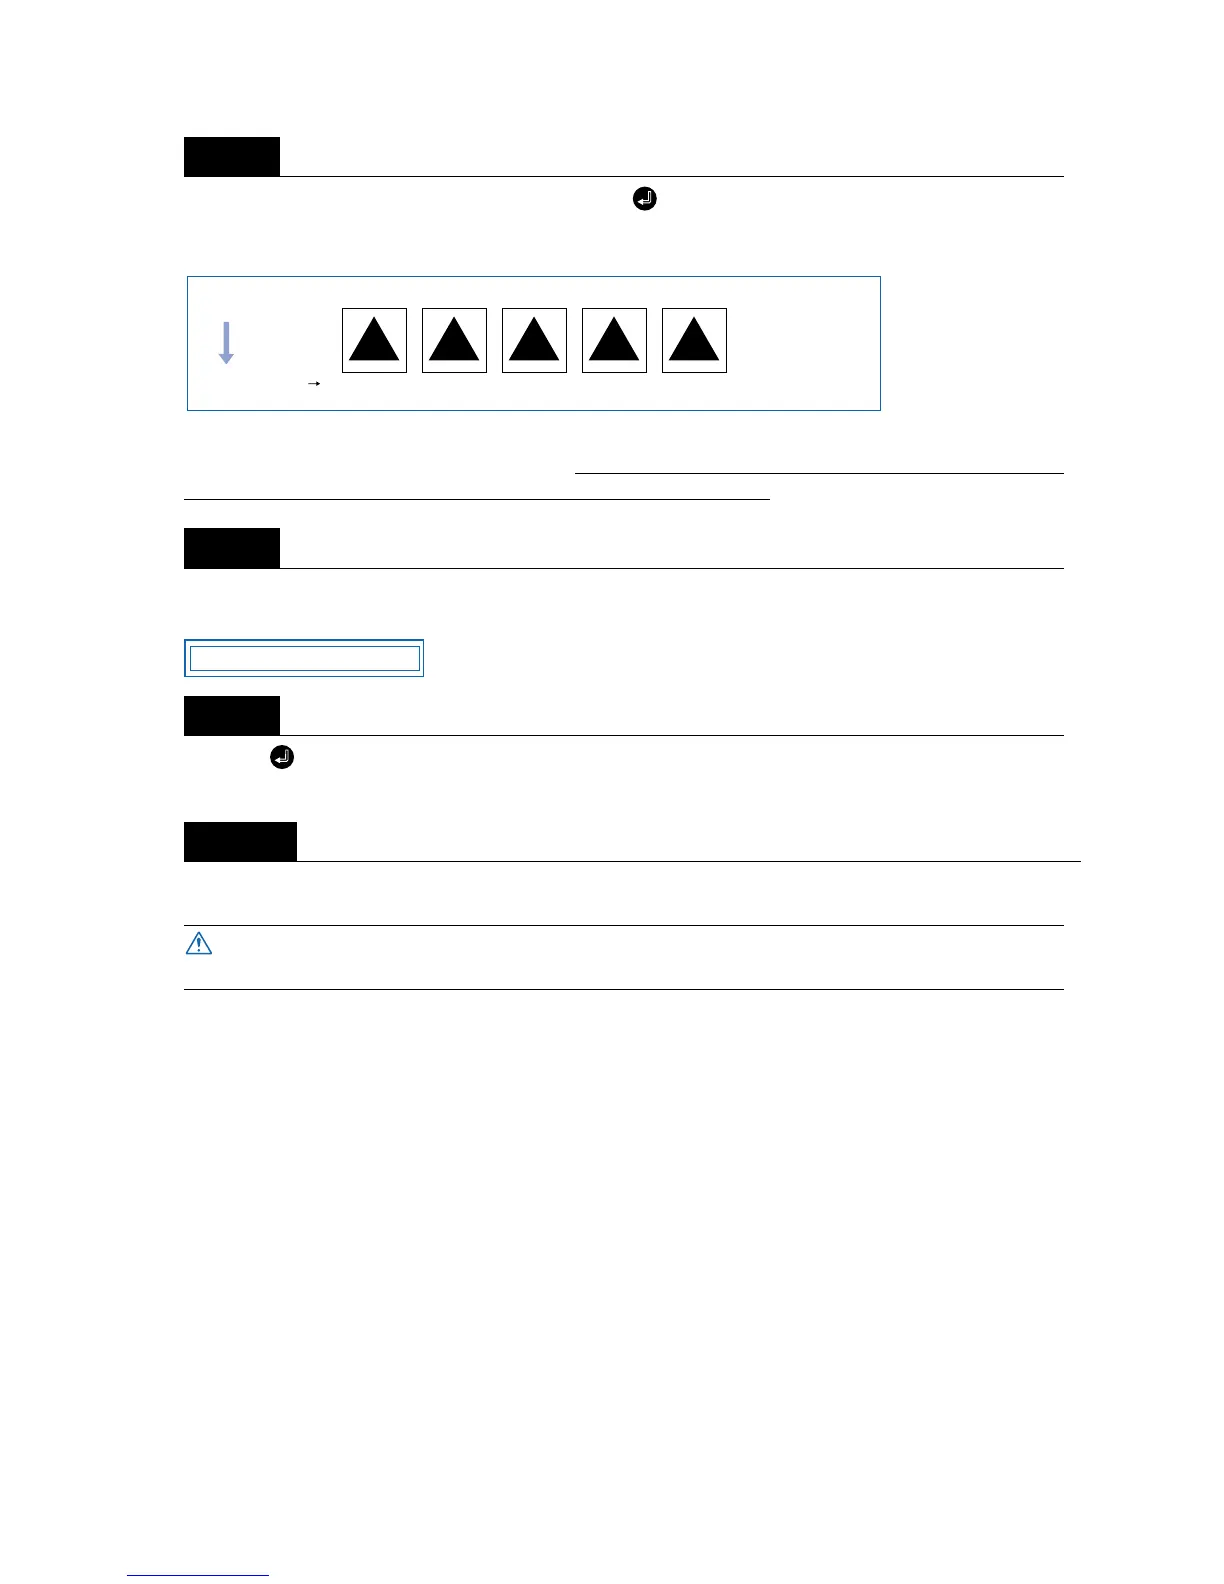
4 – 45
With the menu shown in Step 5 displayed, press the (ENTER) key to start test cutting. Five test cuts
will be performed in the range from “-2” to “+2”, with the current FORCE as “0.” Test cutting will be per-
formed from the current pen position.
Adjust the OFFSET value to suit the type and thickness of the film being used, and finely adjust the finish
of each corner. For the FORCE value setting, make your selection from the five test cuts. In test cutting,
adjust the blade length so that the backing sheet is only slightly scored.
When test cutting has been completed, the pen carriage moves to the standby position and the following
menu is displayed.
Press the (ENTER) key to return the pen carriage to its previous position and to switch the cutting plot-
ter to READY mode.
Upon completion of fine adjustment, send actual cutting data to the cutting plotter for cutting.
Step
7
Step
8
Step
9
Step
10
The pen carriage begins moving as soon as this function is set. Keep your hands and
other objects away from the cutting plotter’s moving parts.
210-1-2FORCE
Medium feed direciton
PRESS ENTER KEY