4 – 44
■ Cutting Force Test Cutting
The cutting force can be changed in one-step increments from its current setting (in the range -2 to +2) to
enable five test cuts to be performed. Test cutting can be performed after selecting the TOOL (cutter blade)
and specifying the cutter-blade length, OFFSET, FORCE, SPEED, and QUALITY settings to ensure that
the selected cutting conditions actually produce the desired cutting results. Check how far the blade cuts
into the film and how the corners are being cut. If the cutting results are not satisfactory, reset the cutter-
pen conditions and repeat the test cutting until the optimal settings are achieved. Test cutting will be carried
out according to the conditions currently set for the cutter-pen.
Mount a cutter pen in the pen carriage, and specify cutting conditions suitable for the mounted cutter pen
(see “3.3 Setting the Cutter-Pen Conditions.”)
Load a sheet of film for cutting.
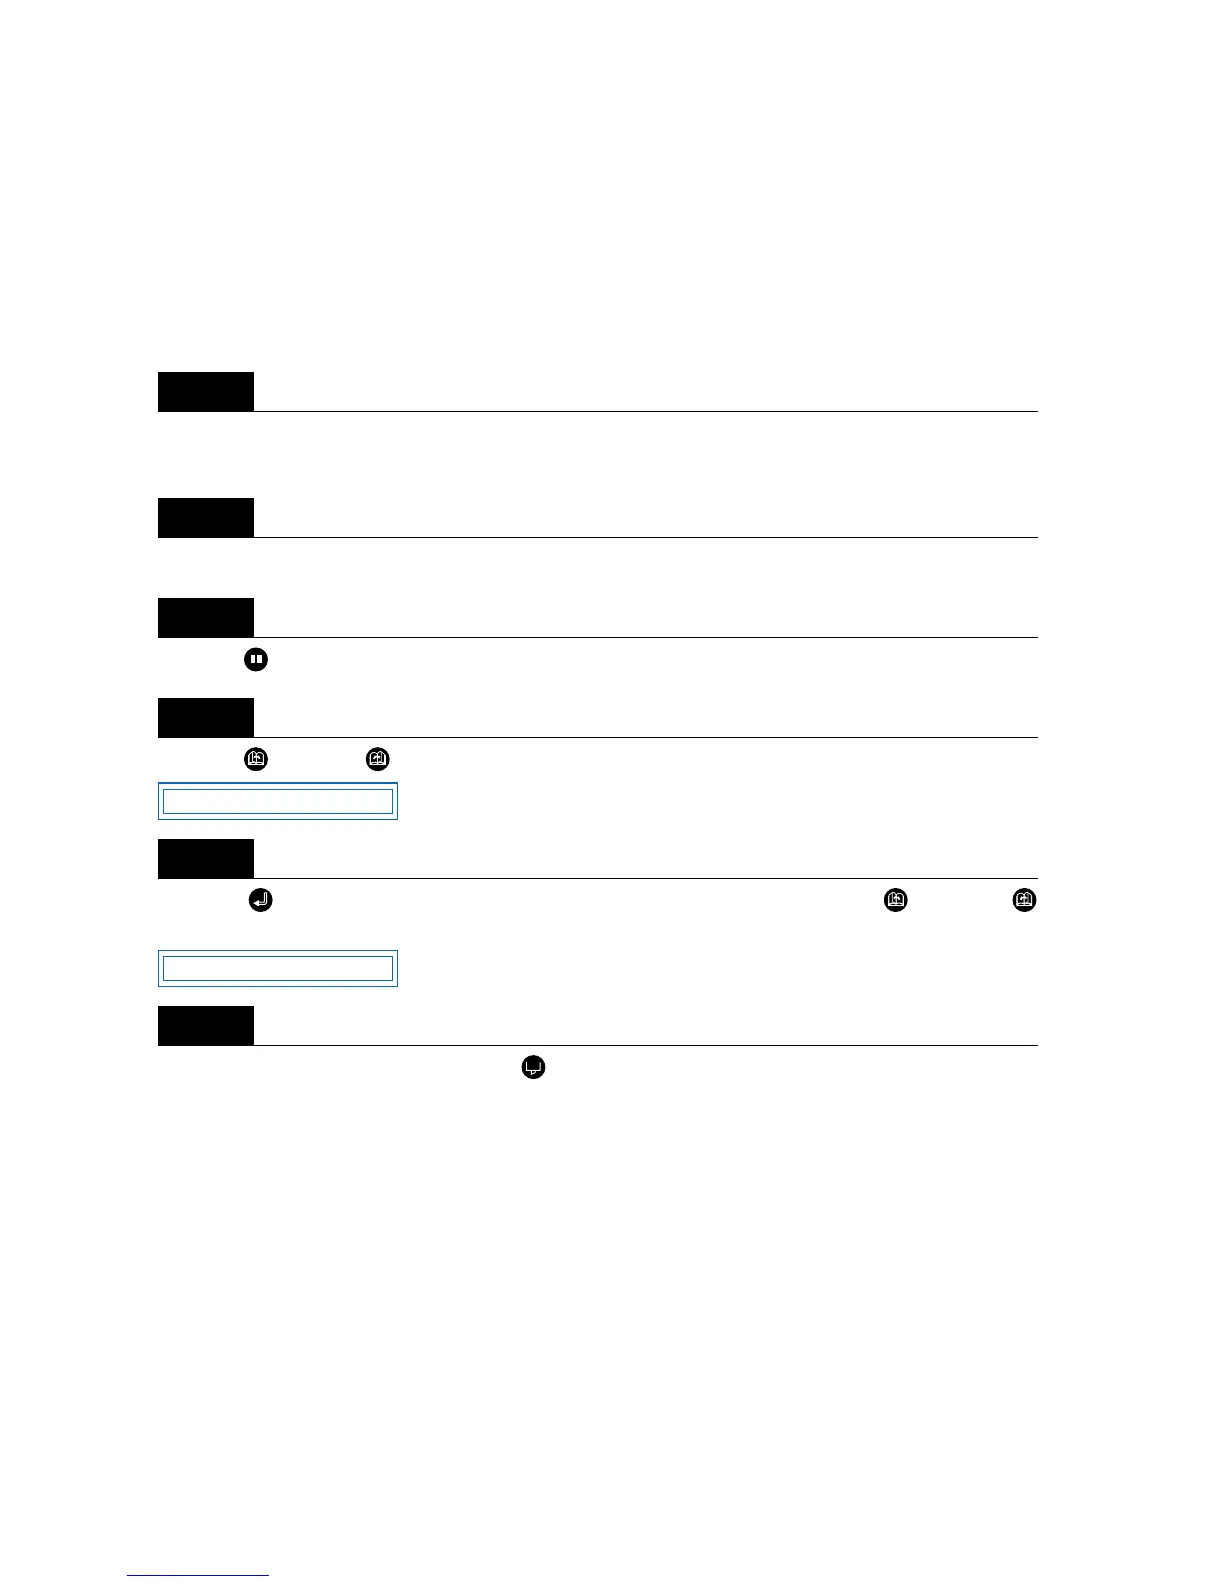
Press the (PAUSE) key to switch to PAUSE mode.
Press the (NEXT) or (PREV.) key until the following menu is displayed.
Press the (ENTER) key to display the Test Mode submenu, and then press the (NEXT) or
(PREV.) key until the following menu is displayed.
To change the cutting conditions, press the (COND.) key to display the conditions setting menu. When
you exit the conditions setting menu, the display returns to the menu shown in Step 5. For more informa-
tion on the conditions setting menu, see “3.3 Setting the Cutter-Pen Conditions.”
Step
1
Step
2
Step
3
Step
4
Step
5
Step
6
TEST MODE
PRESS TEST CUT