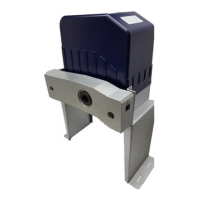
Residential Sliding Gate
Operator
16
14. Position the Operator and Chain Box approximately one half inch (½”) from the Gate
as measured from the front of the Chain Box to the gate, see Figure 1.
15. Install the four bolts securing the Opener to the Base, and tighten with wrench.
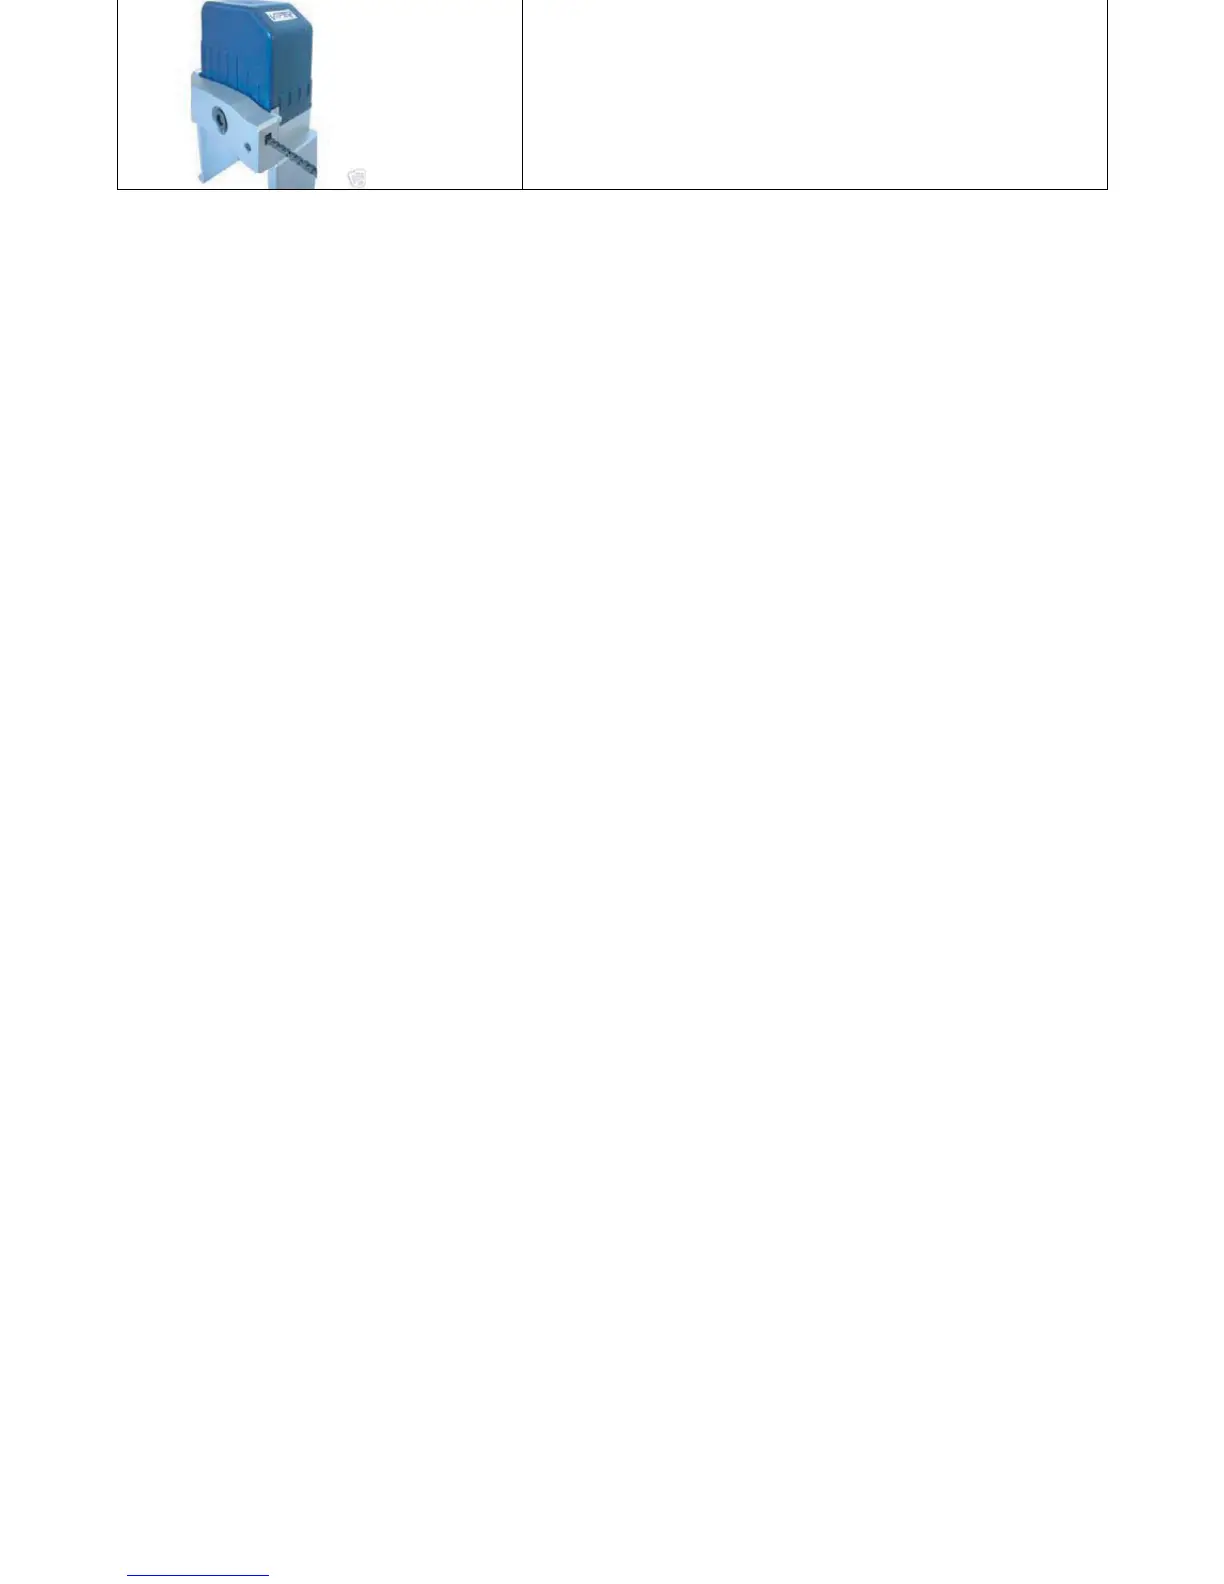
16. Install the two Chain bolts, U-bolt clamps and brackets to the gate as illustrated in
Figures 1 & 4. One is installed on the right side of the Gate, the other on the left side,
preferable on the outer gate frame. They should be positioned at the same height as
the chain that exits the Chain Box.
17. For the next steps, be sure the gate is in the closed position.
18. Connect the 20 Foot chain to the short chain that exits the Chain Box using the Chain
Master Link.
19. Stretch the chain along the ground to the front end of the gate (furthest from the Gate
Opener while the gate is closed.
20. Hold on to the short length of chain that exits the Chain Box near the rear end of the
Gate, and cut and remove the two wire ties that hold the chain inside the Chain Box.
Be sure to remove the Wire Tie debris.
21. Pull as much chain as needed to connect the chain to the Chain Bolt install on the rear
of the gate frame, and attach to the chain bolt using a Master Link (see Figure 1).
Note: Clutch is loose so you should be able to pull the chain through the Chain Box.
22. Stretch the chain to the front end of the gate U-Bolt and mark the chain link that will
be cut which allows enough slack for adjusting the tension of the Chain.
23. You will now have to remove the long length of chain at the Master Link at the short
chain near the Chain Box. This will facilitate in cutting the link at the proper place.
24. Cutting the Chain:
A. Place the long chain in a vice or clamp to a stable support at the link marked.
B. File off the rivet at the inner link, see picture below.
C. Using a punch, remove the link pin and discard the unused chain.