INSTALLATION
1. CONNECT INPUTS AND OUTPUTS Up to two pairs of loudspeakers can be connected. If
speaker cable provided is not long enough use unshielded speaker cable with gauge of
0.75mm or higher.
NOTE 1: The warranty will be void if you use shielded cable
NOTE 2: This is a low-impedance digital amplifier. Do not connect „100v line‟ speakers
(normally any speakers with “t” in their part code)
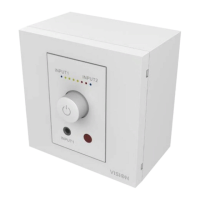
2. CONNECT POWER The amplifier will turn on when power is plugged in the first time.
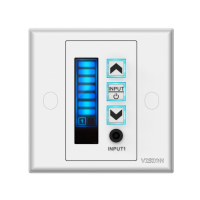
3. TURN POWER ON Then select input and adjust volume as required.
Should it become overloaded it will shut down to protect itself. Return operating conditions to
safe levels and restart amplifier.
MICROPHONE INPUT
1. The microphone input provides “Phantom Power” (24v) for condenser microphones such as
lectern or boundary (PZM) microphones.
NOTE: Ensure the microphone volume is turned down when connecting microphones.
2. The microphone volume can be adjusted independently of the line-level inputs.
3. Keep microphone away from loudspeakers to avoid feedback.