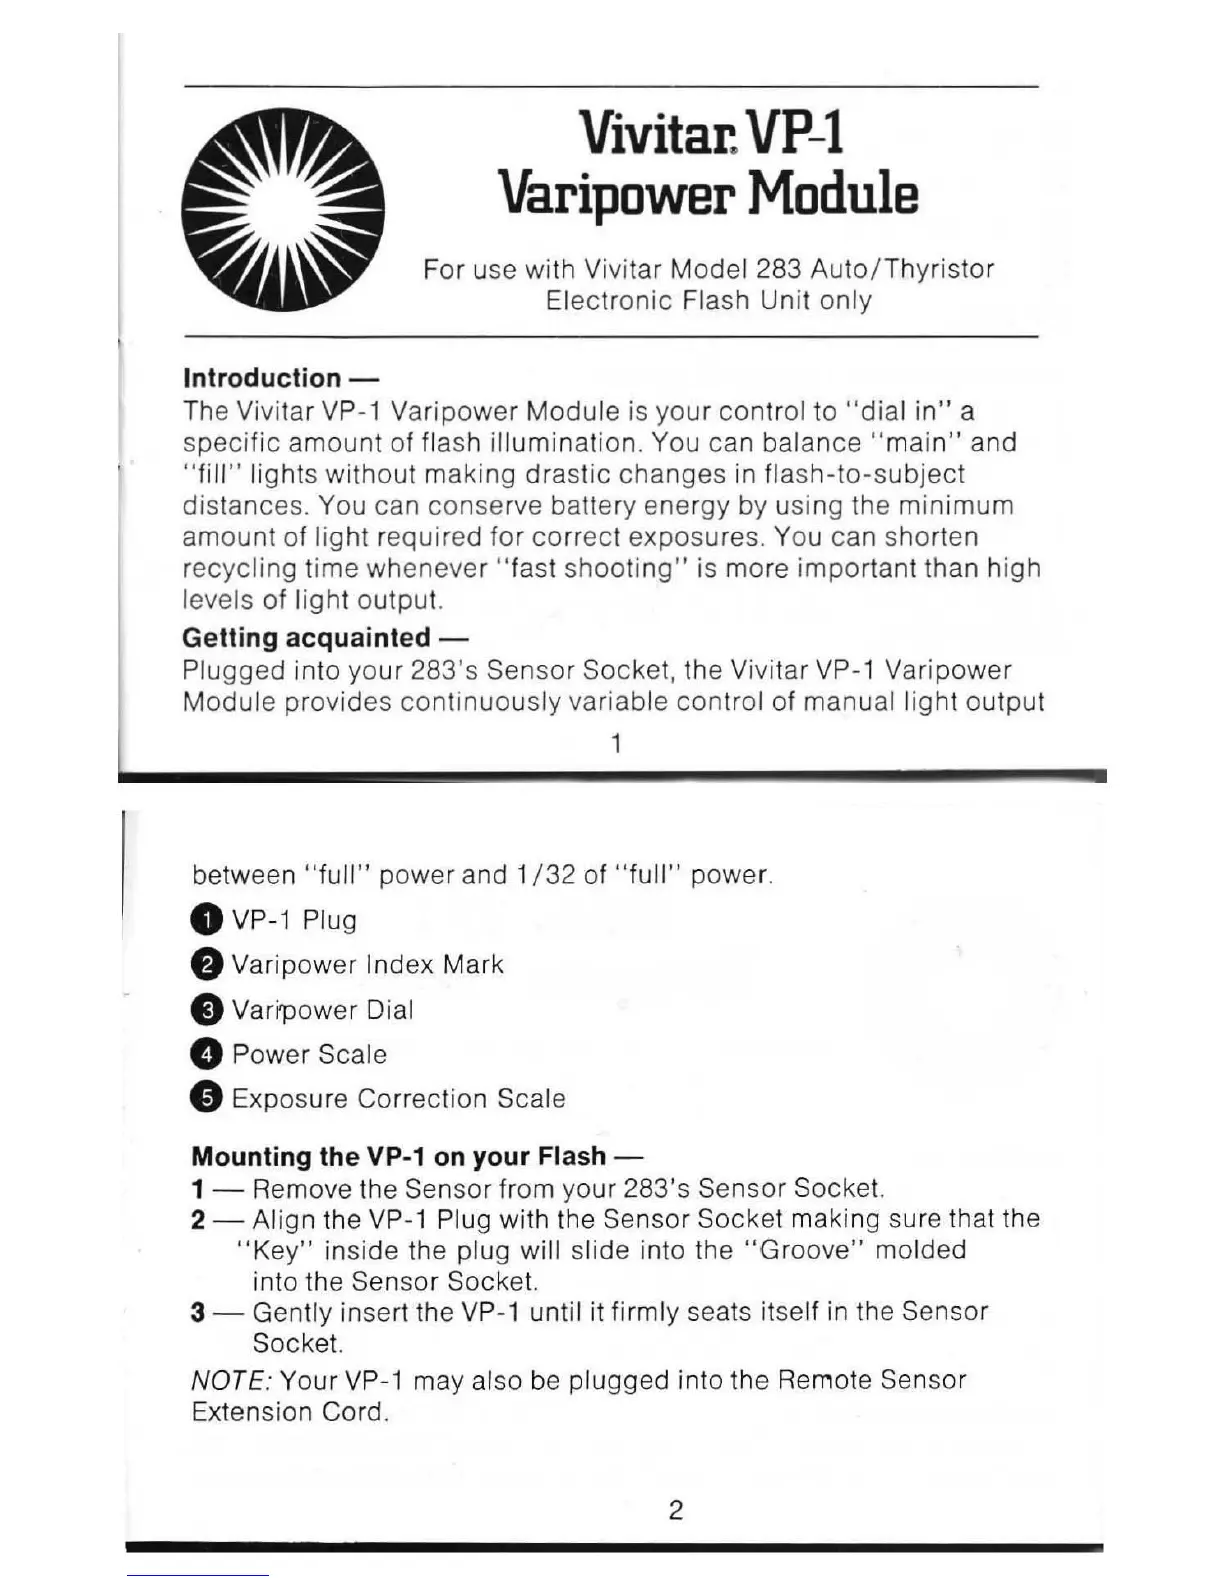
Vivitar.
VP-l
Varipower
Module
For u
se
with
Vi
vitar Model 283 Auto/
Th
y
ri
stor
El
ectronic Fla
sh
Unit on ly
Introduction -
Th
e Vivitar VP
-1
Varipower Module is your control to " dial i
n"
a
speci
fi
c amount of flash illumination. You can balance
"mai
n" and
"fi
ll "
li
ghts with
ou
t making drastic changes in fl
ash-to-sub
ject
distances. You can conser
ve
battery energy by using the minimum
amount of
light required fo r correct exposures. You can shorten
recycling time whenever "
fa
st shooting" is mo
re
important than high
levels of light output.
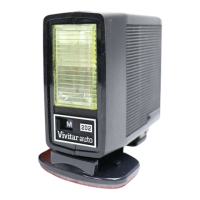
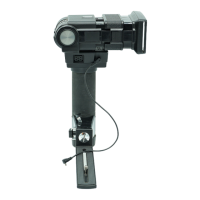
Getting acquainted -
Pl
ugged into you r 283's Sensor Socket,
th
e Vivitar
VP-1
Varipower
Module provides co
nt
inuously
va
riable contr
ol
of manual light output
1
between "
full"
power and 1
/32
of " full " powe
r.
•
VP-1
Plu
g
•
Varipower Index Mark
e Varipower Dial
..
Power Scale
o Exposure
Co
rrection Scale
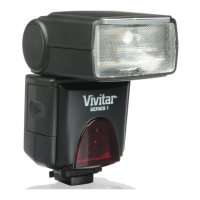
Mounting the
VP-1
on
your
Flash-
1 - Remove the Sen
so
r from your 283's Sensor Socket.
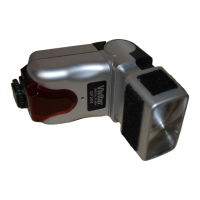
2 -
Align the
VP-1
Plug with the Sensor Socket making sure
th
at
the
"Key"
inside the plug will slide into
th
e
"G
roove" molded
into the Sensor Socket.
3 - Gently insert the
VP-1
until it firmly seats it
se
lf in
th
e Sensor
So
cke
t.
NOTE: Your
VP-1
ma
y also be plugged into
th
e Remote Sensor
Extension Cord.
2