Do you have a question about the Vivitar DVR 4K v3 and is the answer not in the manual?
Specifies SD card capacity, class, and formatting requirements for optimal camcorder use.
Details correct lithium battery installation to ensure proper charging and device boot-up.
Provides a YouTube link for assistance with lens hood and microphone installation difficulties.
Critical warnings regarding electrical hazards, moisture, liquids, and battery ingestion.
Precautions for safe handling of the battery pack, charger, and managing static electricity.
Lists the minimum computer configurations needed for transferring videos and photos.
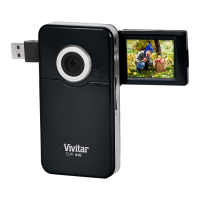
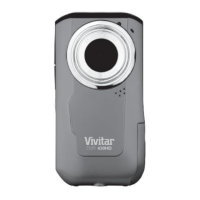
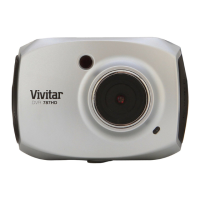
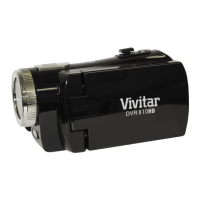
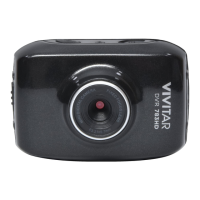
Details the various parts and controls of the camcorder through different visual perspectives.
Explains the function of each button and indicator light on the camcorder.
Provides instructions and a diagram for operating the camcorder remotely.
Step-by-step guide on how to insert the battery into the camcorder.
Explains how to charge the camcorder using a USB cable and adapter or PC.
Describes how to power the camcorder on and off using the touch screen or power button.
Instructions on how to navigate and open the camcorder's menu for custom settings.
Details the various system settings like Wi-Fi, language, and formatting options.
Guide on inserting a memory card into the camcorder until it clicks.
Instructions on how to format the memory card before first use for optimal performance.
Explains how to select different recording modes like Video, Slowly, Loop, and Photo.
Instructions for taking photos and starting/stopping/pausing video recordings.
Details how to activate IR night vision and connect an external microphone.
How to navigate and play back recorded photos and videos.
Guide on using the HDMI interface to connect the camcorder to a high-definition television.
Instructions for connecting the camcorder to a computer using a USB cable.
Explains options like Charging Mode, Mass Storage Mode, and PC Camera mode.
Steps to download the app and connect the camcorder to a smartphone via Wi-Fi.
Describes app functionalities like live view, photo/video download, and mode changes.
Solutions for issues related to battery power, installation, or insulating paper.
Troubleshooting steps for when the battery is not charging correctly.
Guidance for when the remote control is not working as expected.
Advice on how to handle camera freezes, including rebooting procedures.
Steps to resolve problems with the memory card not being recognized by the camcorder.
Details the FCC rules and conditions for device operation and interference.
Explains what the warranty covers, what is excluded, and how to obtain service.
Outlines the extent of distributor and manufacturer liability for damages and product use.
Provides website, email, and phone contact information for technical assistance.
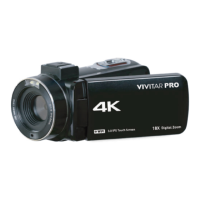
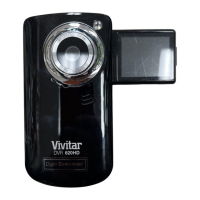
This document describes the Vivitar DVR 4K (v3) Digital Camcorder, an easy-to-use device designed for capturing videos and photos.
The Vivitar DVR 4K (v3) is a digital camcorder capable of recording videos and taking still photos. It supports various shooting modes including normal recording, slow motion, infinite loop, fast action, single photo, automatic photo cycling, burst photos, and timed photos. The camcorder can also function as a PC camera (webcam) for live streaming. It features Wi-Fi connectivity to monitor the camcorder and download media to a smartphone via the "iDV-PRO" app. Playback of recorded content is possible directly on the camcorder's screen or by connecting it to an HDTV.