Initial Camera Setup
1) Installing the Battery
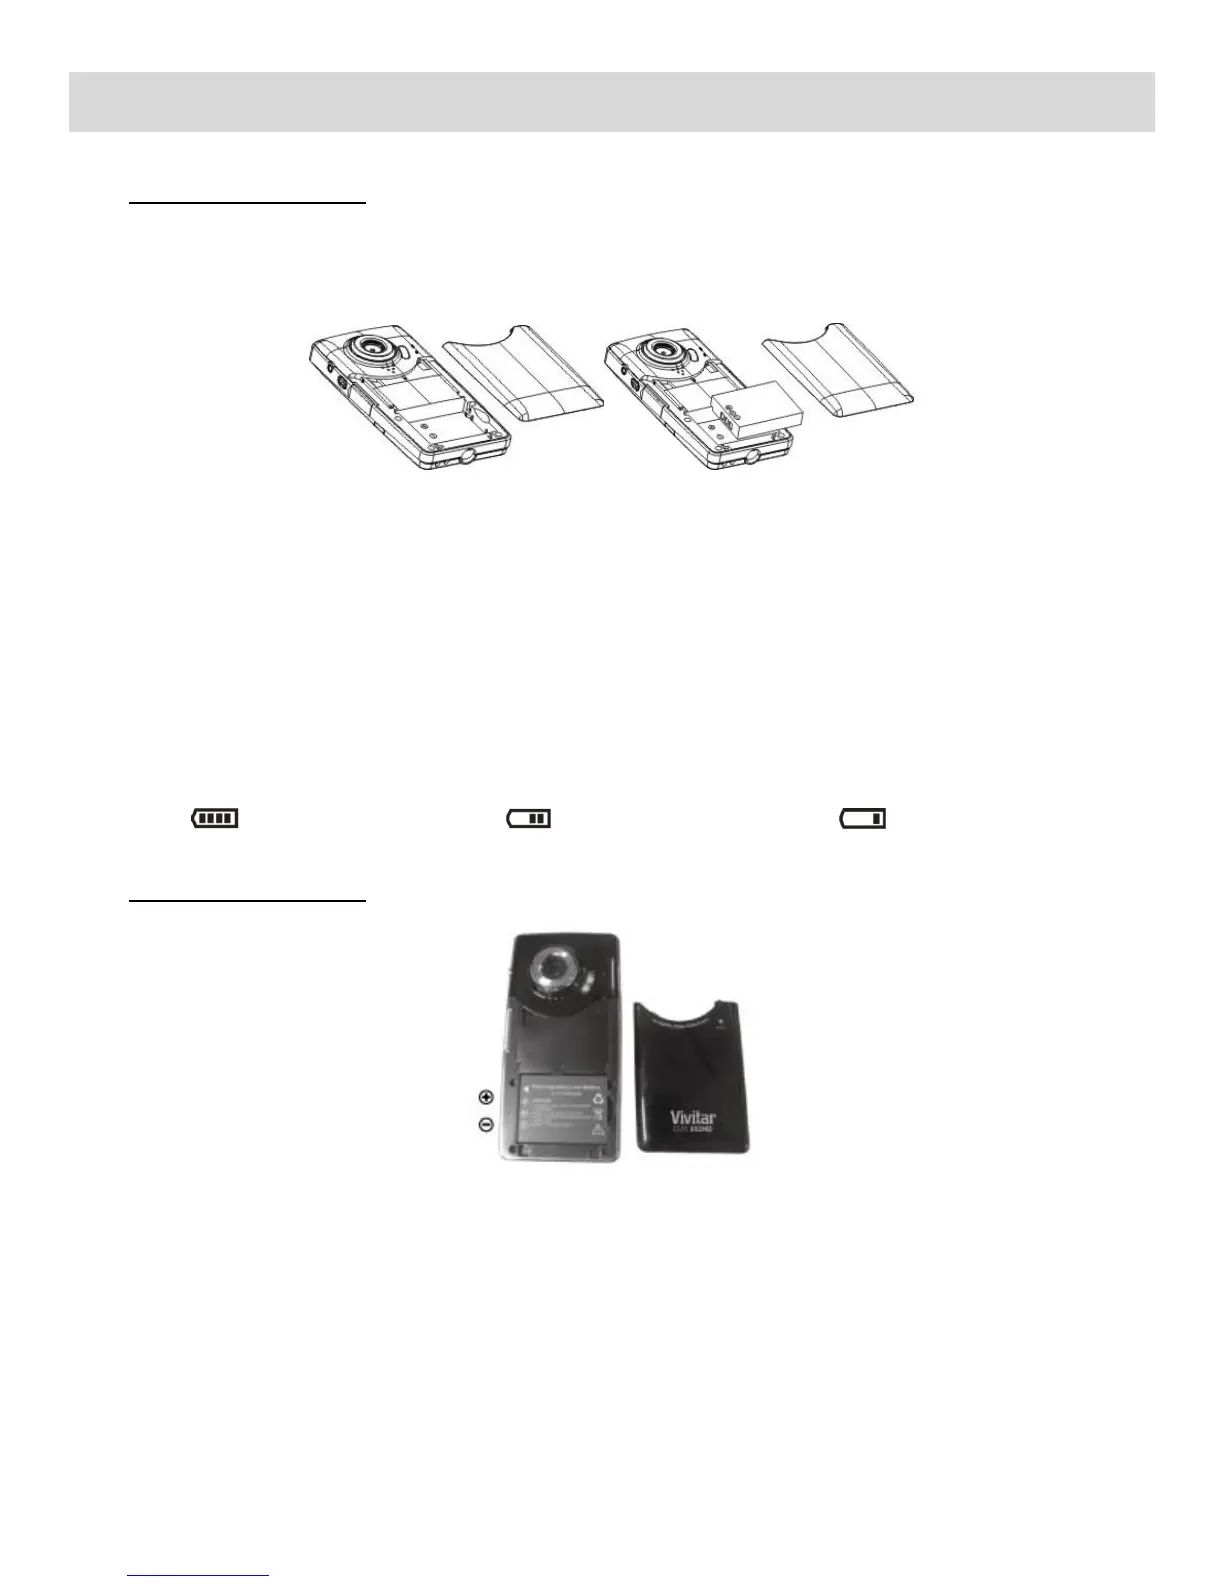
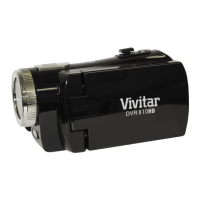
Press / slide down the battery cover and insert the included lithium battery. Align with correct
polarity (+,-) of battery terminals. Close the battery cover.
Make sure the battery has been inserted properly into your digital camera, according to the
polarity shown inside the battery compartment.
Note:
Remove the battery from the camera when not in use for an extended period.
Some camera features (Flash) will not work if the battery power level is low.
When the battery power is low the battery icon turns red and the camera will automatically
turn off a few seconds later.
The energy status of the power is displayed on LCD as shown below:
Full battery power Medium battery power Low battery power
Charging the Battery
To Charge the Battery:
1. Power off the camcorder.
2. Connect the camcorder using the USB built-in connector/USB cable to the computer‟s USB
port or to the AC Adapter (which is then connected to a standard wall socket).
3. Allow the battery to charge for at least 3 hours before using the first time.
4. The charge light will turn off when the battery is fully charged.
NOTE: While the device is recharging it cannot be used to capture images.