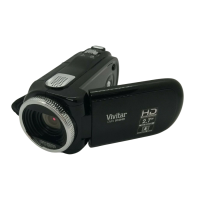
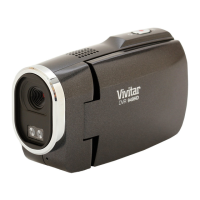
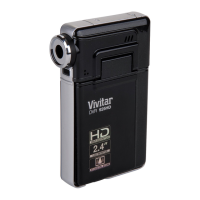
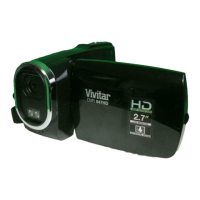
Photo Capture Mode
The Photo Capture Mode allows you to capture photos with your digital camcorder.
TAKING A PHOTO
1. Power On:
Press and hold the Power button to power for about 3 seconds on the camcorder.
2. Enter Photo Capture Mode:
When you first power on the camcorder, the Time Lapse Mode will be active.
In order to open the Photo Capture Mode, press the MODE button twice. The Photo
Capture icon will appear on the LCD.
3. Capture Your Photo:
Press the Shutter button to capture your photo.
The photo is automatically saved to the camcorder’s Micro SD Memory card.
NOTE:
You can also enter Photo Capture Mode using the ‘Vivitar Action Cam’ mobile app. Once the
camcorder is successfully connected via Wi-Fi to the mobile app, the default mode is Video
Capture Mode. Touch the Photo Capture (Camera) icon to change to Photo Capture Mode.
When using the app, the camera does not display the mode, it is displayed on the app.
Use the ‘Vivitar Action Cam’ application to control the following Photo Capture Settings:
Resolution, White Balance, Time-lapse, Burst and Self-Timer. See ‘Camera Settings’ for more
information.