10
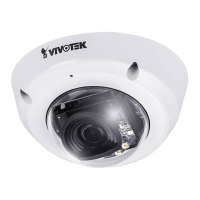
Attach the dome cover to camera.
Secure the dome screws with the
supplied screwdriver. Finally, make sure
all parts of the camera are securely
installed.
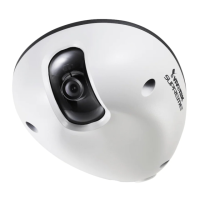
Completion
8
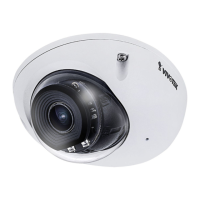
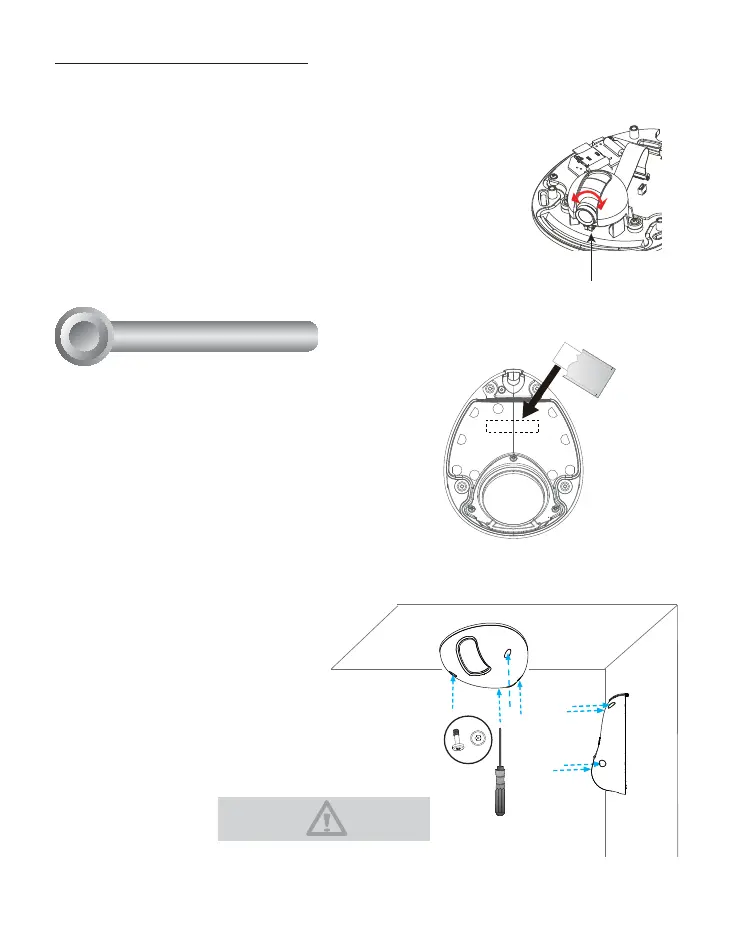
Fine-tune the Camera Focus
!
Tighten the lens lock screw.
1. Loosen the lens lock screw.
"#$
until the live image is clear.
3. Tighten the lens lock screw.
Please secure the screws tightly to
avoid moisture.
Tear down the aluminum foil vacuum bag and
take out the silica gel. Attach the supplied silica
gel to the inner side of the Network Camera.
(Please replace the silica gel with a new one if
you open the back cover after installation.)