68
Repair Instructions
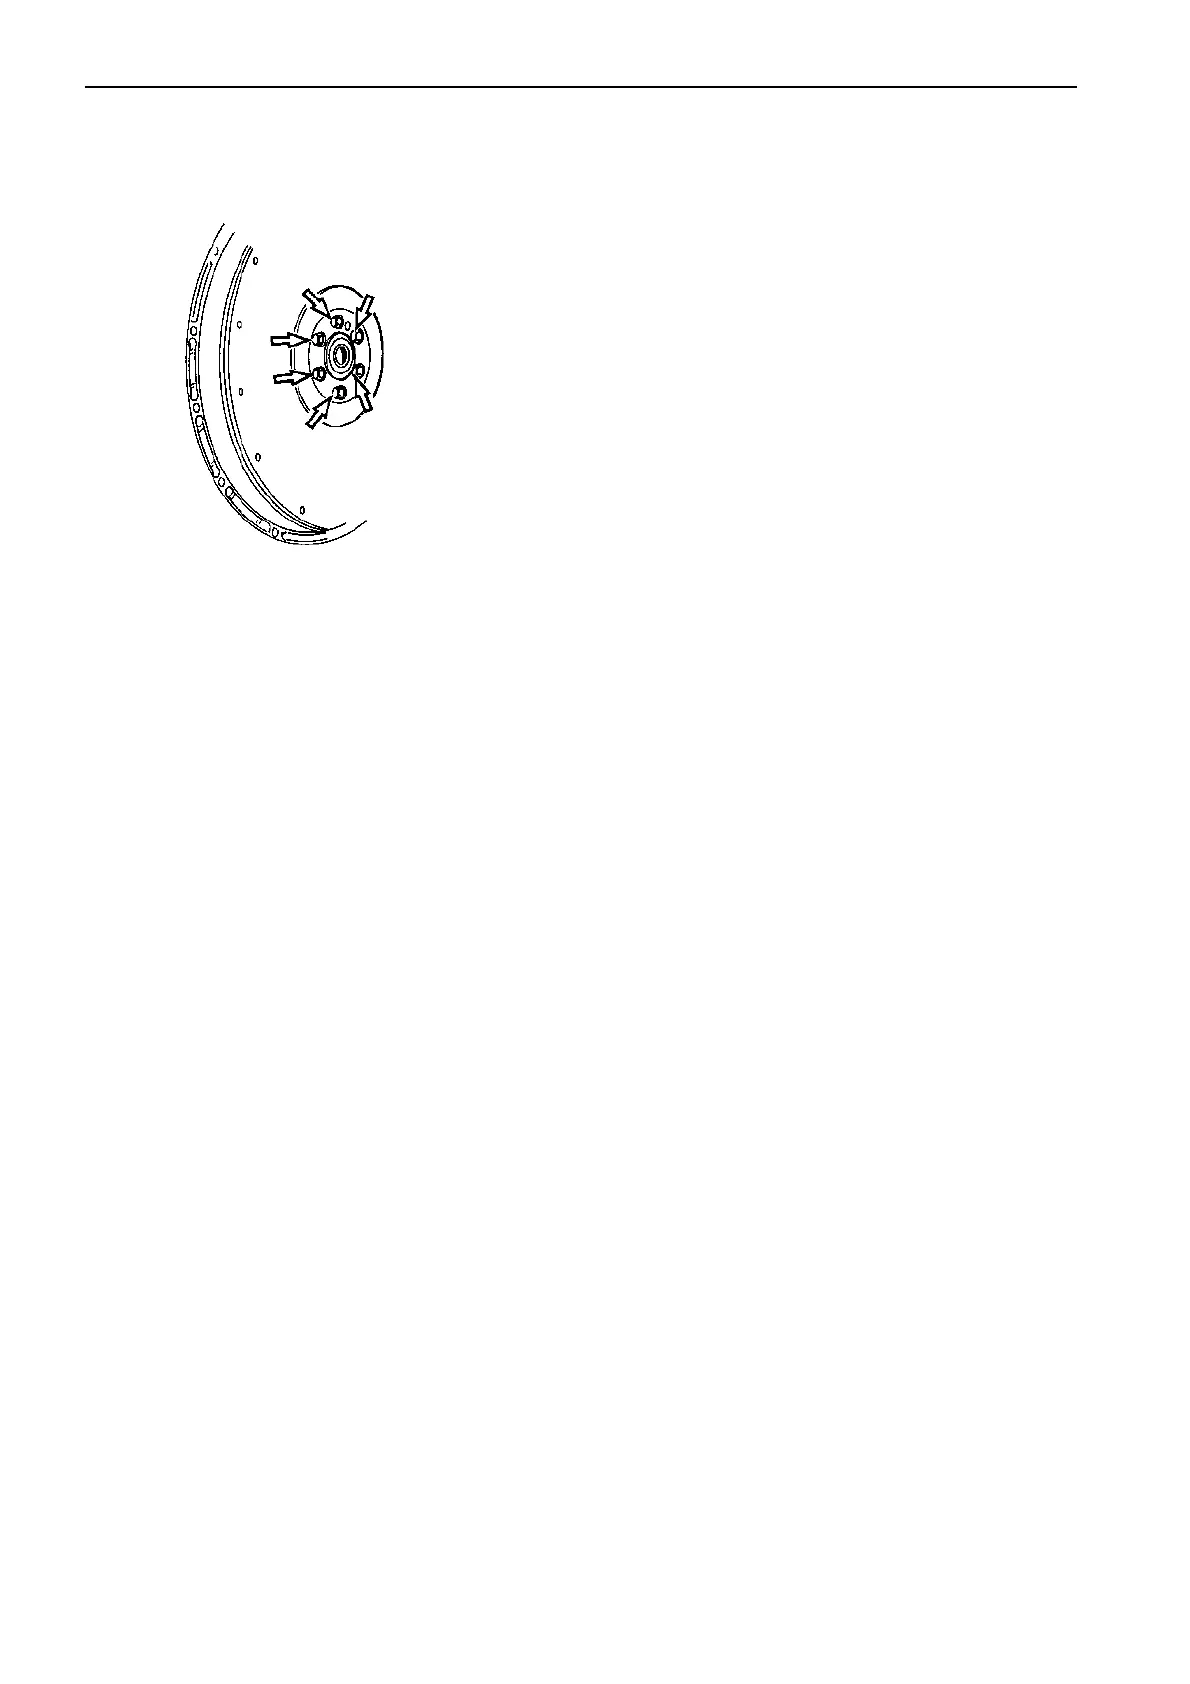
Flywheel, replacing
1
Remove the screws and lift off the flywheel.
NOTE! To minimize the risk of damage to the RPM
sensor (44/300 series) it should be removed before
the flywheel is removed.
Flywheel, inspection
Check the flywheel for cracks or other damage.
Check that the gear collar is not damaged or worn.
Replace gear collar or flywheel as necessary.
2
Clean the crankshaft flange contact area against fly-
wheel.
3
Clean flywheel contact area against crankshaft
flange.
4
Check that the flywheel locating pin in the crankshaft
is in place and undamaged.
5
Lift the flywheel into place and install screws.
6
Tighten the flywheel screws to 65 Nm + angle
tighten 60°.
7
Install the RPM sensor (44/300 series).
 Loading...