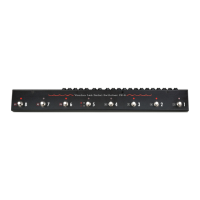
Here’s how you select which CC numbers the PX8 will respond to:
1) Apply power while holding down button #3. The LEDs will flash until you release
the button.
2) Press buttons #1 through #4 to select the number group:
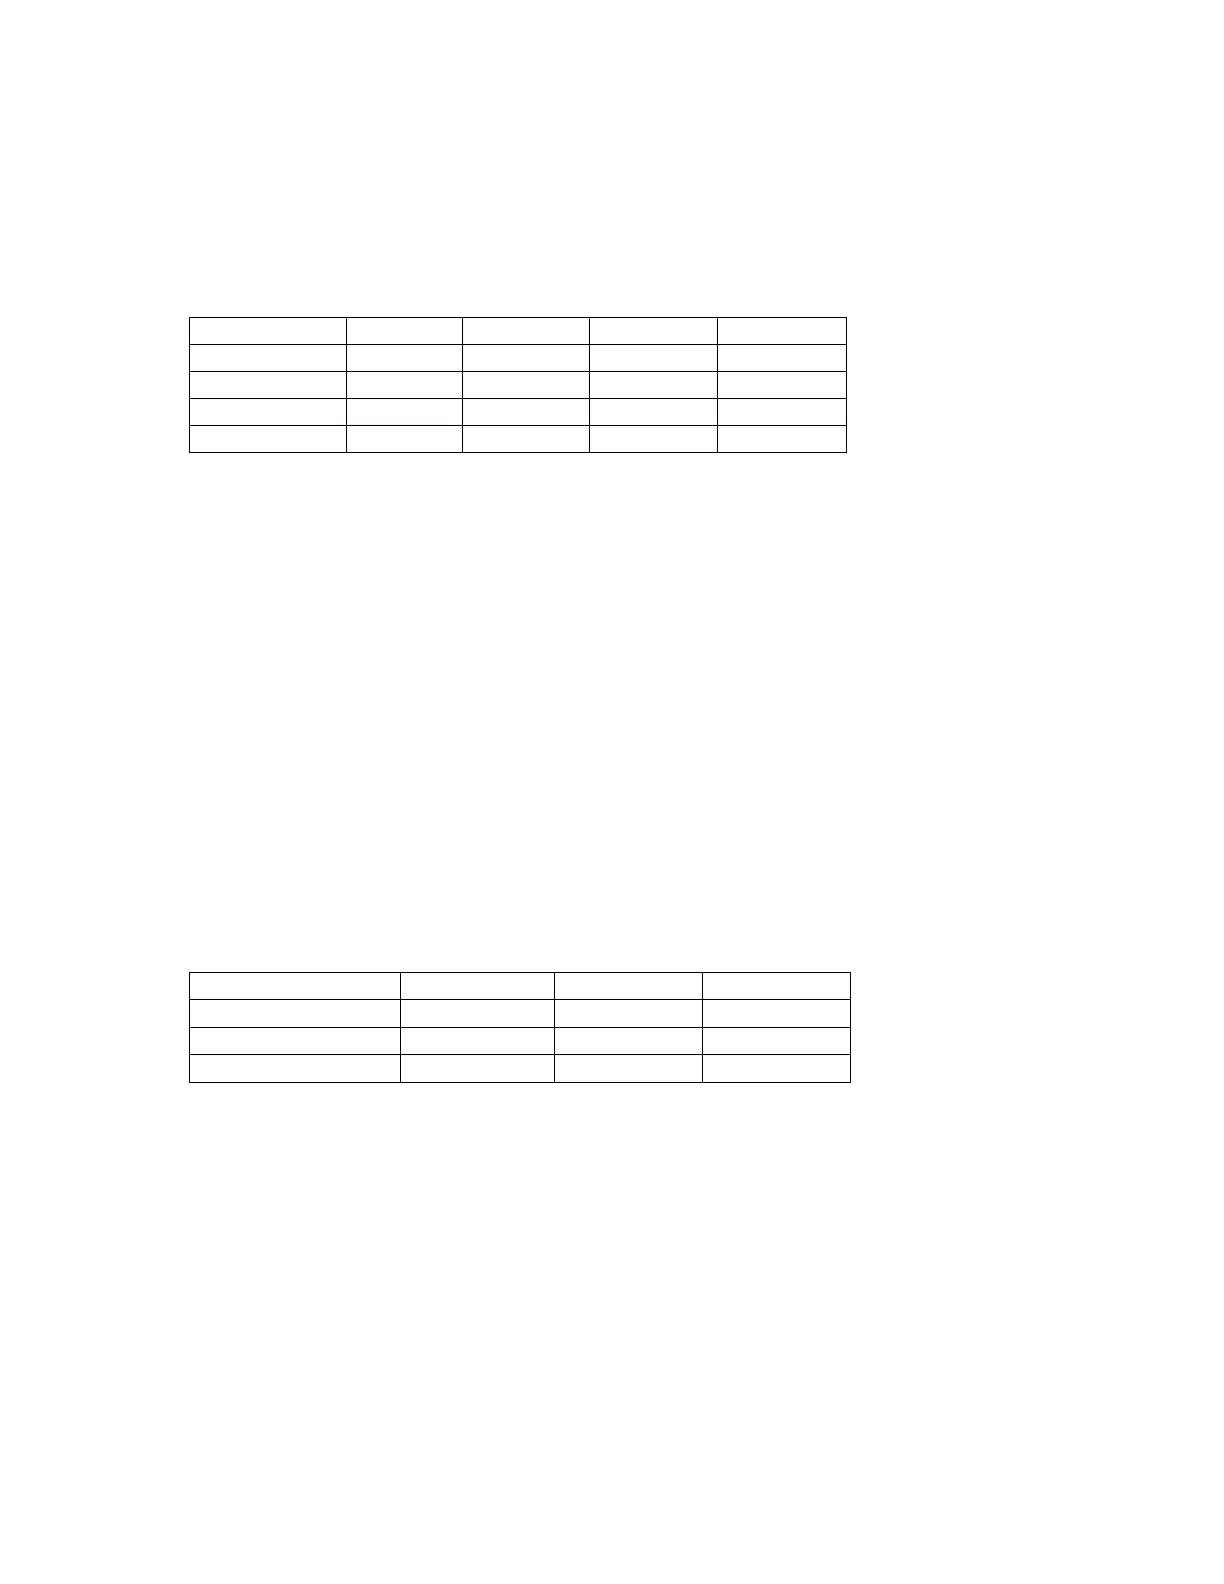
CC Group LED #4 LED #3 LED #2 LED #1
80-87 OFF OFF OFF ON
88-95 OFF OFF ON OFF
64-71 OFF ON OFF OFF
56-63 ON OFF OFF OFF
3) Remove power when finished.
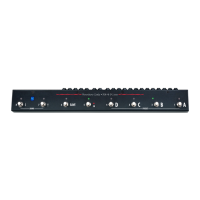
Quiet Switching
PX8 includes a number of unique features to make switching as quiet as possible.
Even so, the relays can still produce a small click in your audio path, especially when
using very high gain. To eliminate this click, PX8 will optionally disable the main
output from loop 8 for a few milliseconds while the loops are switching.
The Quiet Switching (QS) interval is extremely short so that you won’t hear any
dropout. You can select a slightly longer interval in case you still have some audible
artifact. Or you can choose not to enable QS at all.
The default is to have QS enabled, with the short interval. To change this:
1) Apply power while holding down button #4. The LEDs will flash until you release
the button.
2) Use buttons #1 and #2 to set QS function:
QS Enabled Interval LED #2 LED #1
No None OFF OFF
Yes Short OFF ON
Yes Long ON ON
3) Remove power when finished.
Enable Preset Mode
Normally, PX8’s eight buttons are used to directly control loops 1–8. In Preset Mode,
the left-most three buttons are used to save and recall presets.
1) Apply power while holding down button #5. The LEDs will flash until you release
the button.
2) Use button #5 to enable Preset Mode. If LED is ON, Preset Mode is selected.
3) Remove power when finished.