11
English
10 English
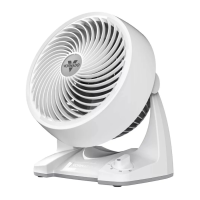
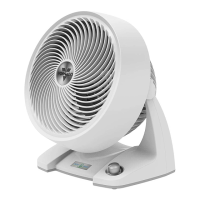
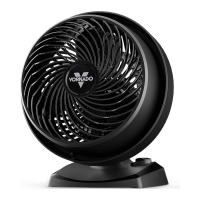
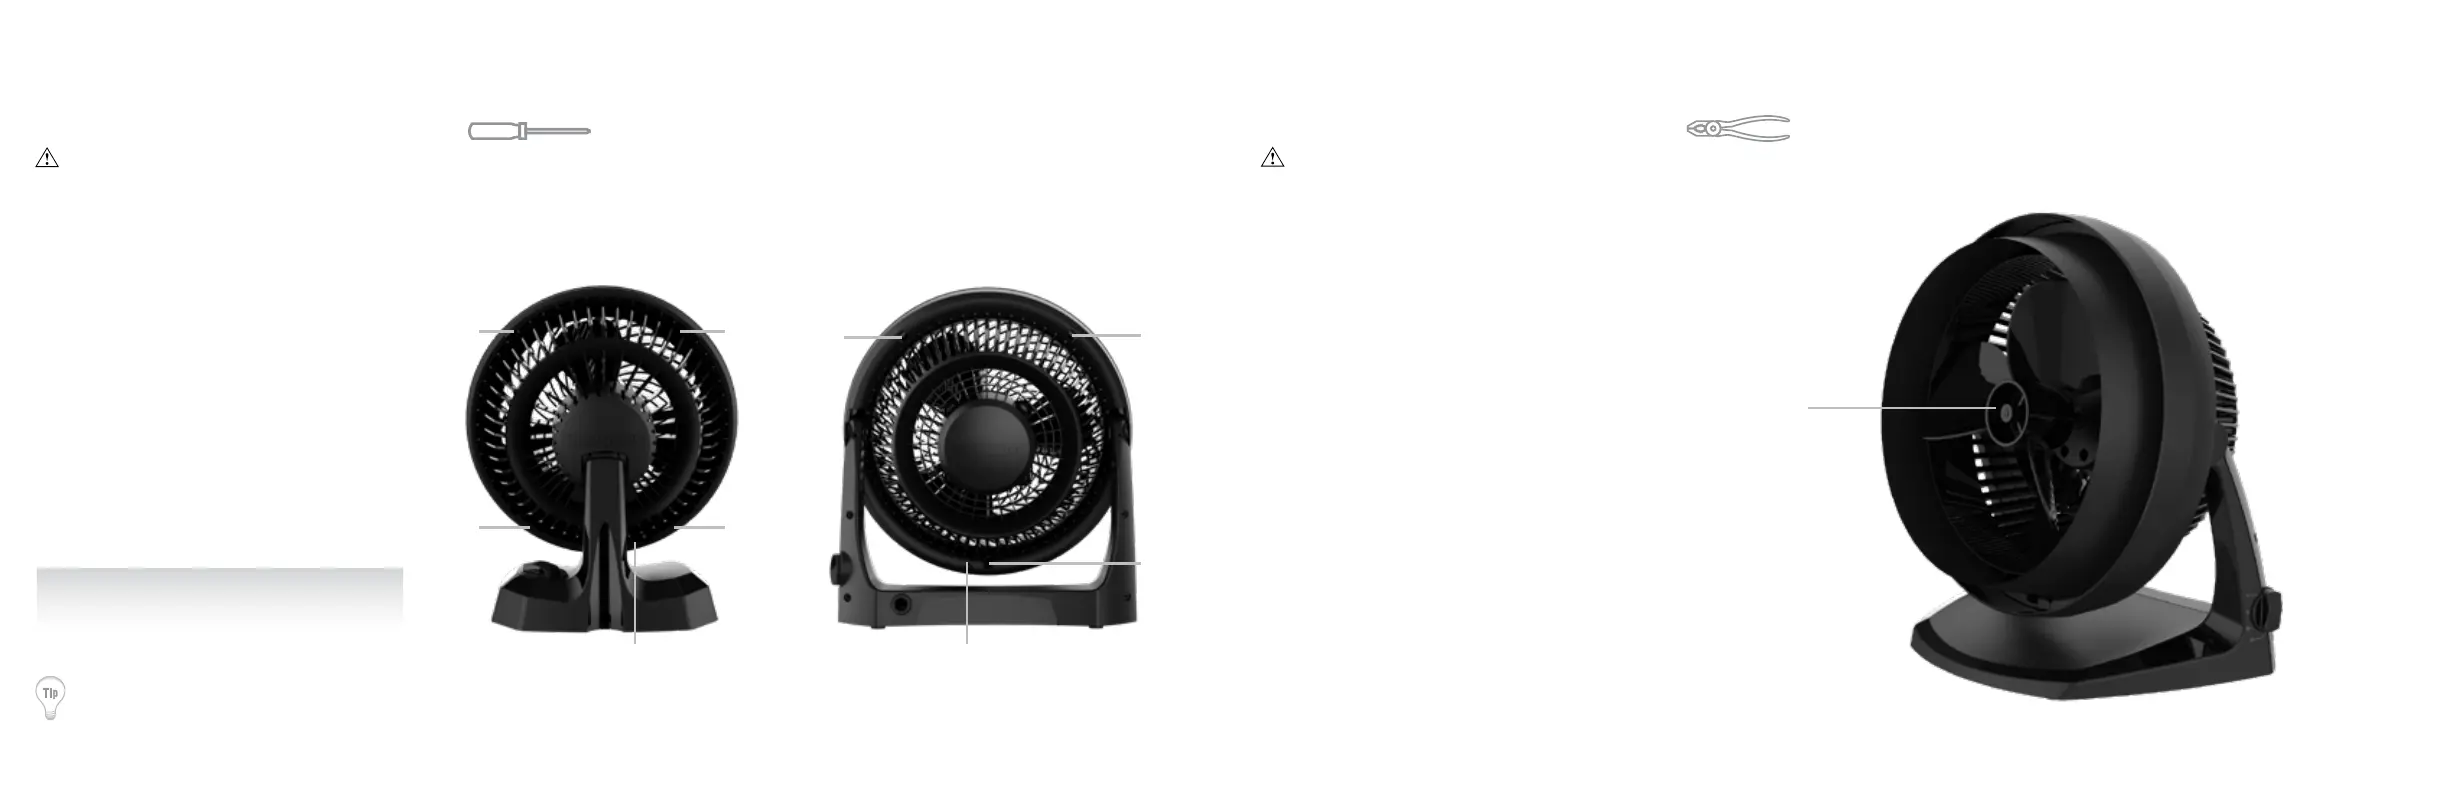
1. Remove the one screw located on the back
of the inlet grille. On Model 52, located at
roughly 5 o’clock position. On Models 62,
602 located at roughly 6:30 position. Do not
remove any other screws from the prod-
uct. Release the Front Grille Clips. Model 52
has 4 Clips, Models 62 and 602 have 3 Clips.
2. Dust or wash Front Grille with a mild dish-
washing soap. Do not place grille in the
dishwasher. The excessive heat can distort
the plastic.
3. To reattach - align the Front Grille Clips with
the holes and rmly snap each clip back into
place. Replace all the screws.
CLEANING
GRILLE REMOVAL Screwdriver required.
WARNING: To reduce the risk of electrical shock and injury to persons, unplug the circulator before removing grille.
Clip Clip
Clip Clip
Clip
Clip
Clip
Screw
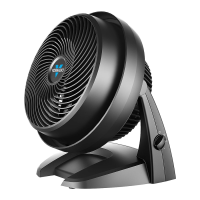
Model 52
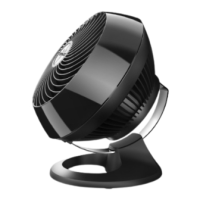
Models 62, 602
(Not available in Japan)
Use the brush attachment on your household vacuum cleaner to
vacuum any accumulated dust off the Front Grille and Air Inlets.
Note: The motor is permanently lubricat-
ed and requires no oiling.
Screw
CLEANING
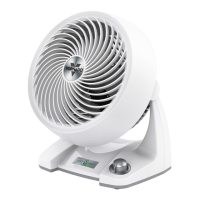
BLADE REMOVAL Pliers recommended.
1. First, remove the nut from the shaft
by turning the nut clockwise to
loosen. Pull the blade straight out
from the shaft.
2. Wipe the Blade with a damp cloth.
If your circulator is used in a greasy
environment, such as a kitchen,
mild soap or a common household
cleaner may be necessary. Do not
use solvents. Do not place blade in
the dishwasher. The excessive heat
can distort the plastic.
3. To reattach - be certain the at
side of the shaft aligns directly with
the corresponding at side on the
blade’s socket. Push the blade all
the way on the shaft until it bottoms
out. Do not use a hammer as this
could result in bearing damage.
Reinstall nut.
WARNING: To reduce the risk of electrical shock and injury to persons, unplug the circulator before removing blade.
Remove Nut
Clockwise
 Loading...