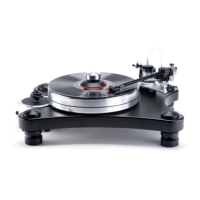
6
C. TRACKING FORCE AND AZIMUTH
Place the arm tube assembly on the lower bearing, taking care not to strain or damage
the 4-color wire and Lemo connector. Place the arm in its rest.
At the rear of the arm base assembly is the connector block. Plug the Lemo connector
into its receptacle on top of the block. Notice that the connector can plug in only one
way. Align the red dots on the arms plug with the red dot on the receptacle. Push
gently, do not force the plug.
Make sure the turntable is level. Refer to your turntable instructions and use a bubble
level to check level. In most cases, the best place to put the level is on the platter.
With a unipivot arm it is particularly important to level the turntable.
Move the counterweight until the arm has a very slight downward tracking force, just
enough to keep it from moving sideways on the platter or enough to keep it in the
groove of the record
Tracking force is adjusted by moving the counterweight forward and back just a bit at
a time. At least initially, you will be setting the tracking force twice. The first time will
be before the cartridge's overhang is set. After this is done, you will need to double
check the tracking force and adjust it as needed.
The JMW 10.5i does not have a built-in tracking force gauge, but a Shure Stylus Force
Gauge is supplied with your arm on a new unit. Following the gauge instructions set
the tracking force to the cartridge manufacturer recommendation plus 1/10 of a gram
more. We always recommend going to the high side when it comes to tracking force.
High frequency vibrations can cause a light-tracking cartridge to cause more damage
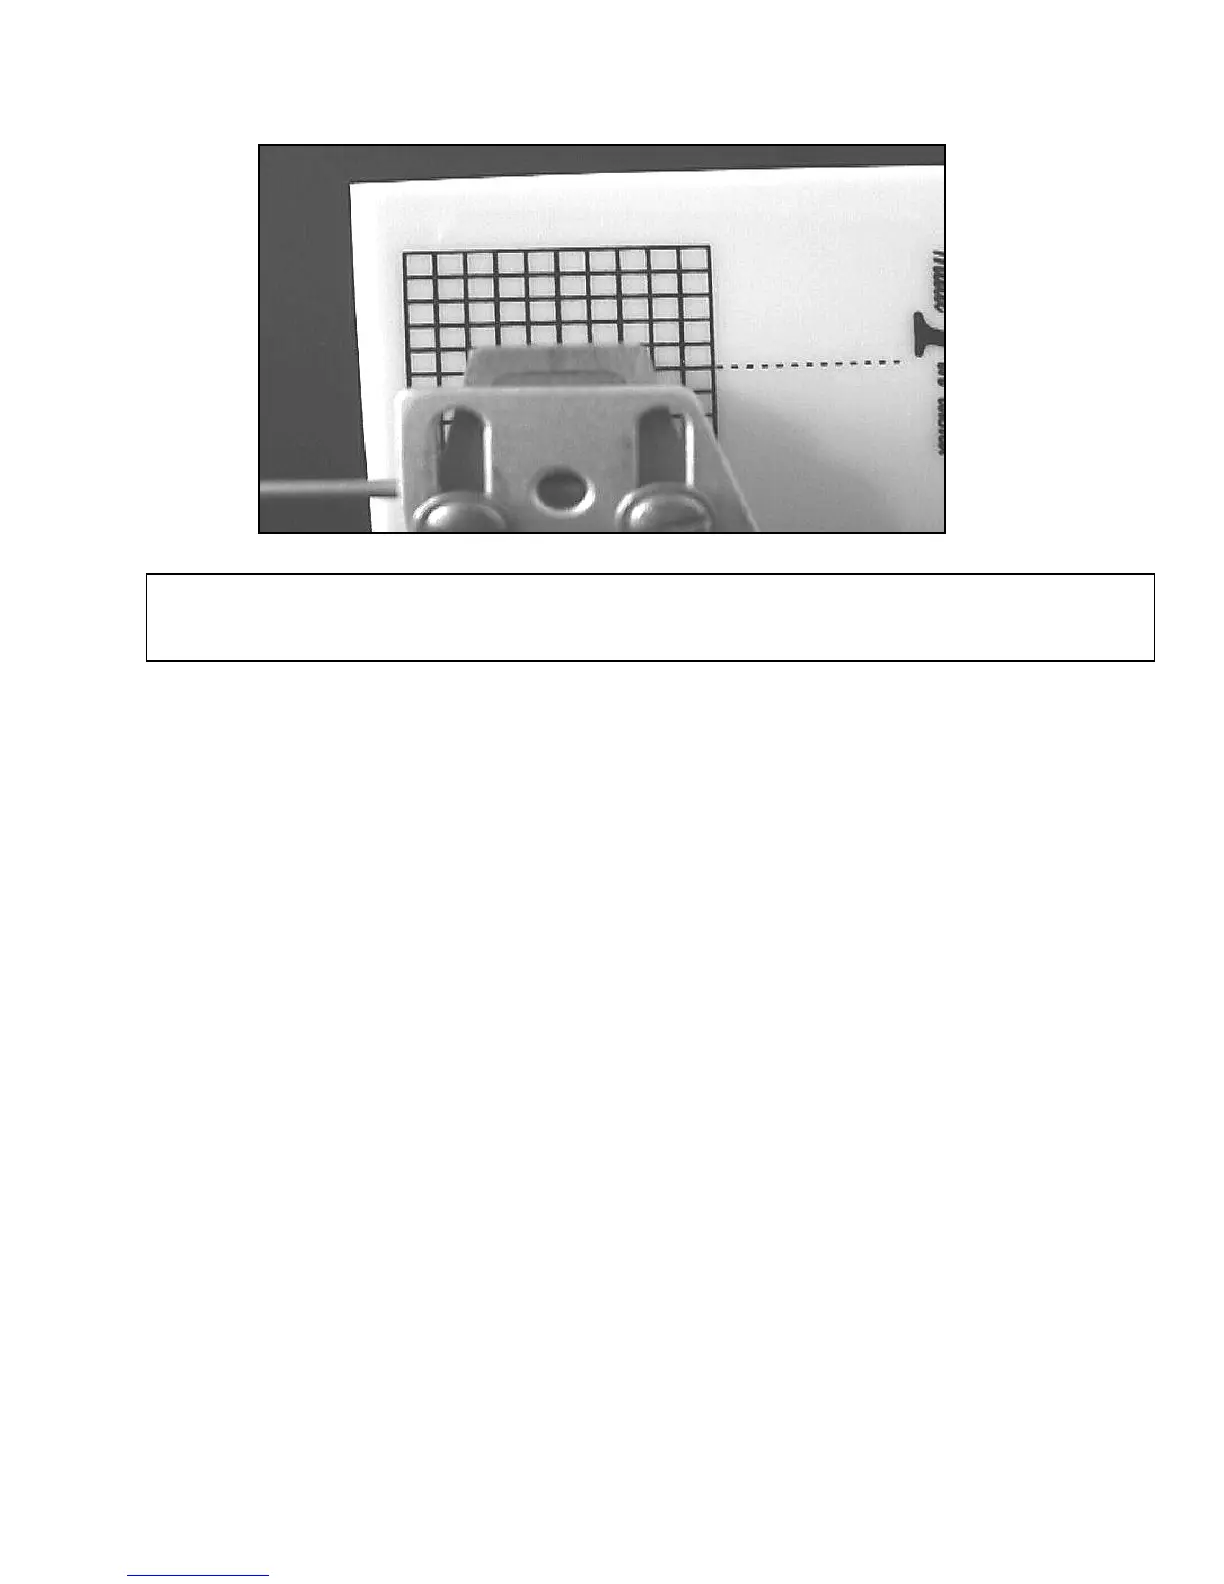
FIG #2: THE PROPER WAY TO ALIGN A CARTRIDGE, ALIGN THE CARTRIDGE, NOT THE
TONEARM HEADSHELL! SHOWN IN WHITE FOR CARITY.