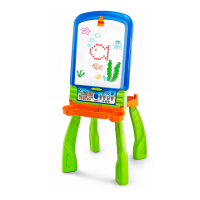
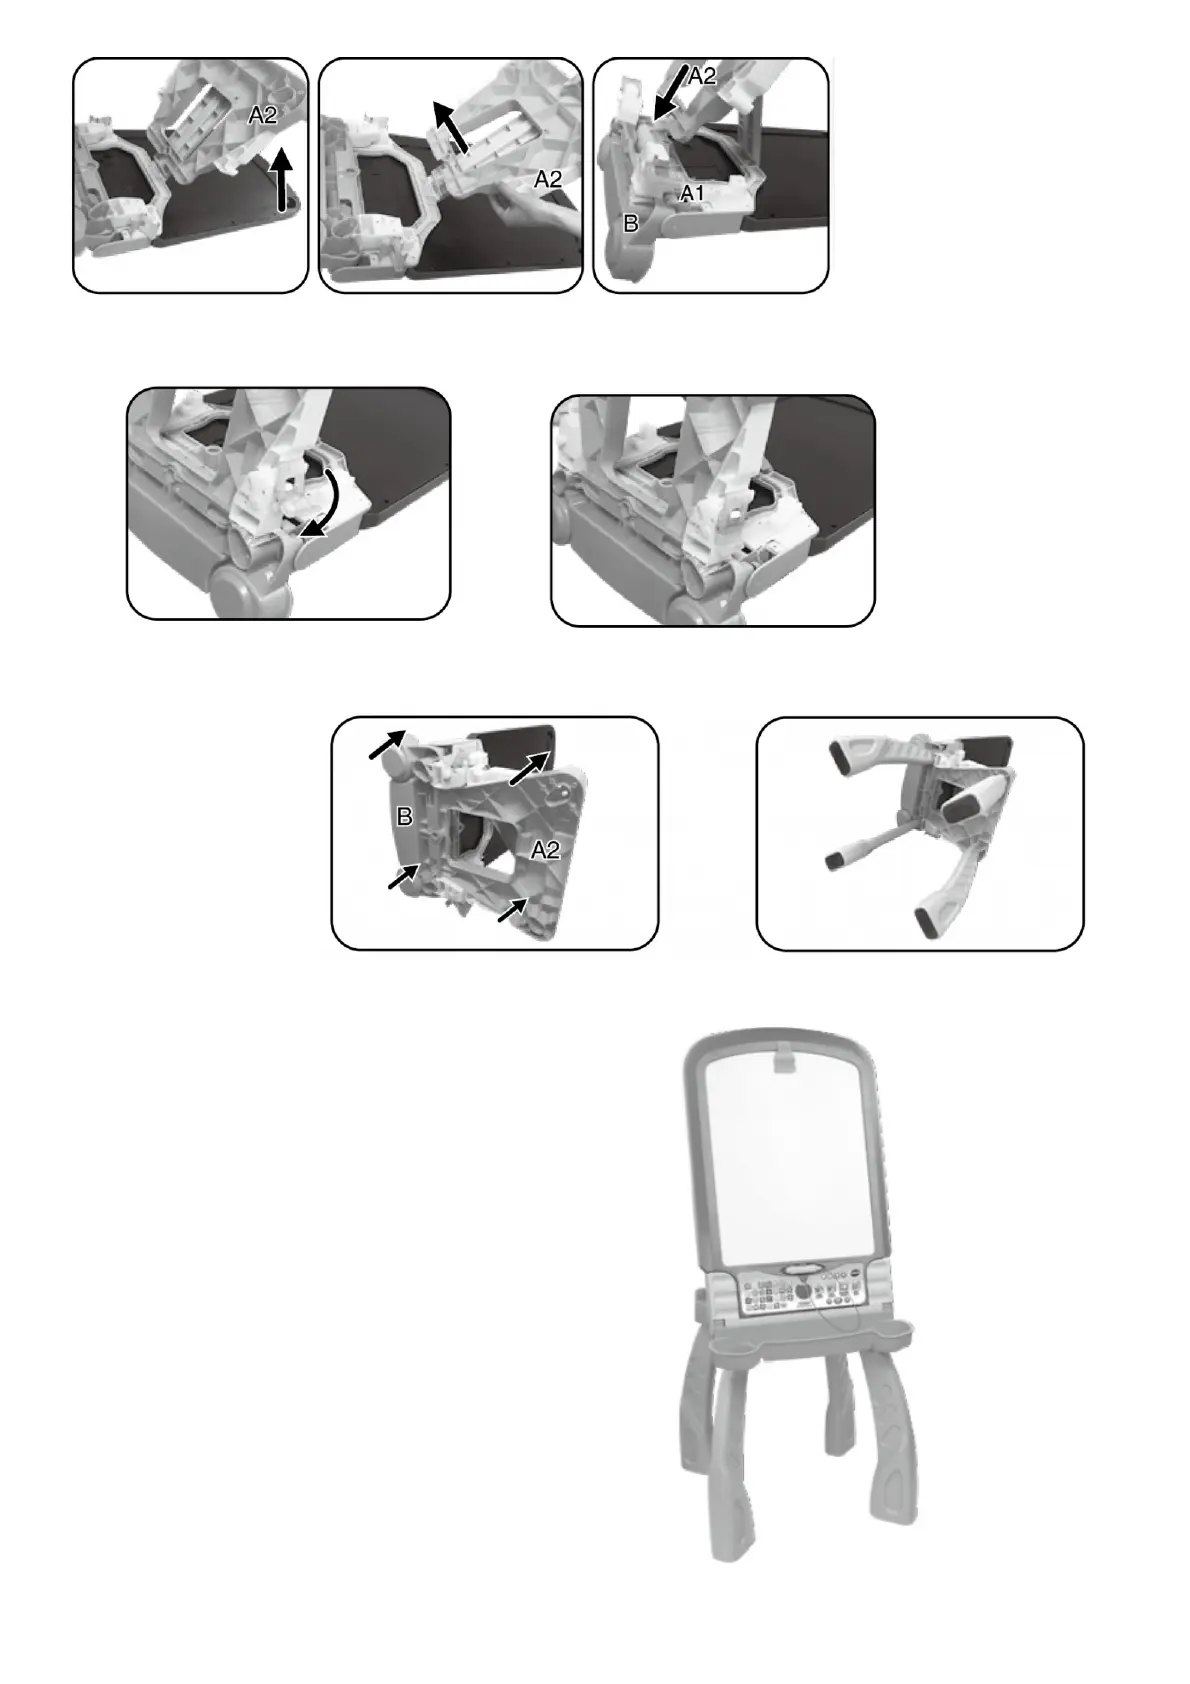
Step 3:
Attach the latches of the Supplies Tray (B) to both Easel Hooks of A2, then push the latch handles inward to tighten
them.
Step 4:
Insert two Legs into part A2 of the Blackboard/Whiteboard (A) and two Legs into the bottom of the Supplies Tray (B).
The Legs will lock into place.
Step 5:
Turn the DigiArt Creative Easel upright and assembly is complete
Note: To disassemble the easel for better storage, just reverse the above steps. To remove the legs from the easel,
pull them out one by one in the opposite direction of installing. You may need to apply force if the legs are installed