6
U s e r ’ s M a n u a l
V.Smile
®
Motion
tm
Console
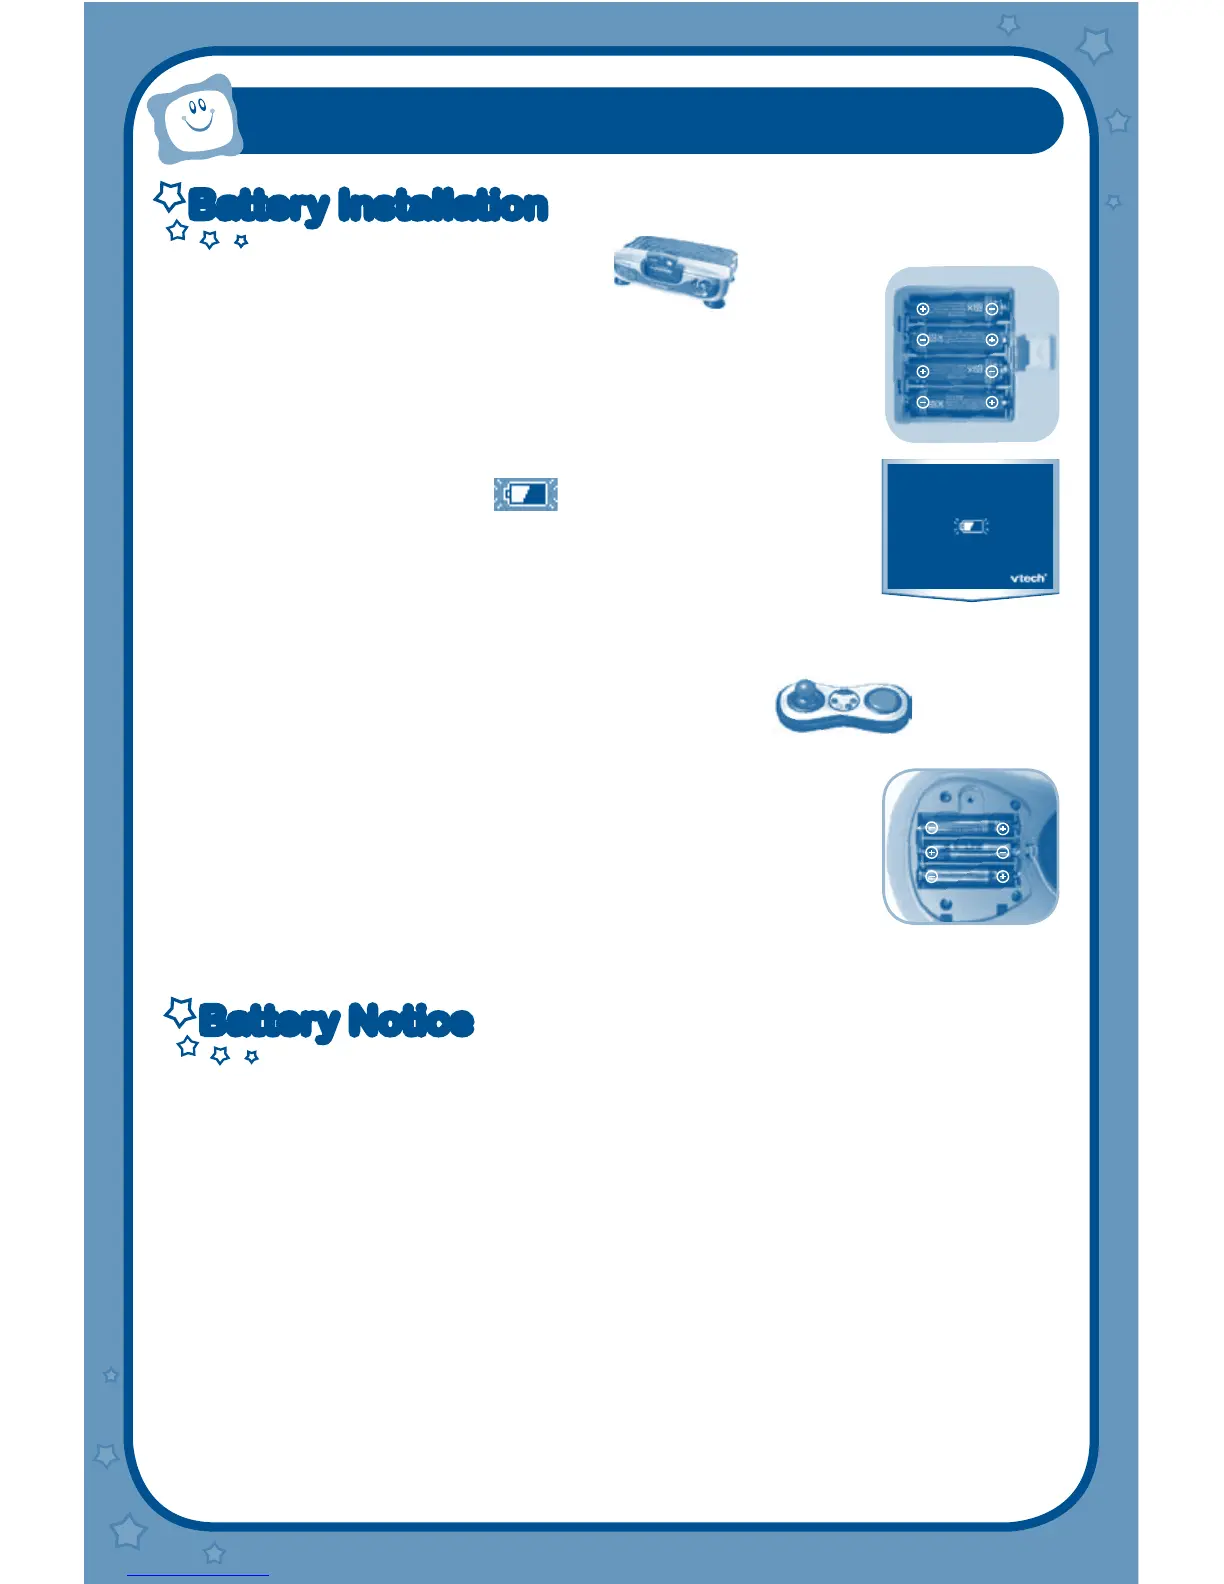
• Make sure the unit is turned OFF.
• Locate the battery cover on the bottom of the unit.
• Remove the battery cover and insert 4 X 1.5V AA LR 6/AM-3
batteries (not included) as indicated in the diagram.
• Replace the battery cover and make sure it is secure.
Notice: When the V.Smile
®
Motion
tm
is running on batteries,
you may see this icon appear on the screen. This
indicates that battery power is low, and you should replace
the batteries soon. Battery time remaining once the icon first
appears is approximately 10-30 minutes, depending on the
type of batteries in use. After that, the console will show the
low battery icon for 5 seconds as indicated in the diagram,
and then will turn OFF automatically.
V.Smile
®
Motion
tm
Wireless Controller
• Make sure the Wireless Controller is turned OFF.
• Locate the battery cover on the bottom of the unit.
• Remove the screw of the battery cover with a screwdriver or a coin,
and insert 3 x 1.5V AAA LR 03/AM-4 batteries (not included) as
indicated in the diagram.
• Make sure battery cover is securely attached.
Notice: A slow controller response may be caused by low battery
power. Please replace the controller’s batteries and resume play.
Battery NoticeBattery Notice
• The use of new alkaline batteries is recommended for maximum performance.
• Non-rechargeable batteries are not to be recharged.
• Rechargeable batteries are to be removed from the toy before being charged (if
removable).
• Rechargeable batteries are only to be charged under adult supervision (if
removable).
• Do not mix old and new batteries.
• Do not mix batteries of different types: alkaline, standard (carbon-zinc) or rechargeable
(Ni-MH).
• Only batteries of the same or equivalent type as recommended are to be used.
• Batteries are to be inserted with the correct polarity.
• Exhausted batteries are to be removed from the toy.
• The supply terminals are not to be short-circuited.
GETTING STARTED
Battery InstallationBattery Installation