11
11
STEP
A. Insert Toggles into
each loop at the top
of the Cubby Net.
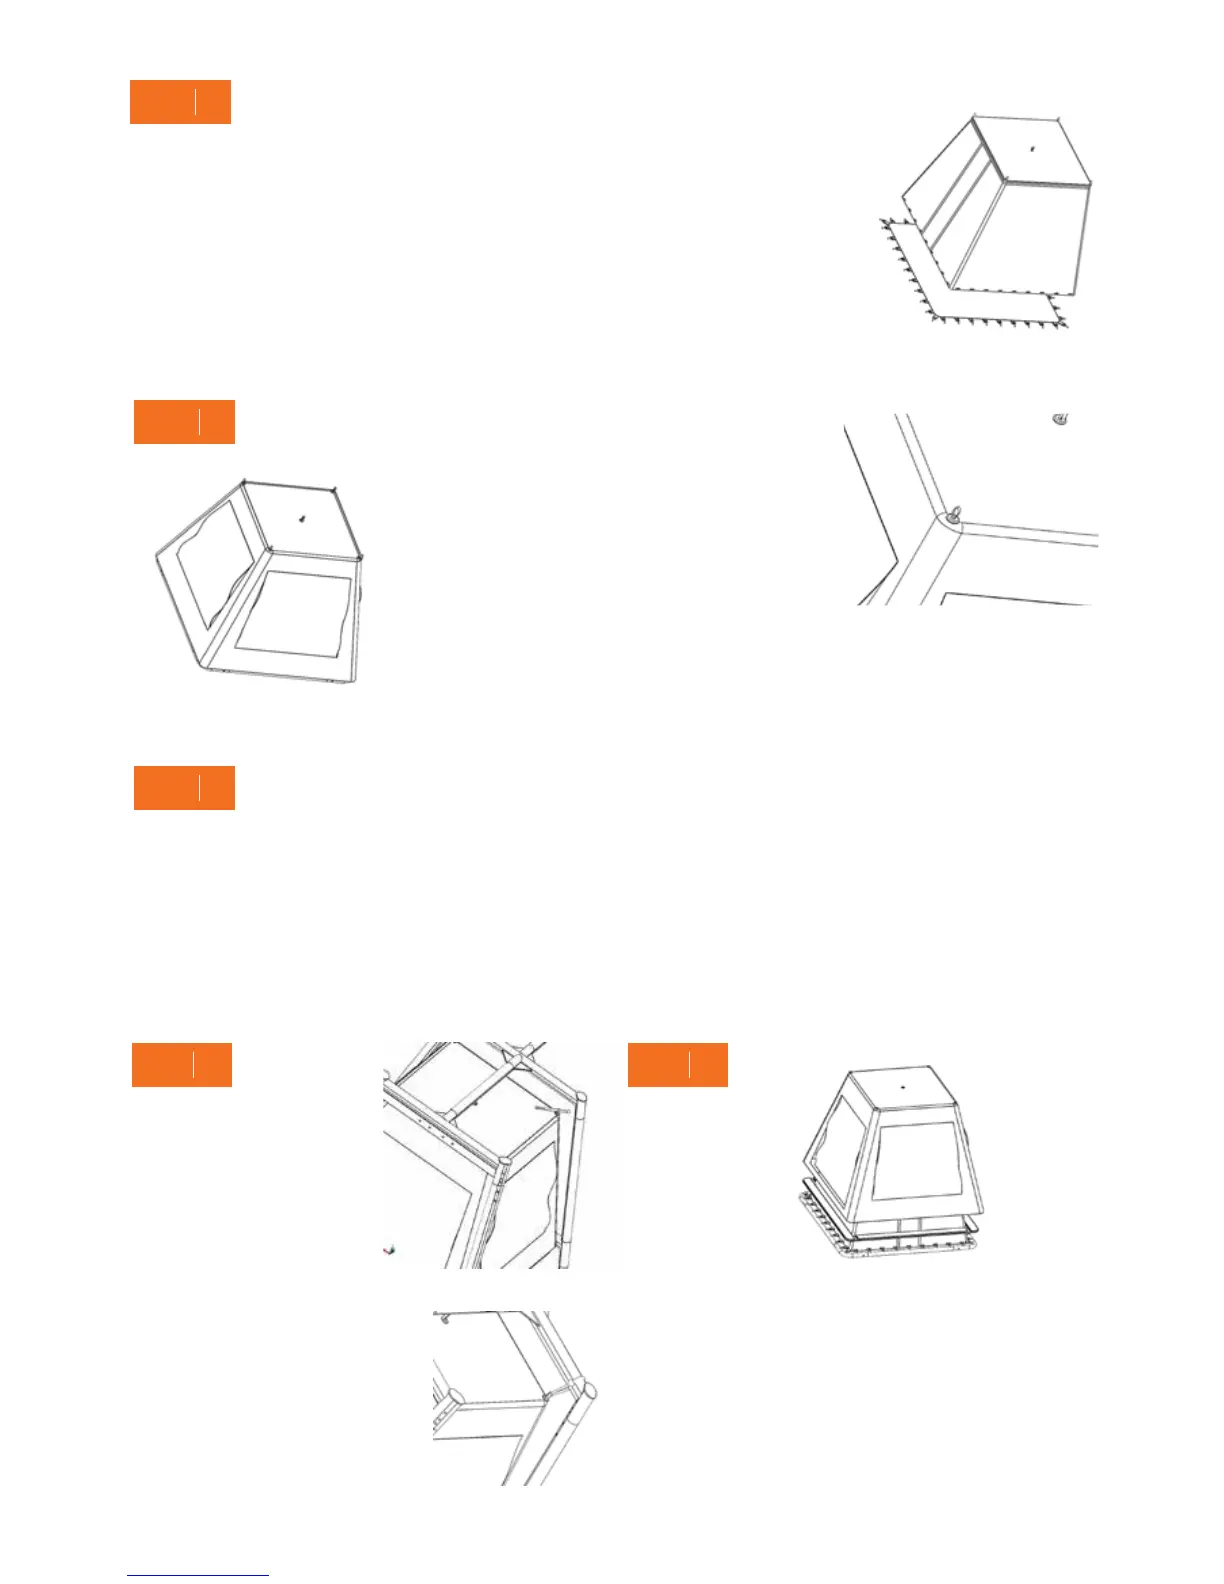
12
STEP
A. Position Pads at each Mat Frame Tube.
B. Unhook clips that correspond to the loops on the
underside of each Pad, feed each hook through those
loops, and then re-hook them into their Mat Frame
Tubes.
C. Pull the Tent over the Pads and Mat Frame Tubes.
8
STEP
A. Lay out your Cubby Mat, with the clip hooks facing downwards.
B. Take your Cubby Net and lay it on top of your Cubby Mat – matching the sides and
corners of the Net with those of the Mat.
IMPORTANT: Ensure that the door on the Cubby Net is not positioned on one of the
sides of the Mat Frame Tube to which you connected Short Bolts and Nuts in Step 6.
C. Slip the clips on the Cubby Mat through the corresponding holes in the Cubby Net.
9
STEP
A. Take your Cubby Tent and lay it on top of your
Cubby Net – matching the sides and corners of
the Tent with those of the Net and Mat.
IMPORTANT: Ensure that the opening for the
door on the Tent is positioned in front of the door
on the Net.
10
STEP
A. Lift the assembled Cubby Mat, Net and Tent – with a
second adult – from Steps 8 and 9, and position it at the
Mat Frame square from Step 7.
IMPORTANT: Ensure that the cubby door is facing the
one-way Top Joiner (the end of the frame).
B. Pull the loops on the Cubby Net through the holes at the top of the Cubby Tent.
B. Pull the Toggles around both
Top Joiners, and feed them
back through themselves to lift
and secure the Cubby Net and
Tent.
B. Feed the clips on the Cubby Mat through the
corresponding holes on the Mat Frame Tubes and
Corners, using the tool provided.