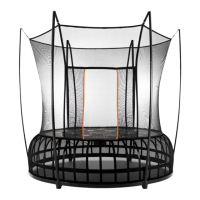
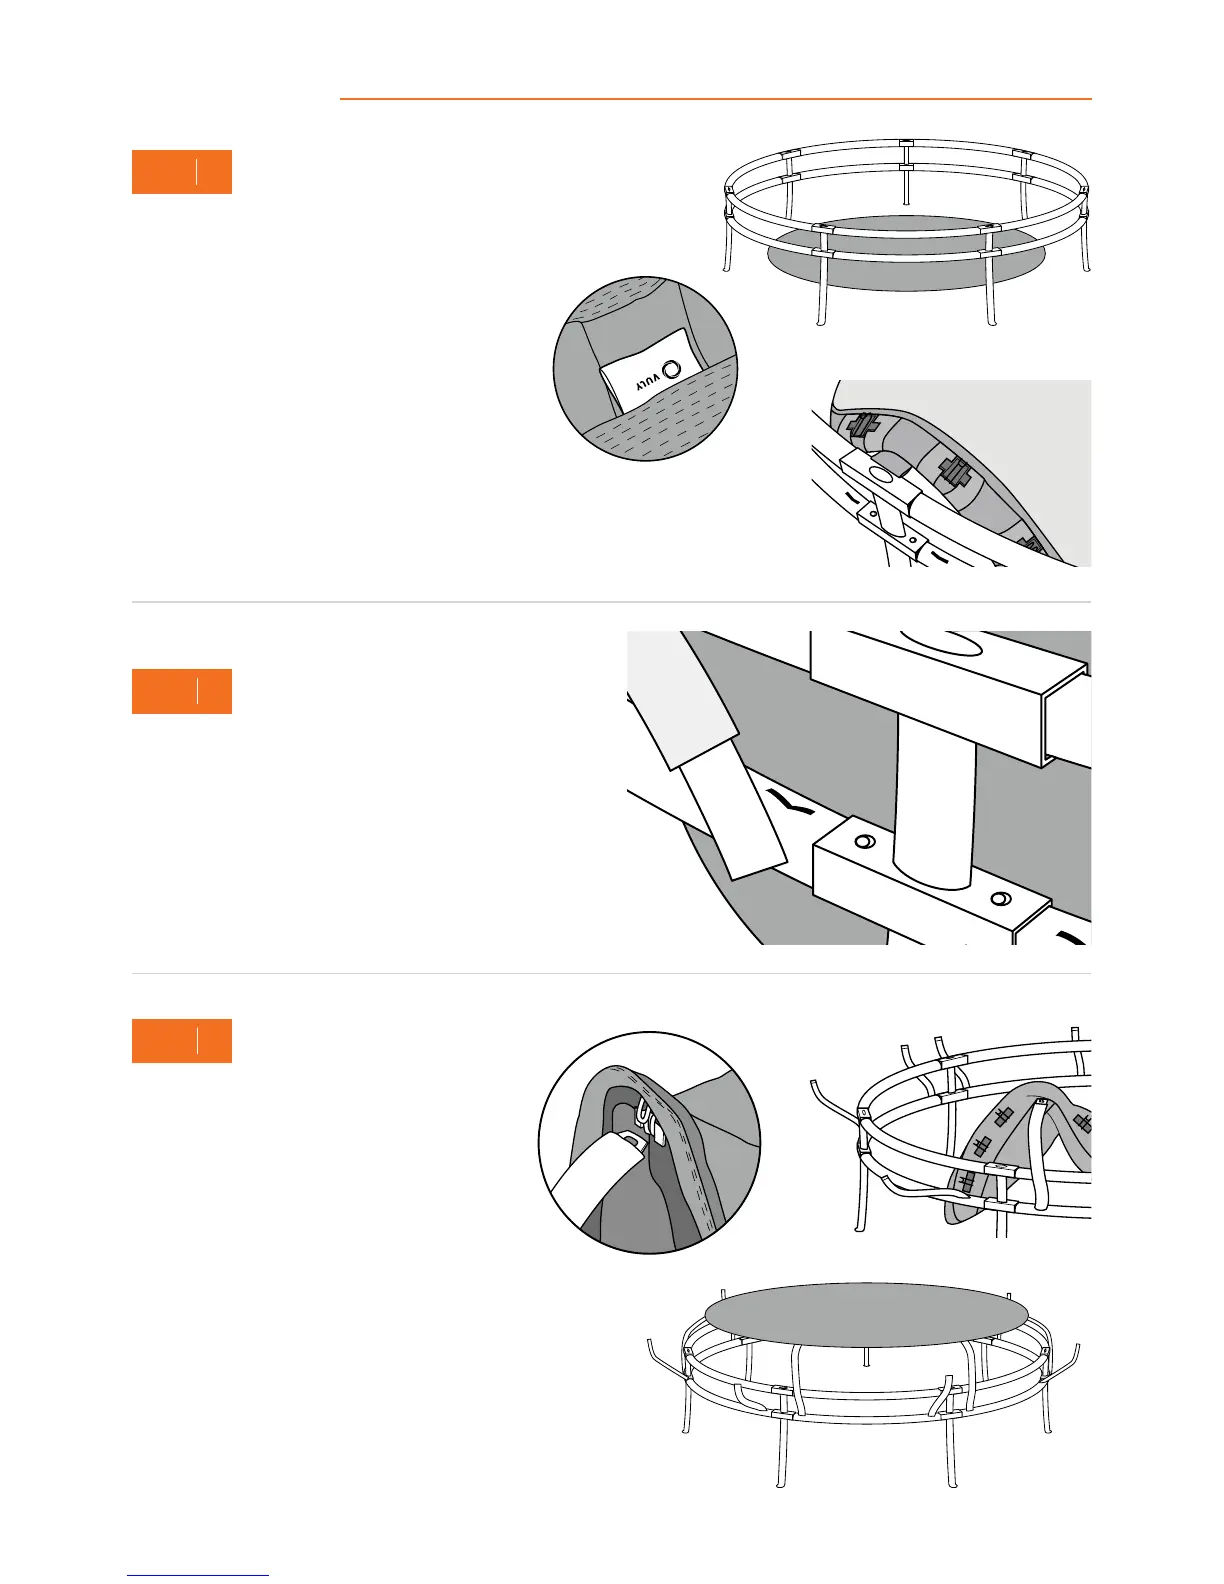
12
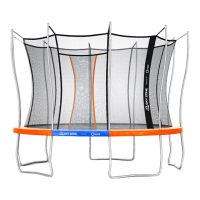
Mat and springs
A. Unravel and lay your trampoline Mat inside the frame,
ensuring that it is flat, with the print facing upwards.
Note: The net entrance will be between the two Joiner Poles to the right of the Batch Tag.
Rotate your Mat to the desired position, but always ensure that the Batch Tag lines up
with a Joiner Pole. The Vuly logo must be centred between two Joiner Poles.
B. Find the Vuly Batch Tag on the Mat, and rotate
the Mat so that the Batch Tag lines up with a
Joiner Pole.
4
STEP
5
STEP
Go around your trampoline, inserting Leaf Springs into the
Lower Frame to the right and left of every Joiner Pole. Ensure
that when you insert the Leaf Springs, the locking plates face
outwards and that they firmly secure into the Lower Frame.
Note: Check all push buttons near the Joiner Poles to ensure
that the Leaf Springs have not caused them to pop out.
A. Connect the Leaf Spring that is to the right of
a Joiner Pole into the mat connector that is to
the right of the Batch Tag.
B. Go to the opposite side of the frame –
counting mat connectors against Leaf Springs
as you go – and connect the Leaf Spring that
is to the right of the opposite Joiner Pole to
its corresponding mat connector.
C. Repeat for each Leaf Spring to the right of
a Joiner Pole. Then, repeat for each Leaf
Spring to the left of each Joiner Pole.
Tip: To use the Leaf Spring Tool, hook the
lever over the Leaf Spring, just beneath the
natural bend in the Spring. Push the handle
towards the Mat, and as the Spring bends,
attach it to the mat connector.
A
B
B
A
3
STEP