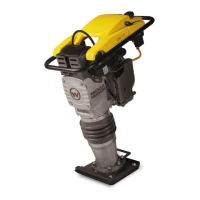
Rammer Repair Ramming System
wc_tx001547gb.fm 97
See Graphic: wc_gr001325rm
Threaded Rod Removal Method
5.3.15 Remove the ramming shoe per section Ramming Shoe. Separate the
ramming system from the upper machinery per section Bellows.
5.3.16 Remove the two socket head cap screws that are opposite of each
other on the spring system cover.
5.3.17 Screw the two M8 x 120 threaded rods into the bottom of the spring
cylinder until they bottom out.
5.3.18 Turn the nuts down each rod until they contact the spring system
cover.
5.3.19 With the nuts holding the spring system cover, remove the remaining
screws.
5.3.20 Evenly back off both nuts until the springs have fully expanded and the
pressure is released.
Make sure the threaded rods are not turning out of the cylinder while
backing off the nuts. The spring system cover is under heavy pressure.
It must be carefully removed and installed using either the hydraulic
press, the threaded rod, or the spring box tool method. If the spring
system cover is removed incorrectly, the springs can eject with enough
force to cause serious injury or death!
5.3.21 Remove the spring system cover, the gasket, and the bottom spring
set.
Threaded Rod Installation Method
5.3.22 Install the bottom spring set into the spring cylinder.
5.3.23 Place a new gasket onto the spring cylinder.
5.3.24 Insert the two threaded rods through the opposite sides of the spring
system cover and screw them into the spring cylinder until they bottom
out.
5.3.25 Compress the springs by evenly screwing the two nuts down the
threaded rods until the spring system cover makes contact with the
spring cylinder.
5.3.26 Install the socket head cap screws. Apply Loctite 243 and torque the
screws to 24 Nm (18 ft.lbs.).
5.3.27 Reinstall the ramming shoe.
5.3.28 Attach the ramming system to the upper machinery.
WARNING
 Loading...
