7
English
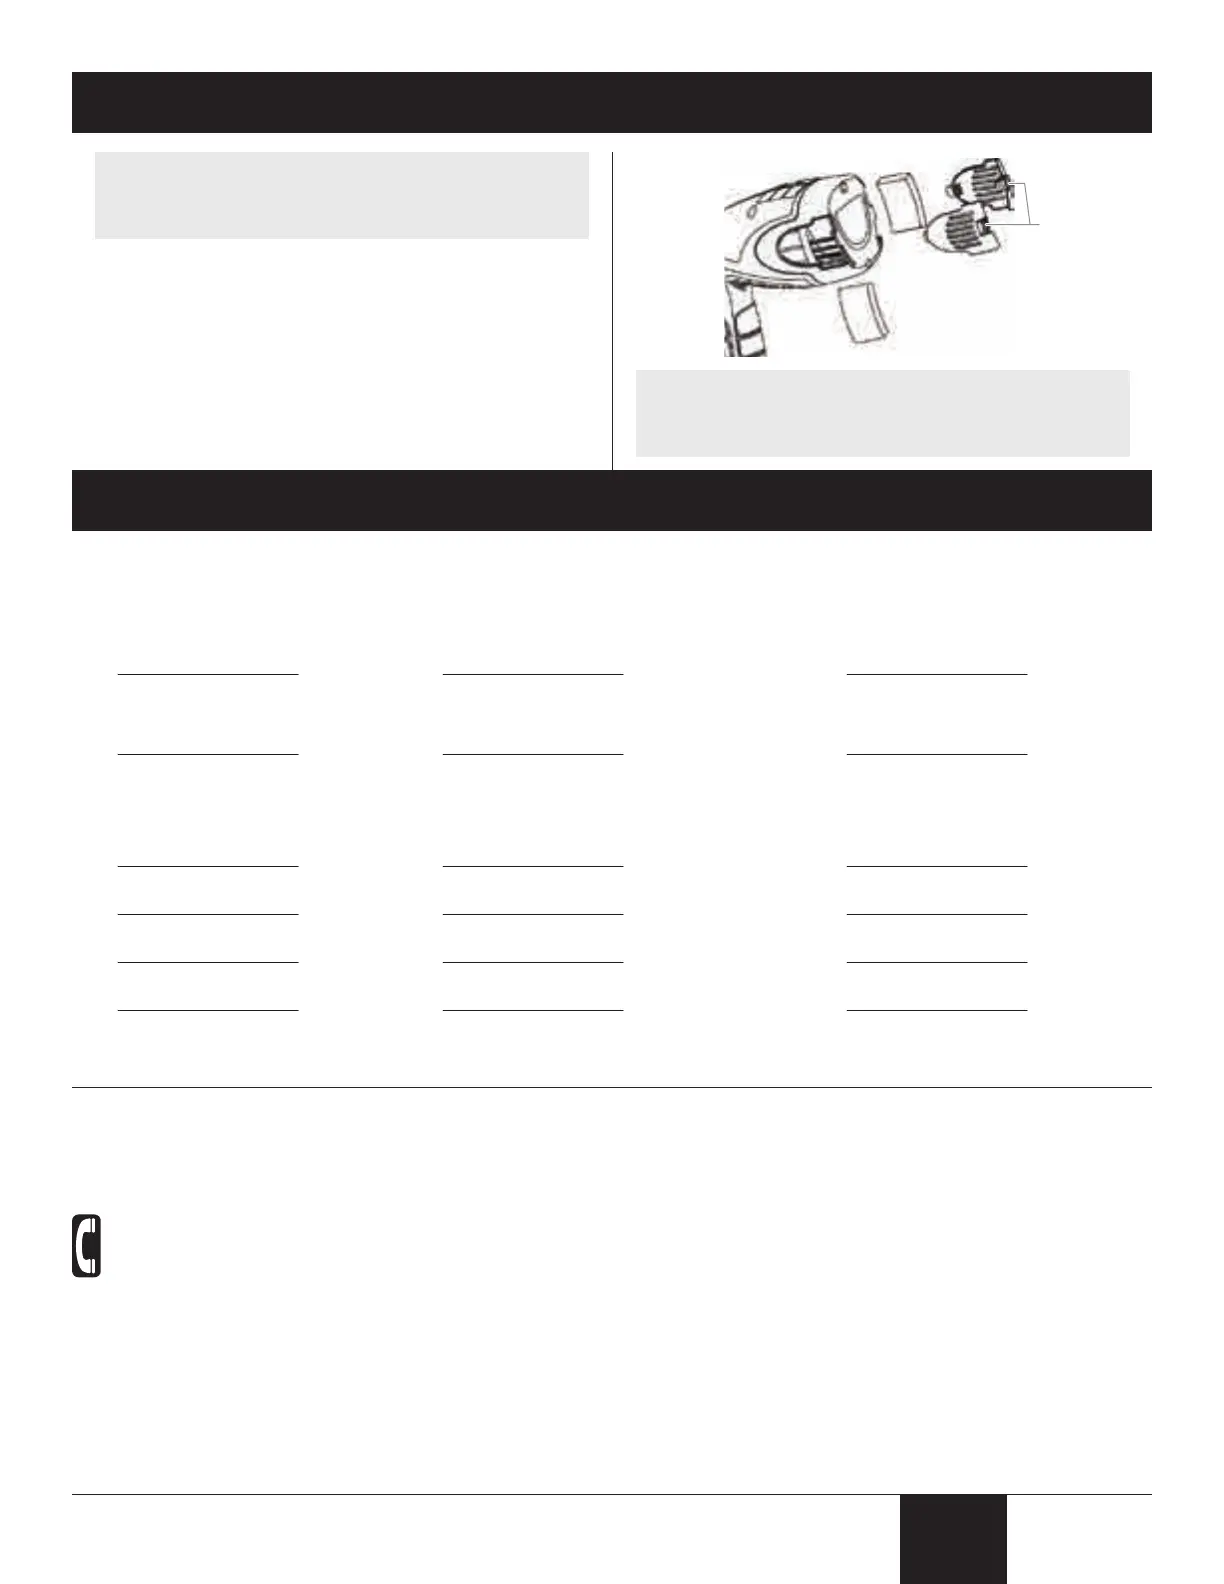
1. Unplug the spray gun. Push the snap levers (a) on the
two turbine covers and remove them.
2. Remove the dirty lters and replace with new ones. The
smooth side of the air lter must be placed toward the
turbine.
3. Secure the covers back onto the turbine.
A. Little or no material ow
B. Material leaking
C. Atomization is too coarse
D. Spray jet pulsates
E. Pattern runs or sags
F. Too much overspray
G. Pattern is very light and
splotchy.
1. Nozzle clogged.
2. Suction tube clogged.
3. Material volume setting turned too low (-).
4. Suction tube loose.
5. No pressure build up in container.
6. Air lter clogged.
1. Nozzle loose.
2. Nozzle worn.
3. Nozzle seal worn.
4. Material build-up on air cap and nozzle
1. Viscosity of material too high.
2. Material volume too large.
3. Material volume setting too high (+).
4. Nozzle clogged.
5. Air lter clogged.
6. Too little pressure build-up in container.
1. Material in container running out.
2. Air lter clogged.
1. Applying too much material.
1. Gun too far from spray object.
2. Too much material applied.
1. Moving the spray gun too fast.
1. Clean.
2. Clean.
3. Increase volume setting (+).
4. Insert.
5. Tighten container.
6. Change.
1. Tighten.
2. Replace.
3. Replace.
4. Clean.
1. Thin.
2. Decrease volume setting (-).
3. Decrease volume setting (-).
4. Clean.
5. Change.
6. Tighten container.
1. Rell.
2. Change.
1. Adjust material ow or increase movement of spray
gun.
1. Reduce distance.
2. Decrease volume setting (-).
1. Adjust material ow or decrease movement of spray
gun.
Register your product online at www.wagnerspraytech.com. Proper registration will serve as proof of purchase in the event your
original receipt becomes misplaced or lost.