14
Use the marking/etching wand to permanently mark or etch
your company name, logo, part number or other desired
information onto the surface of stainless steel, using perma-
nent or disposable stencils. Plug the marking/etching wand
into the accessory outlet on the front panel.
Using the marking/etching wand (optional)
Marking/etching
wand
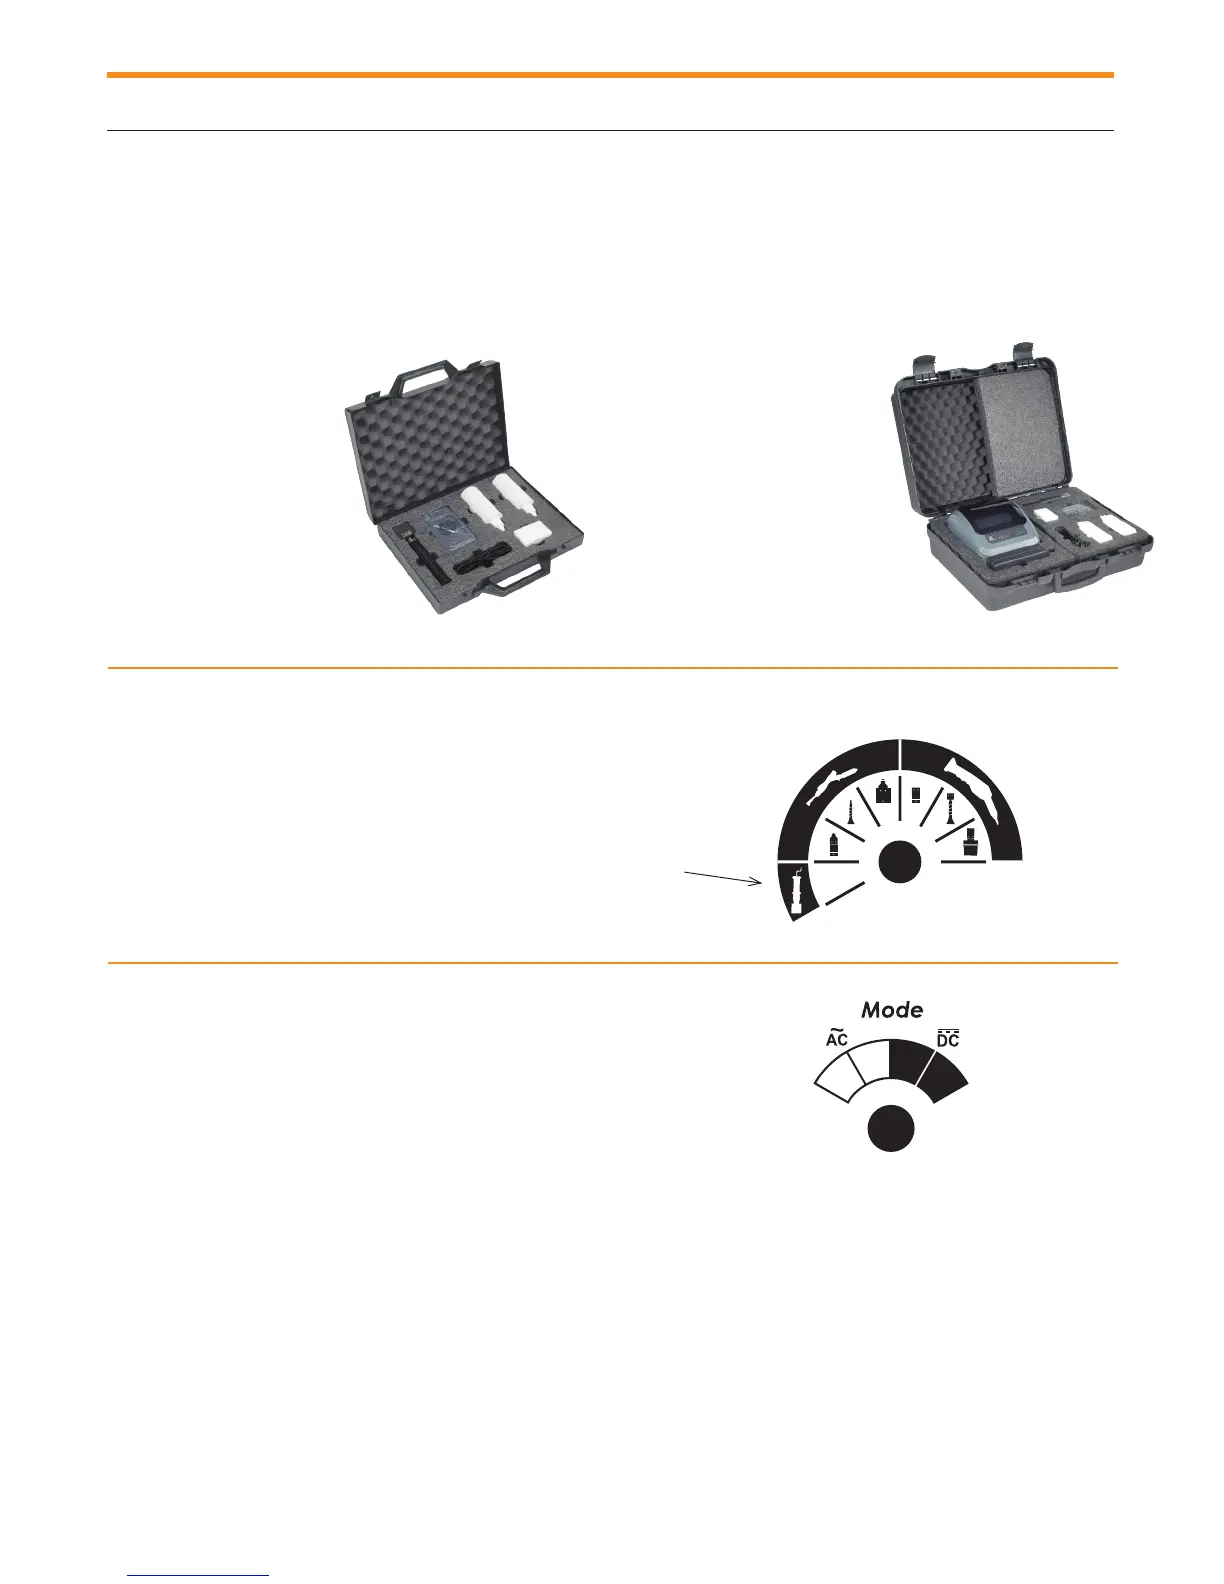
B) Selecting the proper wand and accesssory
Turn the selector knob to the marking/etching wand icon.
• 1 marking/etching wand with
graphite insert
• 35 mm X 10 mm
and connecting cable
• 20 marking pads
• 5 O-Rings
• 1 SURFOX-M, 100 ml
solution
• 1 SURFOX-E, 100 ml
solution
PRO kit (54-B 081) includes:
• 1 marking/etching wand with
graphite insert
• 35 mm X 10 mm
and connecting cable
• 20 marking pads
• 5 O-Rings
• 1 SURFOX-M, 100 ml solution
• 1 SURFOX-E, 100 ml solution
• 1 Stencil printer and software
• 1 Stencil paper roll 100 mm (W) X 20 m (L)
C) Selecting the proper current type, AC or DC
and proper current level, STD or MAX
AC for marking using Surfox-M.
DC for etching using Surfox-E.
STD current level is recommended for marking or etching.
TECHNICAL BULLETINS AVAILABLE ON OUR WEB SITE.
A) Marking kits
Standard kit (54-B 080) includes:
9
Using the marking/etching wand (optional)
STD MAX
MAX STD
 Loading...