Installation Guide
Installation – Electrical Supply and Water Supply for First Use
Finalise Installation
1. Push the Plastic Water Pipe into the
compression fitting on the Washloo.
15
1. Turn the water supply back on and ensure the angle valve is fully open
allowing water to be supplied to the Washloo.
2. Insert the electric plug into the designated socket/fused spur as
recommended by a qualified electrician.
3. When switched on – all lights on the unit will be illuminated. The Washloo
will now prime the water system for around 10 seconds and finally the
nozzle will extend out whilst performing a cleaning/first use test function.
4. After the first use test cycle – all lights will now turn off and a buzzer sound
will notify the user that the full cycle is now complete.
5. Now press the ‘Power On’ button on the toilet and/or remote control to
set the toilet to the ‘Standby’ setting.
6. Please note – Set the water temperature, water pressure and seat
temperature accordingly before use (We recommend you to set to a low
temperature/pressure for first use to avoid sensitivity until you are familiar
with the Washloo Supreme).
7. Please follow all instructions within this manual when operating all of the
additional functions.
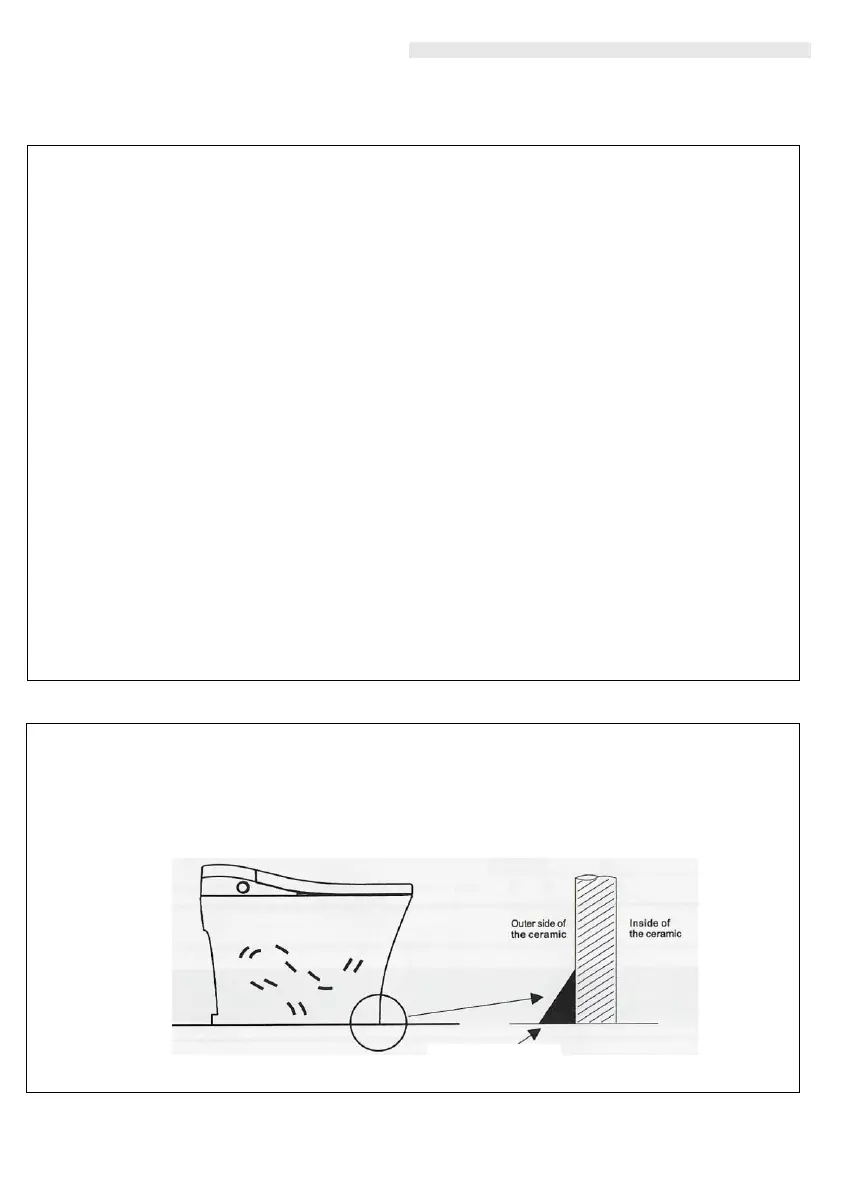
1. Ensuring the Drain Outlet is correctly lined up and free flowing any waste
from the Washloo during the flush cycle.
2. Sealant can now be applied around the outside of the Washloo Ceramic to
fully seal and finalise the installation.
Sealant