2
WATERFORD TRINITY MKII WOODBURNING STOVE
INSTALLATION AND OPERATING INSTRUCTIONS
GENERAL
When installing, operating and maintaining your
Waterford Trinity MK II Stove respect basic
standards of fire safety. Read these instructions
carefully before commencing the installation. Failure
to do so may result in damage to persons and
property. Consult your local Municipal office, Fire
Department and your insurance representative to
determine what regulations are in force. Save these
instructions for further reference.
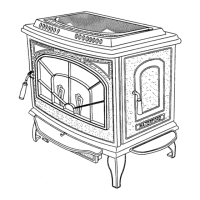
PRE-INSTALLATION ASSEMBLY
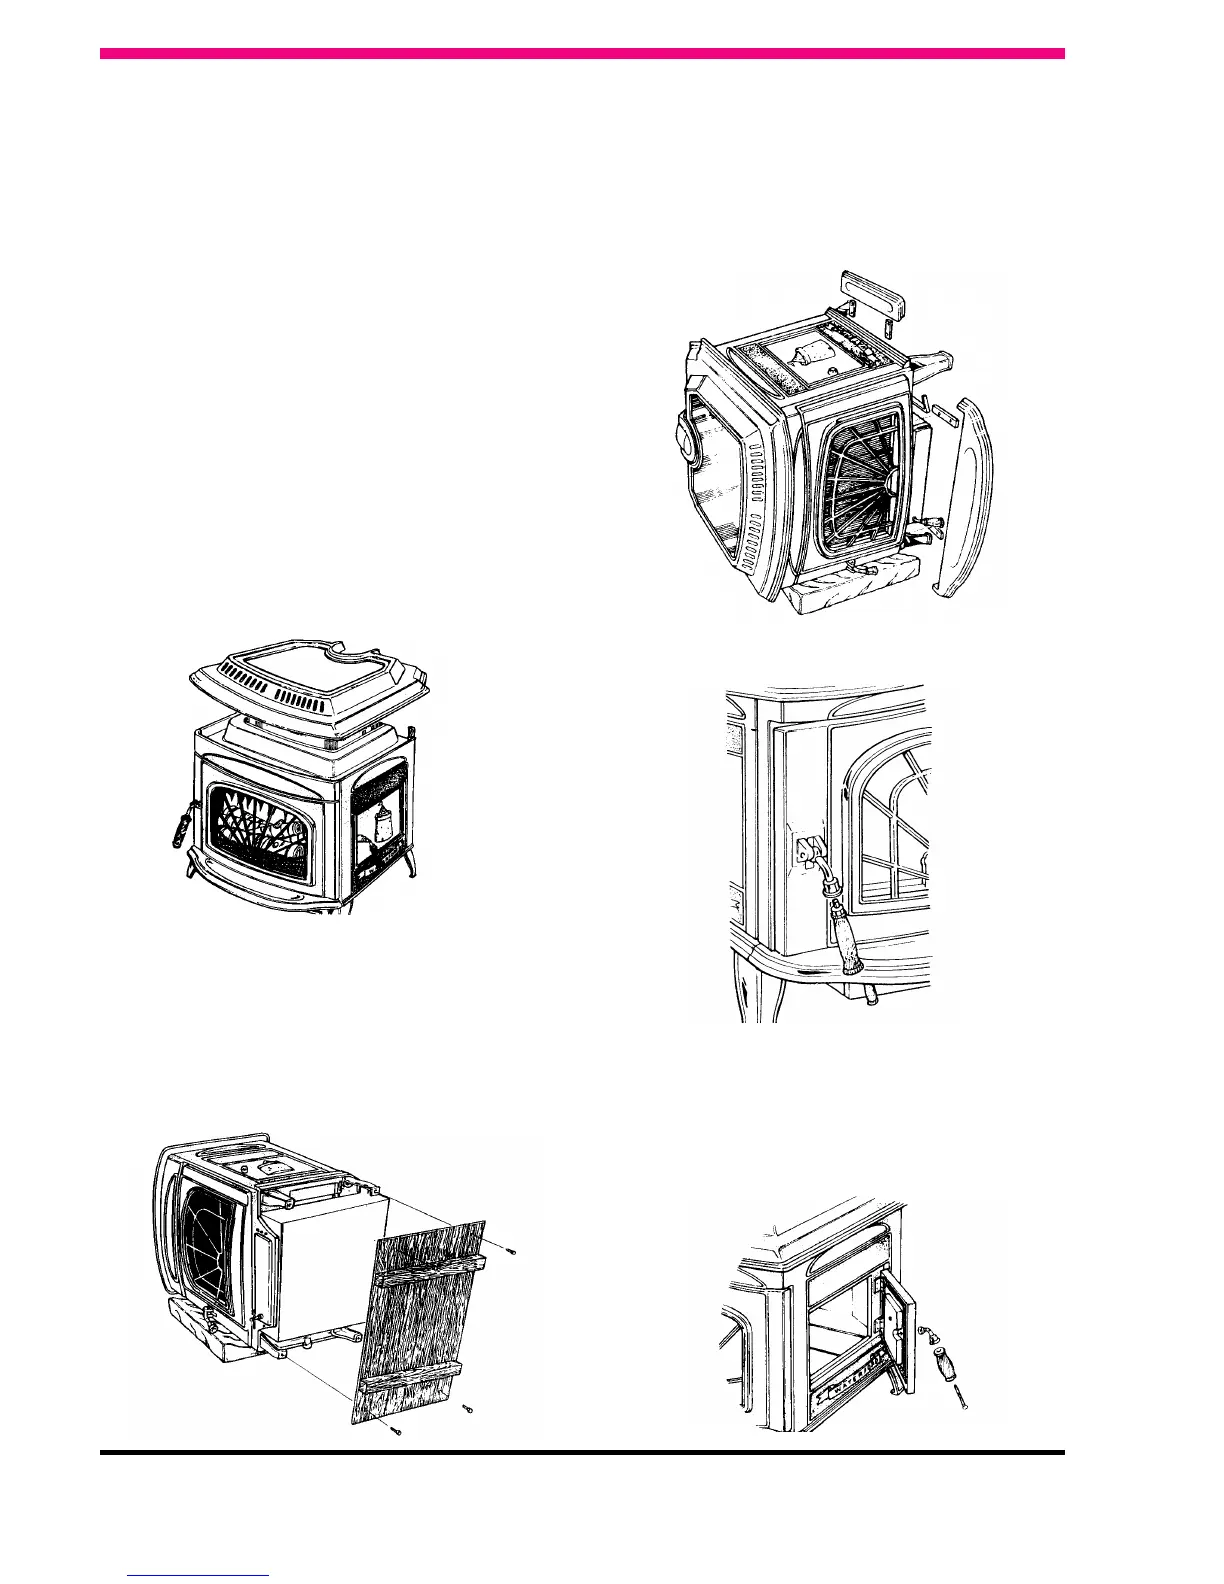
(a) After removing the stove from its packing, open
the ashpit door (item 13 in exploded view) and
remove the contents
(b) Open the firedoor (item 8) and remove the
contents of the firebox, leaving the bricks in
place.
(c) Remove the ashlip (item 12) from the rear of the
stove if you have not already done so. Remove
the loose fitting hob (item 3) and place on a non-
abrasive surface.
(d) Place the plastic packing on the ground at the left
hand side of the stove.
NOTE: As the stove is very heavy take care when
laying the stove on its side on top of the packing.
(e) Remove the wooden pallet by taking out the 4
retaining screws from the base of the legs (item
2). Discard brackets & woodscrews, replace
levelling screws.
(f) Fit the front ashlip (item 12) using two of the
ashlip brackets (item 35) and screw together
using four
1
/4” x
1
/2” hex head bolts provided.
Stand the stove upright taking care not to strain
the back leg bolts.
(g) Fit the wooden handle (item 28) to the fuelling
door (item 8)
h) If the side fuelling door (item 21) is to be used, fit
the side ash lip (item 24) using two ashlip
brackets (item 35) and screw together using four
1
/4” x
1
/2” hex head bolts provided. Take out the
chrome locking bolt and fit door latch (item 73),
the door latch spigot (item 40), and the wooden
handle (item 28) provided.
Fig.1
Fig.2
Fig.3
Fig.4
Fig.5
 Loading...