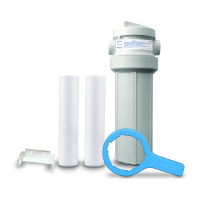
Page 10
Step 10: Turn off the cold water supply to the faucet by turning the angle stop valve completely off.
Step 11: Open cold water sink faucet to relieve pressure.
Step 12: Choosing the configuration that fits your plumbing, attach the Adapt-A-Valve™ as illustrated in the
diagrams above.
NOTICE
Make sure that the black collet is installed in to the 1/4” opening on the Adapt-a-valve. Don’t
forget to install the white compression washer with the 3/8” configuration. The Brass Adapters
do not need to be tightened with a wrench, only finger tight.
Green Tube Connection
Step 13: Locate the 1/4” green tube attached to the left side of the filter system
and insert into the 1/4” quick connect fitting on the plastic Adapt-A-
Valve. Make sure to push the tube all the way to the tube stop.
D
B
Line from
Cold Water
Supply
Faucet
Connection
Faucet Line
Cold
Water
Supply
C
B
A
B
Line from
Cold Water
Supply
Faucet
Connection
Faucet Line
Cold
Water
Supply
C
B
A
Adapt-a-Valve Installation
NOTICE
Water supply line to the system must be from the cold water supply line only. Hot water will
severely damage your system.
NOTICE
Do not use Teflon tape with the Adapt-A-Valve™.
For 1/2” Configuration
Parts List for Adapt-A-Valve
Item Description
A Brass Adapter with black washer
B Plastic Adapt-A-Valve & black collet
C White Rubber Washer
D Brass Adapter with no washer
For 3/8” Configuration
 Loading...