210 CHAPTER 24 CLICK 304
Note
On certain devices, the yellow LED may replace the green LED in the autobaud pro-
cess—that is, the yellow LED will come on to select the autobaud process, the yellow
LED is on during the autobaud process, etc.
Factory Reset (red flashing)
e Factory Reset operation will erase all user-congured elds and the Click 304 may have
to be recongured to work properly in its current application. If a device is not respond-
ing and not communicating, resetting the device may x the problem. Once the device is
responding, restore the conguration needed for its current application.
Computer Configuration
e Click 304 can be congured more exactly using the Click Supervisor soware. See
Chapters 4 and 5 of this document for instructions on how to download and install Click
Supervisor and how to connect to your device using the soware.
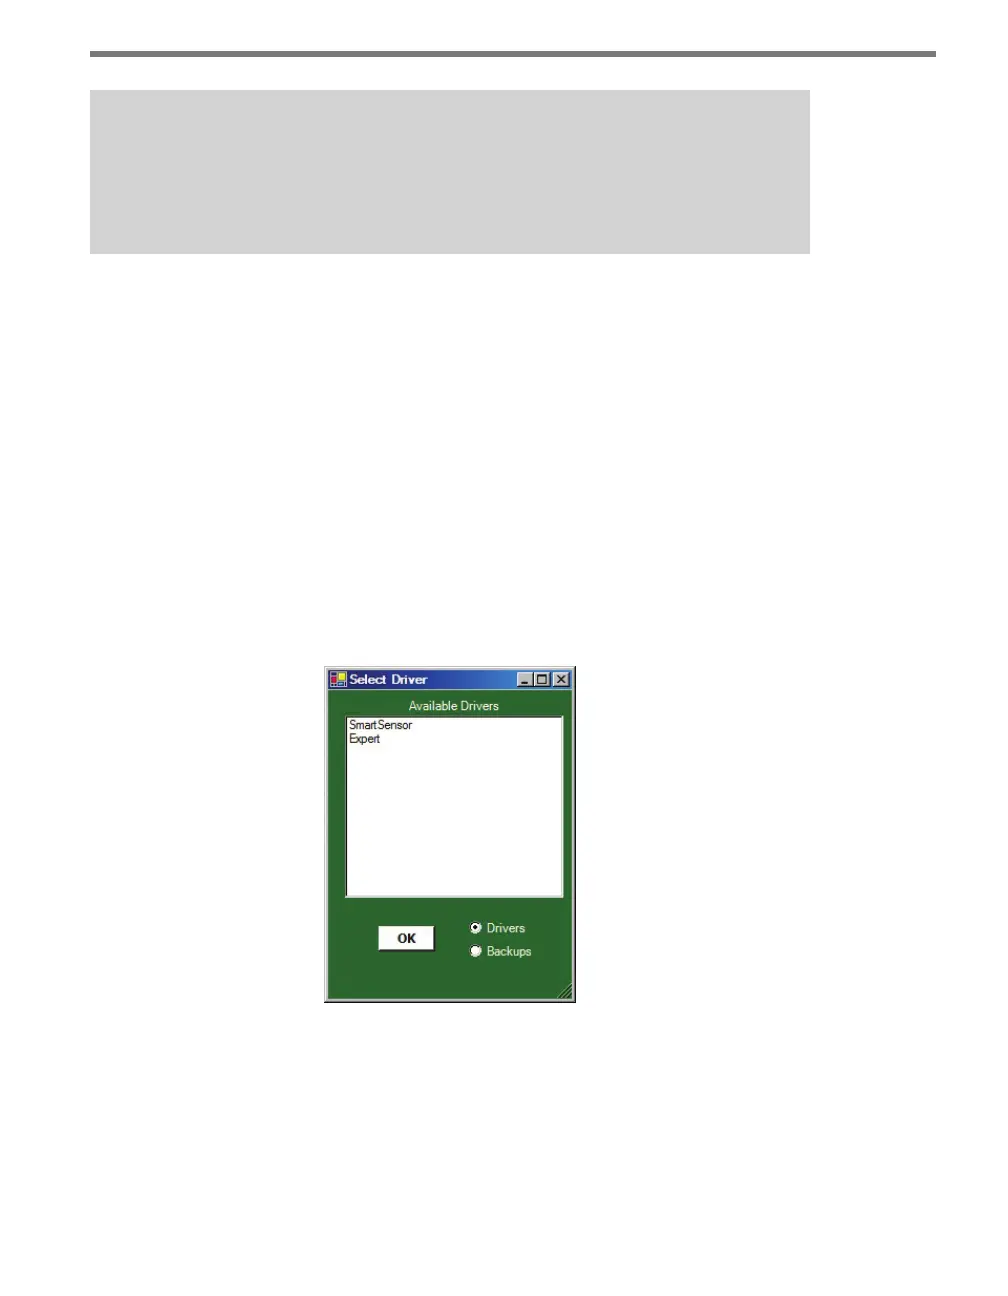
e Click 304 is congured using one of the following drivers (see Figure 24.3):
Figure 24.3 – Selecting a Driver
Which driver you use will depend on what you need to use the device for.
If you intend to connect from your TOC to the Click 304 to a sensor, use the SmartSensor
driver.
To see advanced settings, use the Expert driver. is driver, which exposes every available