FE
ATURES
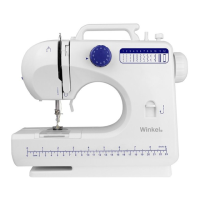
ADJUSTING STITCHING
1. As shown in the picture A, normal stitching shall have top and bottom threading
neither over tight or loose.
Top thread
Cloth
Bottom thread
Fig. A
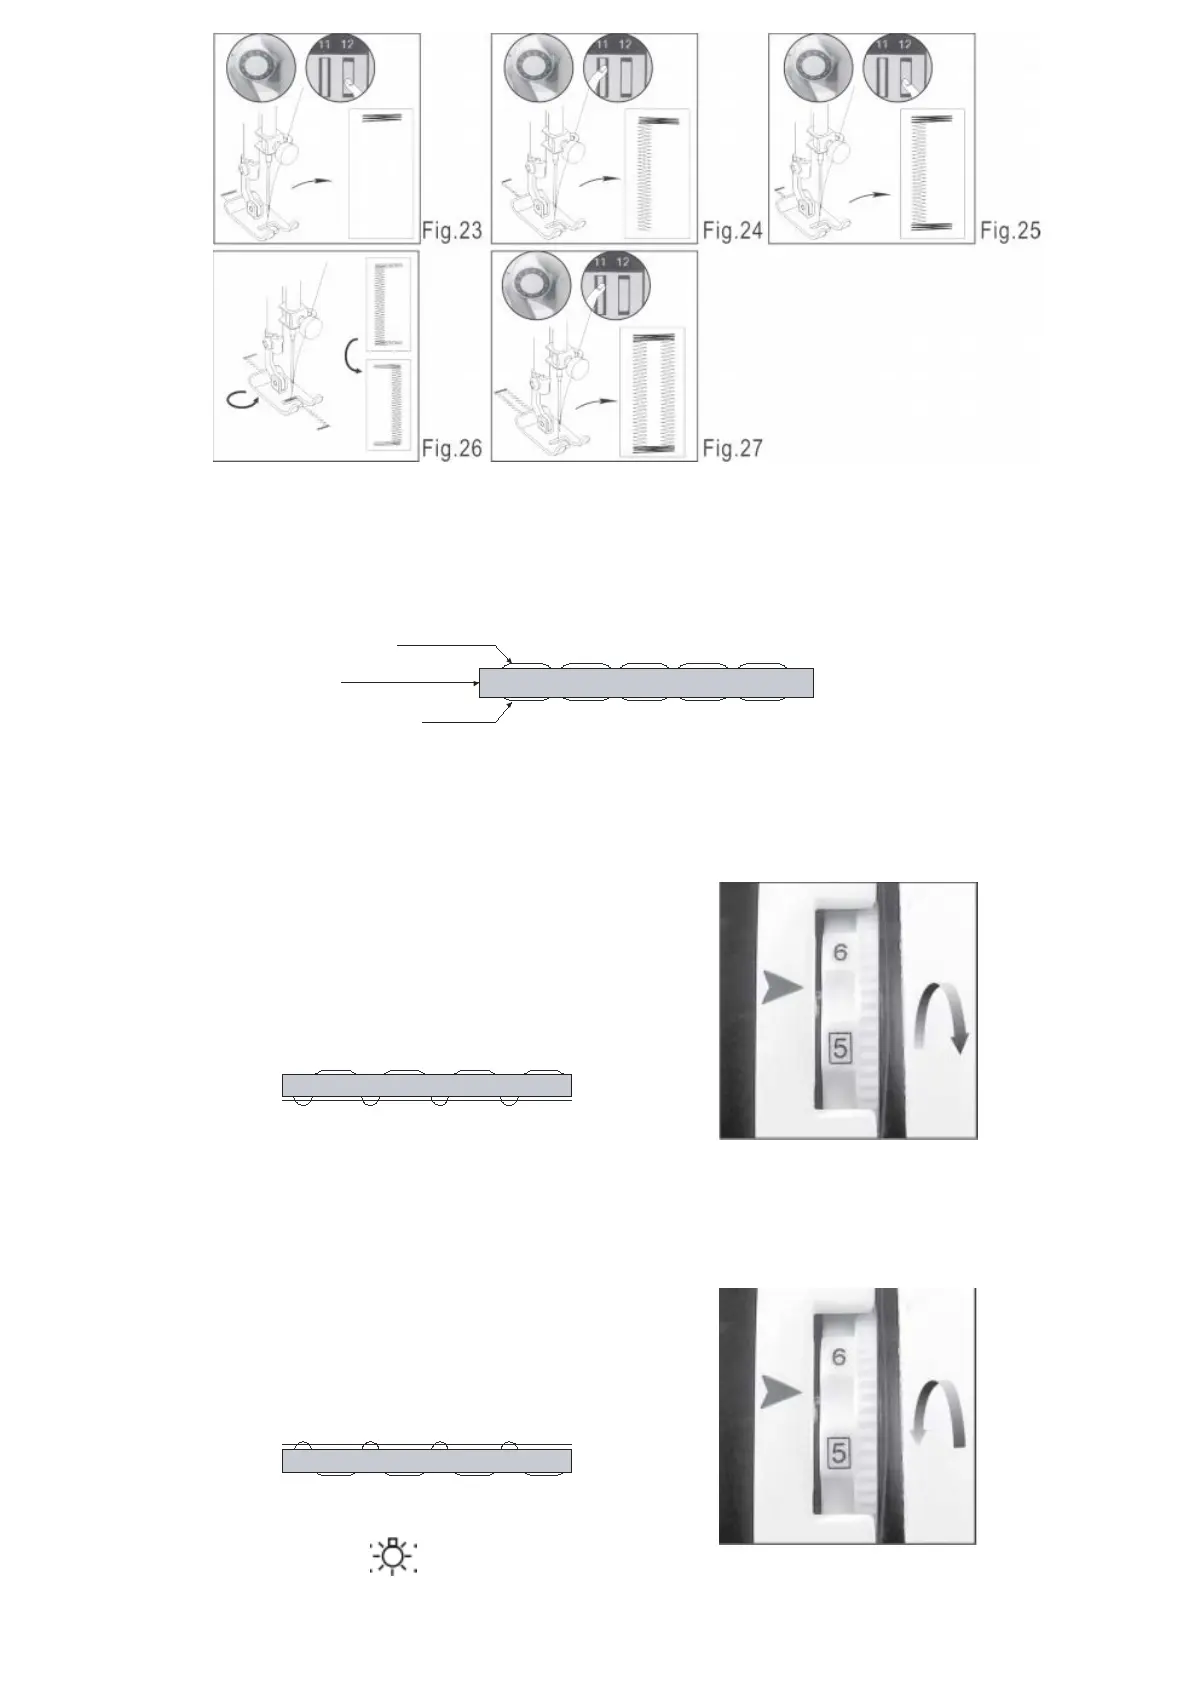
2. If
the bottom threading looks like a straight line, which indicates the top thread is too
loose. Please turn in thread damp clock wise to increase pressure until the stitching
returns to normal.
3. How
ever, when the top thread looks like a straight line indicating an over-tight top
thread, slowly turn the thread clamp anti clock wise to reduce pressure until the
stitching back to normal.
Fig.C
WORKING LAMP [
]
IF additional light is needed, press the light switch to turn the light “ON”. Press the
switch again to turn it “OFF”.