Marine heating system Installation Instructions
28 © Webasto Global Comfort Solutions
®
9.5 Temperature control
Install external temperature sensors in boat interior (mandatory for fresh air operation).
The heating system compares the interior temperature with the set value and adjust the heating
capacity automatically.
9.5.1 Operating control
Shows the set value for the interior temperature.
Position: easily accessible, visible and protected from water. The position has no effect on the
control behavior.
Various controls with different operating ranges are available, see the parts catalog.
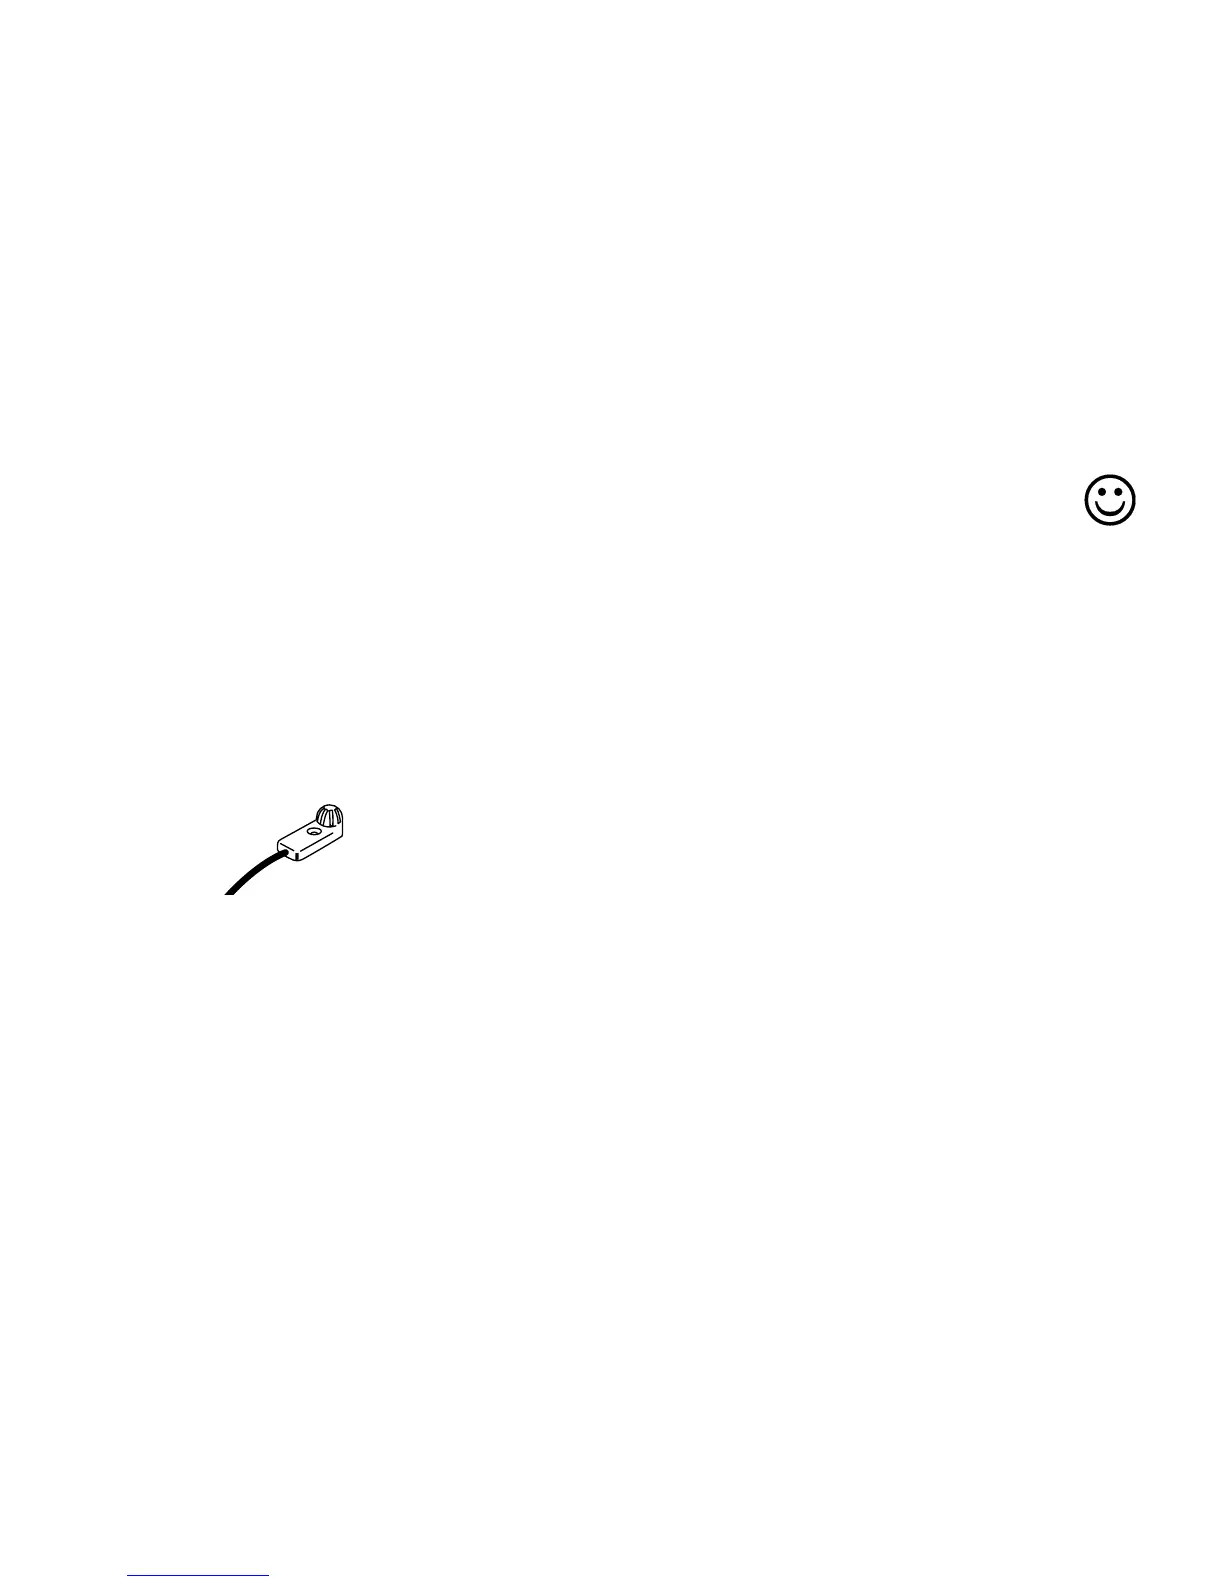
9.5.2 Temperature sensor
Position: essential for control behavior.
Recommendations:
in largest cabin to be heated
in position with average ambient temperature
is possible at average height (half room height)
if possible on vertical inner wall, not directly on outside wall
− not in the air flow of hot air outlets
− not within range of the landing
− not in the vicinity of heat sources
− not behind cushions or curtains
− not in direct sunshine
Temperature sensor for determining the interior temperature
9.6 Electrics
Interfaces to 4 main components.
1. Power supply: from battery, directly from the boat’s supply system.
2. Metering pump: Cable harness is normally led out from combustion air intake pipes. Pull out
stowed cable (and do not push it back in again). Connect to metering pumps. Polarity not important.
If length is not sufficient, use an extension cable (accessory).
3. Connect controls (on/off switching and temperature selection) directly to potentiometer pots on
cable harness. To mount the combi-timer, use an adapter cable harness.
4. Heat/Air switch (option): connect the positive from the on-board supply and the ventilation cable
from the cable harness to the connector.
5. Connect the external temperature sensor for the interior temperature directly to the heating
system controller. (Exception Air Top 2000 STT
®
: temperature sensor connection on main cable
harness).
Connect the cable harness to the heating system controller (under grey cover).
Refit the cover (can be done in both directions) and feed out the cable harness from the heater.
Remove the cover (with blunt instrument) as shown in the illustration.
 Loading...


