6.1. 7 Flame Detector
Description:
The flame detector consists of a photo-
transistor protected by a tube. After flames have
formed the tube starts to glow so that
the
flame detec-
tor signals "flame".
The
flame detector fulfills the following functions:
- switching off
the
glow plug (see section 6.1.5) or
pencil-type glow plug (see section 6.1.6) after the
combustion process has started,
- initiating a restarting procedure via the control unit if
no flames have formed,
- switching off the heater
in
the case of flame failure.
Check: Switch
on
heater -
a)
In
the event that the heater shuts down after approx.
30
sec.
(with subsequent after-run cycle) a short-cir-
cuit in the electrical supply line or
the
flame detector
exists.
b)
In
the event that the heater shuts down after approx.
120 sec. although the start-up was successful and
combustion was established, and if it shuts down
in
its 'fault lock-out' mode after a total of approx. 240
sec. (with subsequent after-run cycle) after the start-
up
sequence was repeated,
an
interruption
in
the
electrical supply line or a defect
in
the flame detec-
tor exists.
Electronic after-run cycle:
HL 24/Air
Top
24
= 150 sec.
HL 32/Air
Top
32
= 180 sec.
Removal:
- Remove cap (wiring harness)
(using Phillips screwdriver)
Disconnect electrical connection
of
flame detector
Remove locking screw from flame detector
(using Phillips screwdriver)
Remove flame detector. Any broken off fractions
of
the flame detector present
in
the combustion cham-
ber
can
remain there
Repair:
It
is
not possible to repair the flame detector; it
must be replaced as a complete unit.
Installation: Whenever a flame detector
is
installed,
the
O-ring seal must be pressed onto the tip of the
flame detector (coat O-ring seal with Copaslip). Prior to
each installation, a new seal must
be
installed under
the
cap
(wiring harness). Subsequently, the cap (wiring
harness) must
be
reinstalled (tightening torque 1.0 Nm)
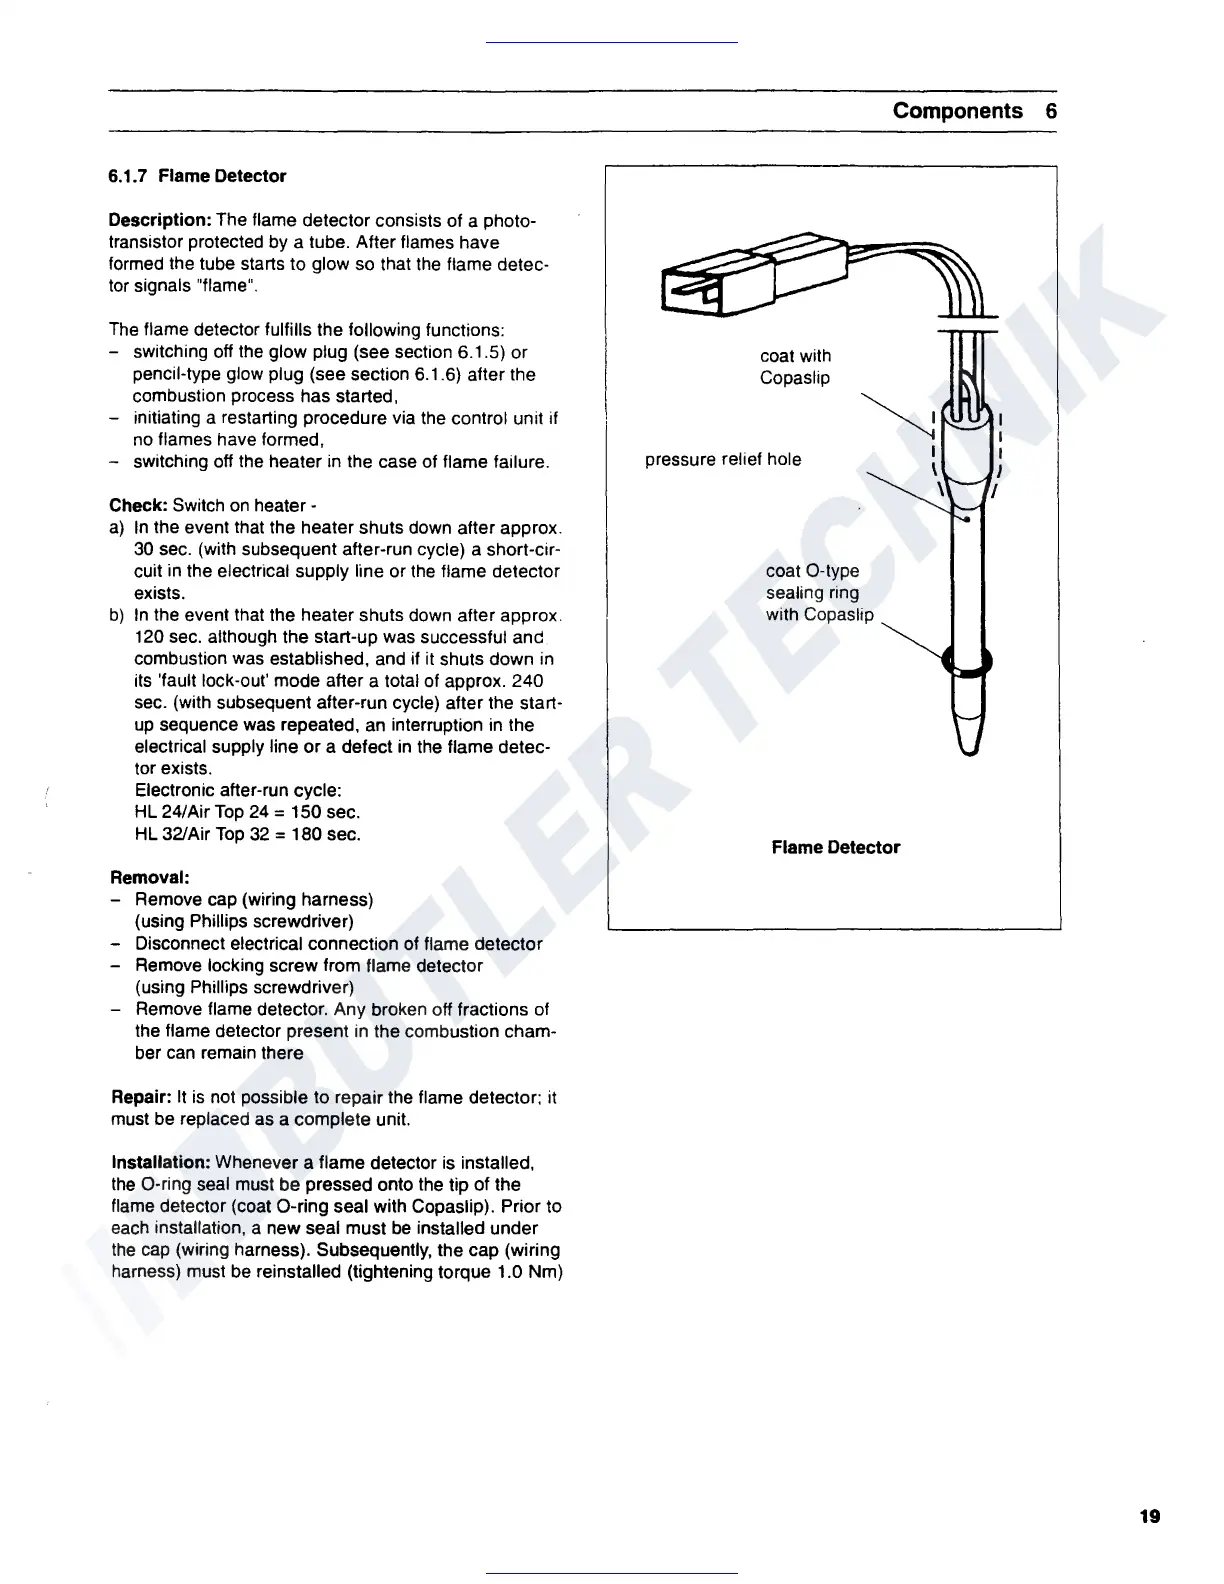
coat with
Copaslip
pressure relief hole
coat O-type
sealing ring
with Copaslip
Components 6
I
\
\
I
I
I
I
I
Flame Detector
19