SmarTemp Control 3.0 Installation - Operating Instructions
14
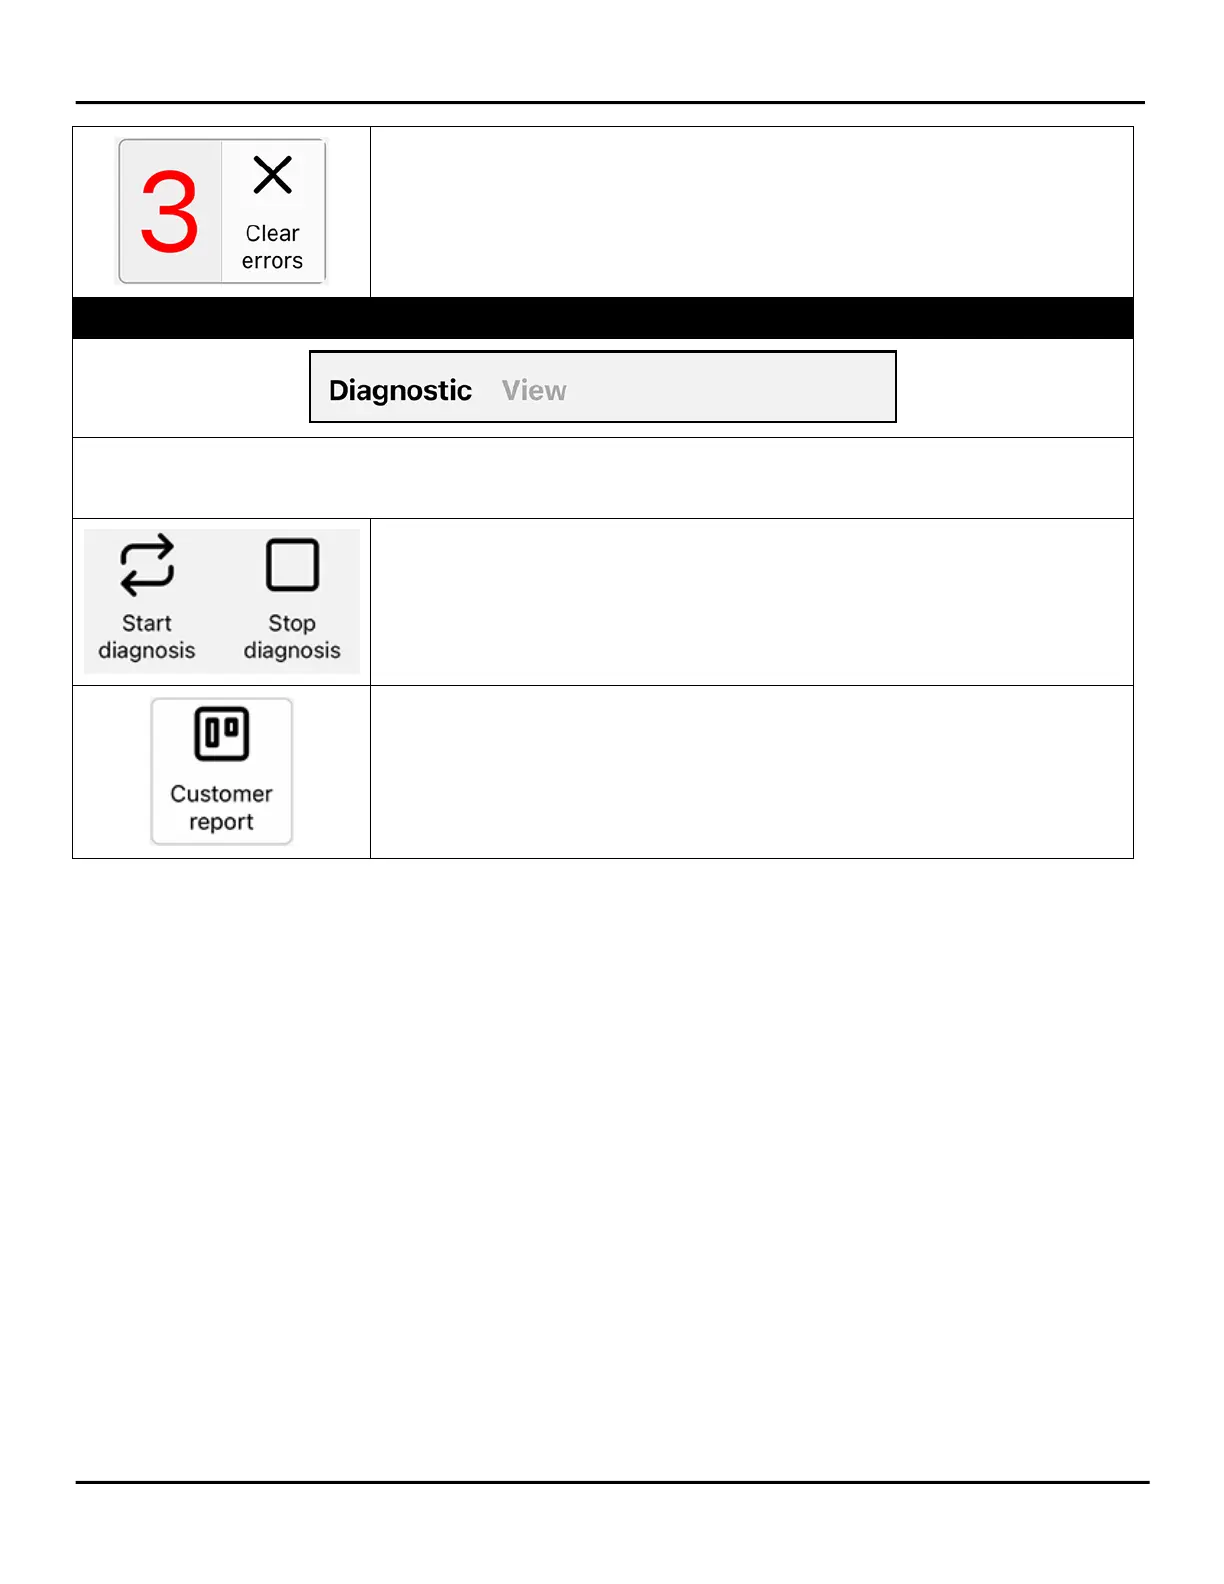
Use this function to clear all fault codes from the timer. The fault codes in the
heater will remain.
DIAGNOSTIC
The diagnostic heater only changes the options at the top of the page, the lower portion will remain the view
that is selected under the View header.
Stop and start diagnosis by using these icons.
The Customer report icon generates a customer report that can be sent via
text message or e-mail.
Technical Information:
– Rated Voltage: 12V / 24V
– Operating Voltage Range: 9V - 32V
– Low Voltage Disconnect Range: 12V: 11 – 12.5V | 24V: 21 – 25.5V
– Operating Temperature: - 40° ... +185 °F (- 40° ... +85 °C)
Note: Display visible to -22°F (-30°C)
– Set Temperature Range: 41° - 95° F (5° - 35° C)
– Installation Dimensions: (L x H x D) 2.7” x 2.2” x .60” (69.4mm x 55.5mm x 15.2mm)
Drilling Dimensions
Use the dimensions / template located in the back of this manual as a guide when installing and mounting
the Webasto SmarTemp Control 3.0.
NOTE: The Webasto SmarTemp Control 3.0 has an integrated ambient temperature sensor. To ensure this
sensor properly measures the surrounding air, the unit must only be mounted in the vertical position.
NOTE: Refer to the connection diagrams at the end of this document for more information on wiring
connections.