Marine heating system Installation Instructions
36 © Webasto Global Comfort Solutions
®
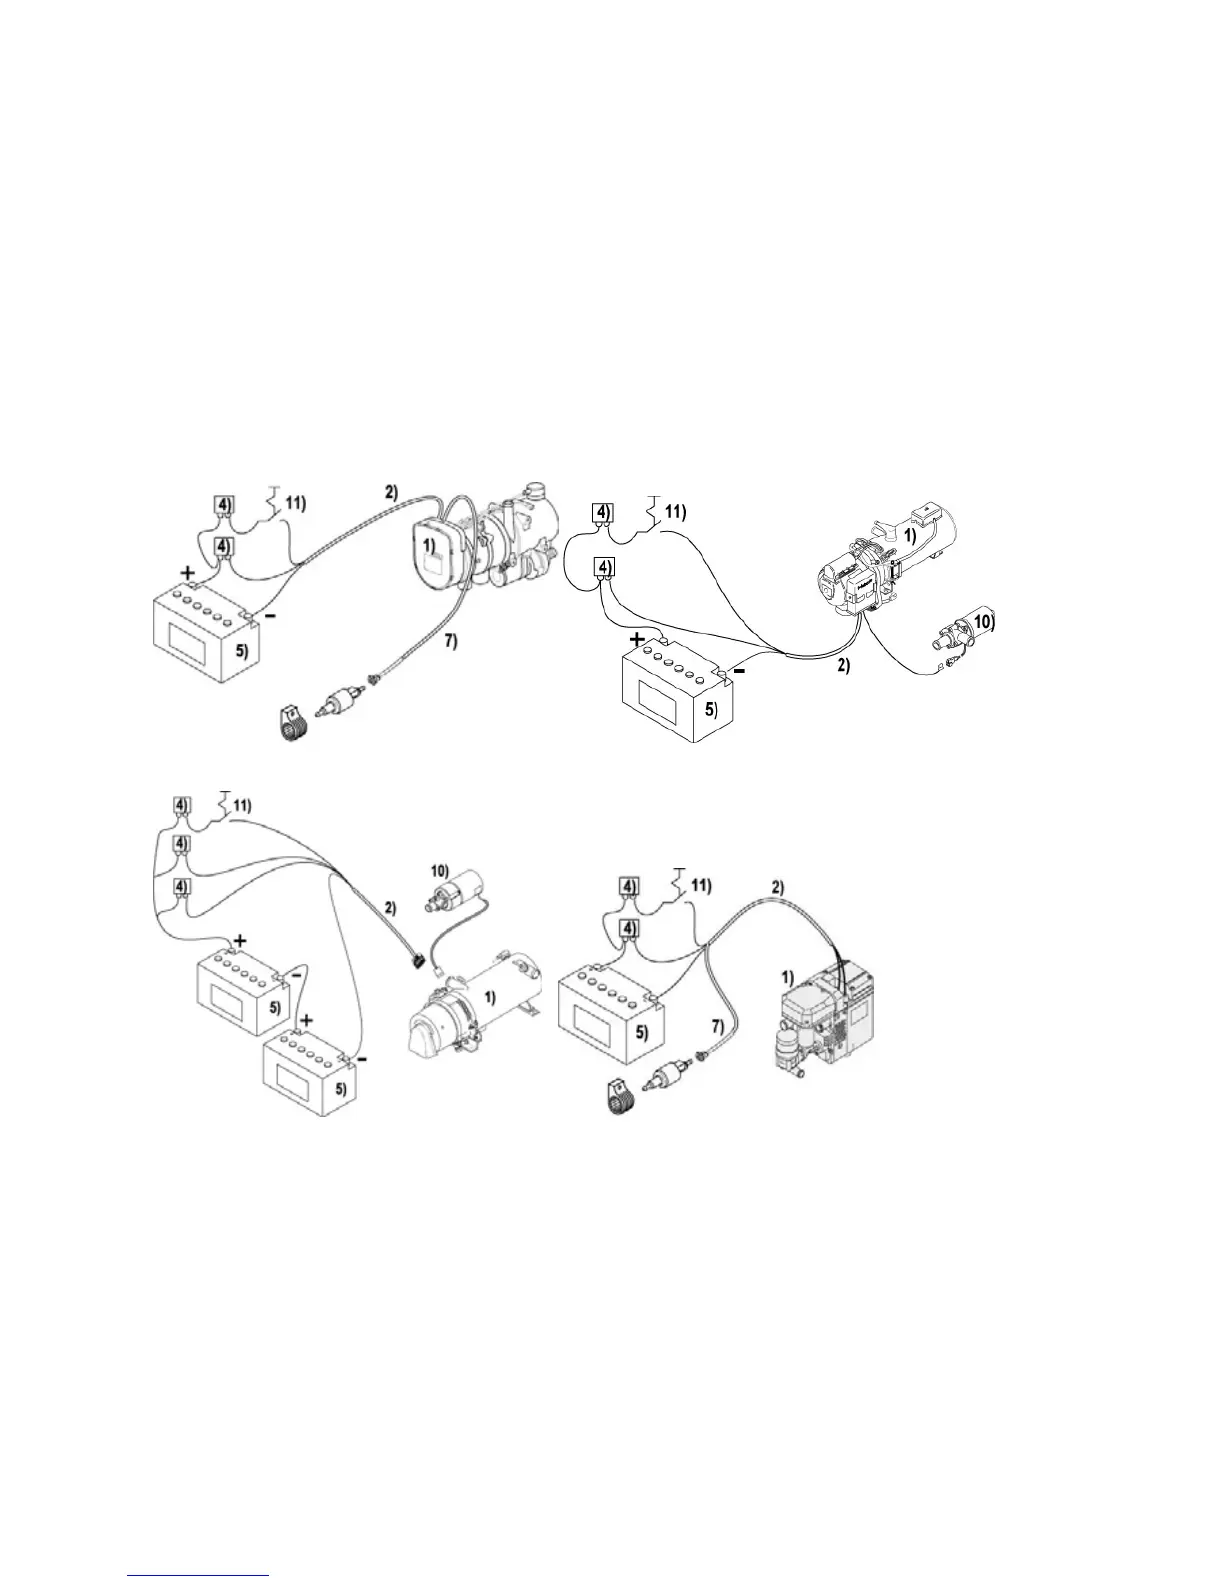
10.7 Electrics
Interfaces to 4 main components.
1. Power supply: from battery, directly from the boat’s supply system.
2. Metering pump: connect cable harness to metering pump (only for Thermo Top C
®
and Thermo
90ST
®
).
Polarity not important. If length is not sufficient, use an extension cable (accessory).
3. Connect control (on/off switch) to cable harness.
4. Circulation pump (each type separately).
Connect the cable harness to the heating system controller.
Heating system circuit diagram and cabling details: see device-specific installation instructions.
Principles of connection of the main components for water heating according to illustrations.
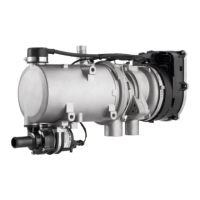
Thermo 90ST
®
DBW 2010/2016
®
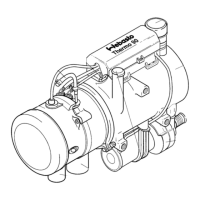
Thermo 230/300/350
®
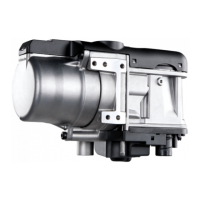
Thermo Top C
®
Legend:
1 Heater unit
2) Main cable harness
4) Fuses
5) Battery
7) Metering pump cable harness
10) Circulation pump
11) Control and/or on/off switch
 Loading...